23
Installing Logs (continued)
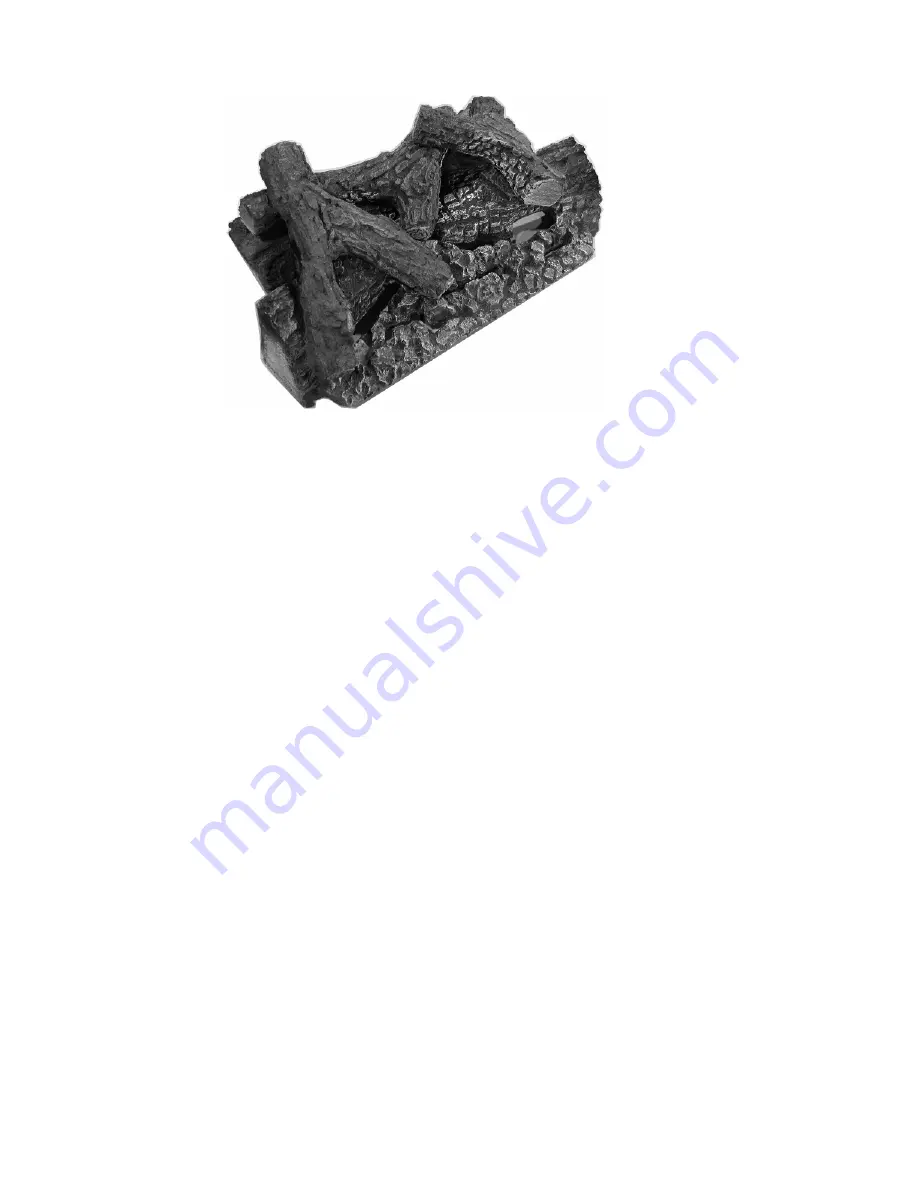
Figure 18
Place the final twig on the right hand side of the logs locating it by resting it in the impressions on the
first back twig and the front log. The “Y” portion of the second twig is facing towards the back of the
fireplace.
3.3.7 Installing the Door
Place door on door support brackets (located on each side of unit). Attach the door clasp hooks to
the upper and lower slots on the door anchors and close clasps. Removal is reverse order. If the
glass has been damaged or broken, remove the broken pieces (be sure to wear gloves) and remove
door. Then remove the hex head screws which are holding the glass retainers in place, remove the
remaining broken pieces and clear away any remaining gasket pieces. Replace defective parts with
Osburn parts only.
Warning: Do not operate the appliance with the glass front removed, cracked or broken.
Replacement of the glass should be done by a licensed qualified service person.
3.3.8 Initial Firing
When lit for the first few times, the appliance may emit an odour resulting from evaporation of paint
and lubricants used in the manufacturing process. Open a door or window for ventilation. Anyone
with a respiratory condition may need to leave the room during the initial firings.
NOTE: It is normal for the appliance to expand and contract while it heats up or cools down
whether this is from a cold start or a steady-state condition where the fan has come on
or off. Under these circumstances it is possible that the expansion/contraction of the
metal parts may produce a ticking sound.


