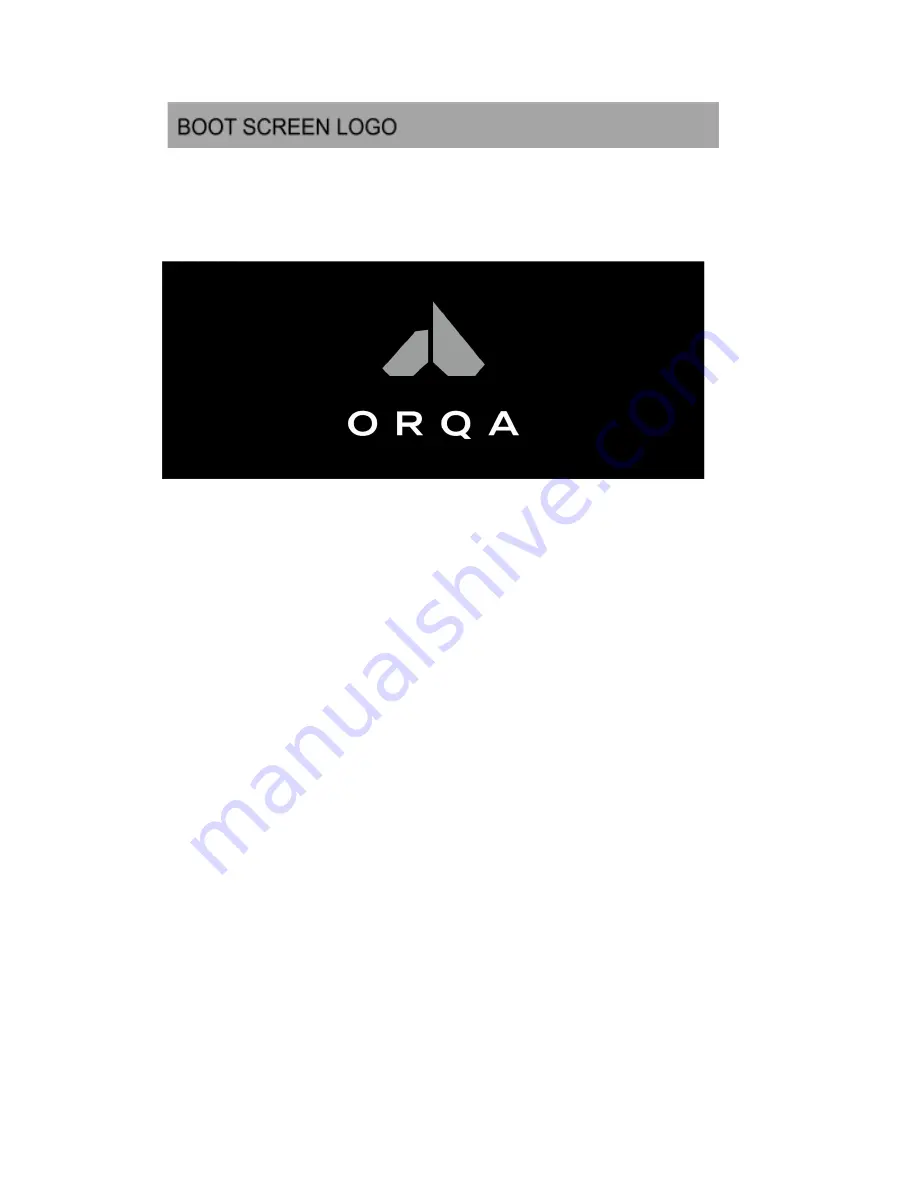
BOOT SCREEN LOGO
After the goggles have been powered up, the Orqa logo will appear by
default.
It is possible to change the default Orqa logo screen with your custom
image. To use the custom boot screen image, you must prepare the image
as follows:
IMAGE SIZE:
1280 X 960 px
IMAGE FORMAT:
.jpg
MAX FILE SIZE:
80 kB
Once the custom image is prepared, rename it to STARTUP.JPG and save it to
the root of your SD Card.
Insert the SD Card into the goggles and power them up. The goggle’s
system will use the STARTUP.JPG file from the SD Card as the custom boot
screen. The system will store the image file into the internal memory and
delete the image file from the SD Card.
Please note that the custom image will be erased from the system every
time you update the goggles and apply the default Orqa screen. That means
that you will need to repeat this process after every update if you want to
keep your custom screen.
This feature is available in the firmware version 1.1.2. and later.
25
Orqa FPV.ONE User Manual, Rev.1.6
©2020. Orqa Ltd.
Summary of Contents for FPV.ONE
Page 3: ...PACKAGE CONTENTS 3 Orqa FPV ONE User Manual Rev 1 6 2020 Orqa Ltd...
Page 4: ...GETTING TO KNOW THE GOGGLES 4 Orqa FPV ONE User Manual Rev 1 6 2020 Orqa Ltd...
Page 5: ...5 Orqa FPV ONE User Manual Rev 1 6 2020 Orqa Ltd...
Page 6: ...GETTING TO KNOW THE GOGGLES 6 Orqa FPV ONE User Manual Rev 1 6 2020 Orqa Ltd...
Page 18: ...18 Orqa FPV ONE User Manual Rev 1 6 2020 Orqa Ltd...
Page 26: ...CONNECTIONS PINOUT 26 Orqa FPV ONE User Manual Rev 1 6 2020 Orqa Ltd...


