


3
EN
15. Repeat mode
GETTING STARTED
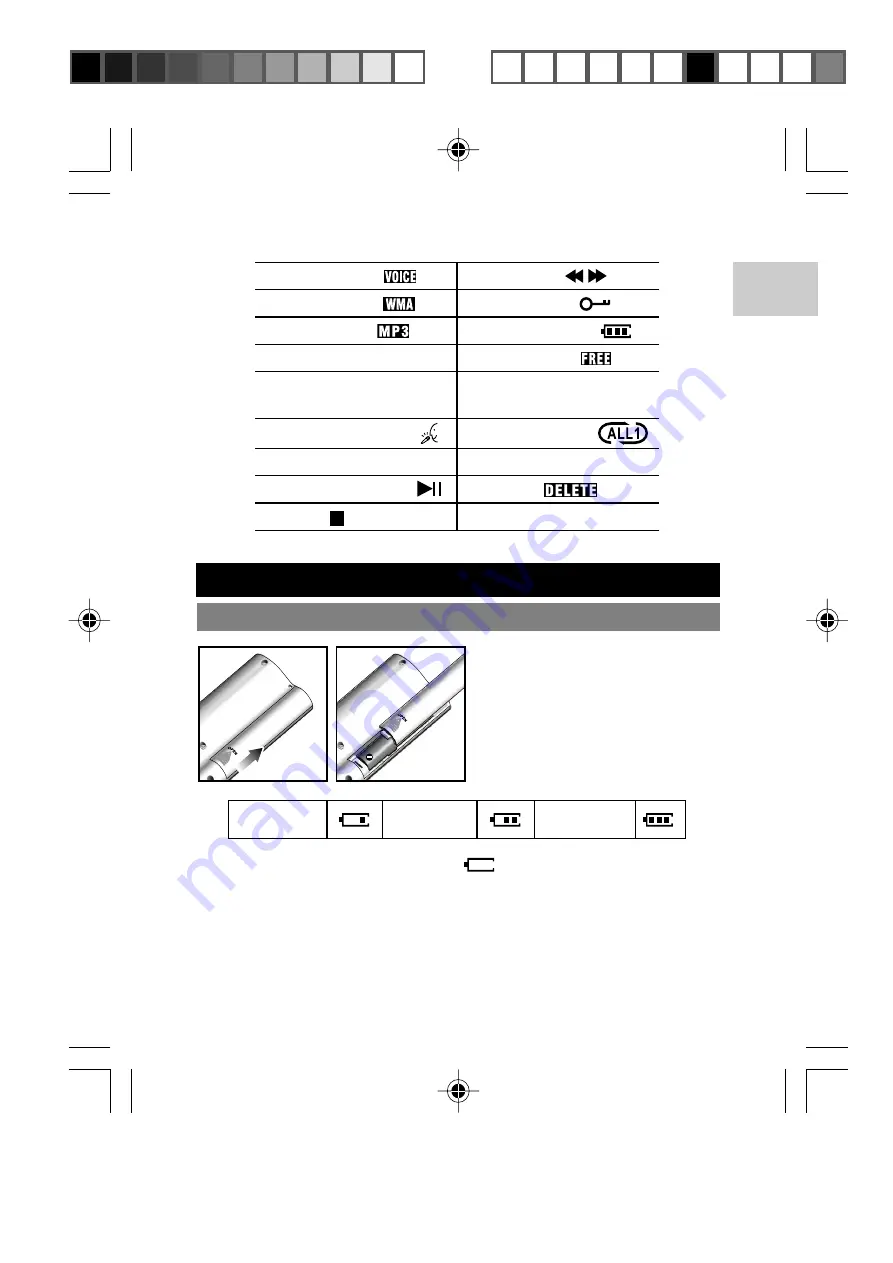
INSERTING BATTERY
Low
Medium
Full
When the battery indicator shows
, this indicates the battery is
about to run out of power within a few minutes. Replace with a new
battery as soon as possible.
1. Voice mode
2. WMA mode
3. MP3 mode
4. Dynamic display
5. Track number /
Storage capacity
6. Recording mode
7. Equalizer
8. Playback / Pause
9. Stop
10. REW / FF
11. Button lock
12. Battery power
13. Free space
14. Volume
16. Elapsed time display
17. Delete
1 x AAA alkaline battery is
supplied with this product. Insert
the battery before first use,
matching the polarity as shown
in the battery compartment.
MP810 Eng R5 a OP
10/5/04, 11:50 AM
3
¶´ƒ
All manuals and user guides at all-guides.com
all-guides.com