9
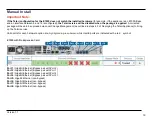
Layout & Required Components:
2x Front Outer Rails
2x Back Outer Rails
2x Inner Expansion Rails
(optional
; inner expansion rails allow the chassis to be pulled out further when rack mounted
for enhanced serviceability
)
Rail Assembly
1. Place the rails with the arrows indicating front and back of the device in the correct direction.
Note:
For both front and back rails for the E1000 it is important to ensure that they are pointing in the correct orientation
(Front or Back) even if the arrows or the text are displayed upside down.
2. Place one of the Back Outer Rails on top of one of the Front Outer Rails and align the pegs (circled in Figures 1 and 2 below
in
blue)
with the matching holes (circled in
green).
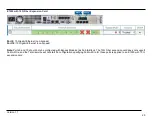
Figure 1: Pegs and Hole on Front Outer Rail
Figure 2: Peg and Holes on Back Outer Rail
3. Repeat with second set of rails.
Version 1.1
Summary of Contents for Talari E1000
Page 24: ...Version 1 1 2 3 ...


