


Replace An Existing NVMe Storage Drive (CRU)
36
Oracle 1.6TB NVMe SSD User Guide • July 2015
3.
Observe the status indicators on the front panel of the drive to verify which drive
in the server requires replacement.
■
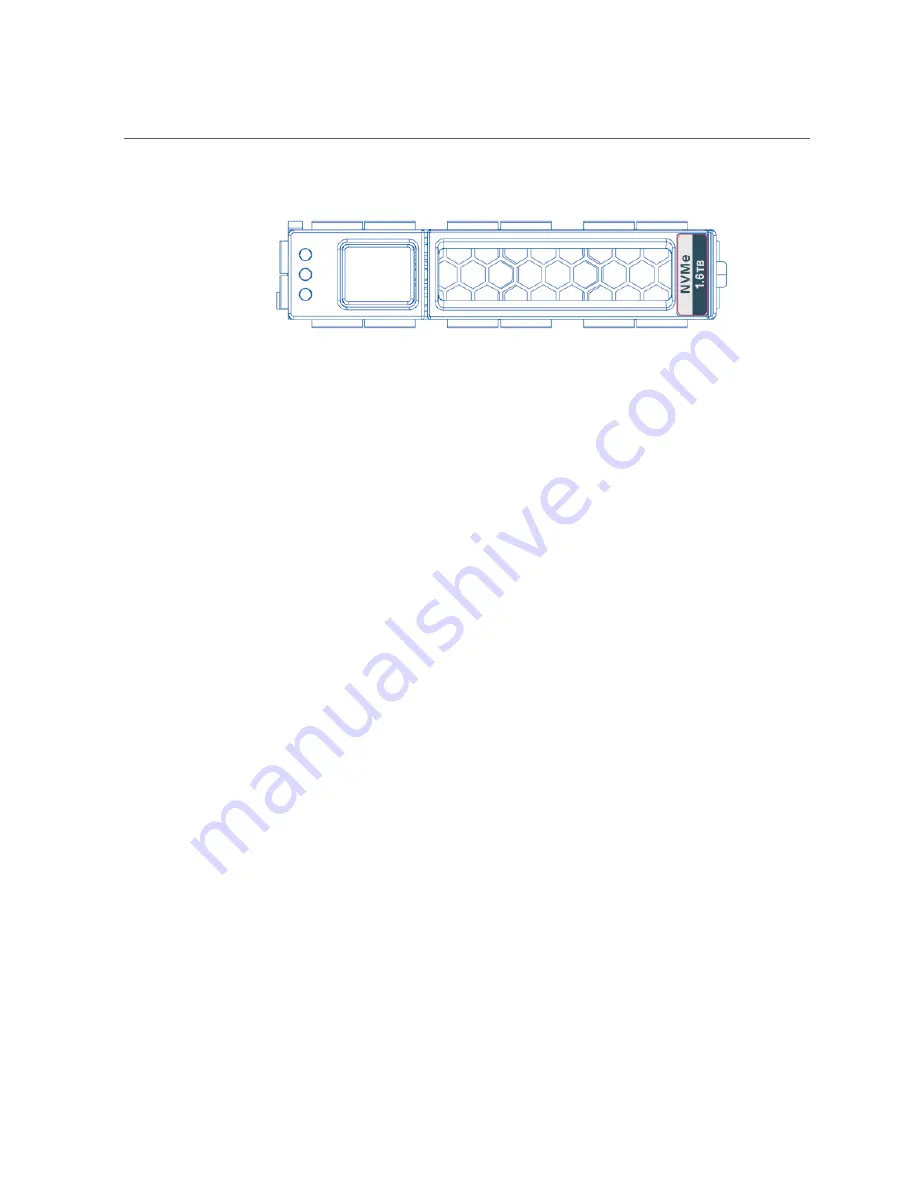
Verify that the Blue OK to Remove status indicator (LED) on the NVMe storage drive is lit.
■
Green (operational), Amber (faulty disk ), Blue (SSD has been prepared for removal)
■
See
“Status Indicators” on page 12
.
4.
Remove the NVMe storage drive from the server.
a.
On the drive you plan to remove, push the latch release button to open the
drive latch.
Press the release lever button on the drive front panel and then tilt the lever into a fully
opened position.
b.
Grasp the opened release lever and gently slide the drive toward you.
c.
If you are not immediately replacing the drive, insert a filler panel into the
empty drive slot on the server.
If you are not replacing the drive, install a filler panel in the empty drive slot to maintain
proper airflow and perform administrative tasks to configure the server to operate without
the drive.


