- 9 -
3.2
Operating Procedure
3.2.1 Extend both rear stabilizers before lowering the digging head to the ground
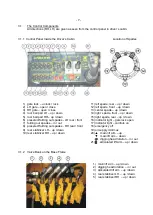
control panel, lever 9 and 10 ▼"down".
The truck should be positioned on level ground, if possible.
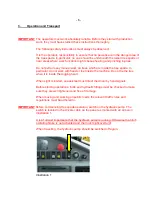
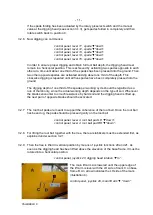
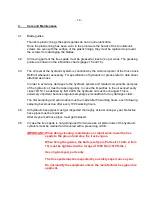
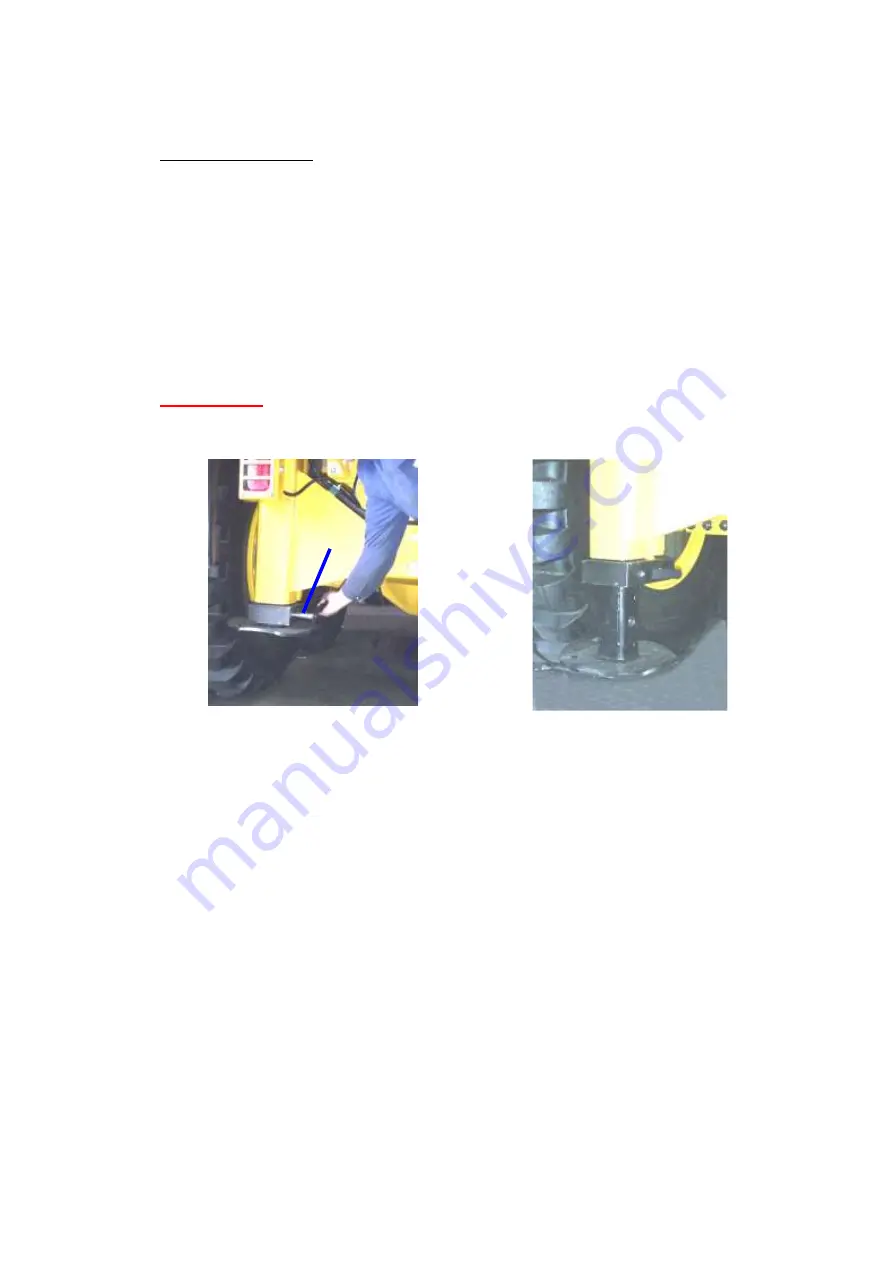
In case the rear stabilizers do not reach down to the ground, the inner square pipe can be
lowered by removing lock pin A (ill. 2) and extend the stabilizer (ill. 3) The stabilizer can be
mechanically adjusted to 4 different sizes. When having selected the required extension
size, lock pin A is put back in place.
IMPORTANT:
When travelling, the stabilizers must be always in the
highest
position
(ill.2) to grant sufficient clearance to the ground.
A
Illustration 2
Illustration 3
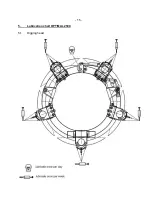
3.2.2 In order to lower the digging head, the main lift arm and the articulated lift arm must be
raised and the digging head must be rotated out into a vertical position.
control panel: joystick 20,
main lift arm ▲"up"
control panel: joystick 21, articulated lift arm ▲"up"
control panel: joy
stick 20 digging head rotation ►"out"
The functions
main lift arm▲"up"
, articulated lift arm
▲"up" and digging head
►"rotate
out“
must be actuated in repeating succession
until the digging head is in a vertical
position and it got sufficient clearance to the base frame. When rotating the digging head
(
digging head rotation ►"out")
make sure it does not touch the base frame, nor the
cylinders, nor the main lift arms.
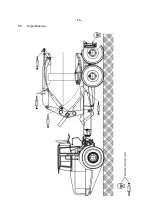
When the digging head is in a vertical position it must be lowered carefully:
control panel: joystick 20, main lift arm ▼"down"
Make sure the digging head does not touch the rear of the truck. If necessary, do correct
the position.
Now the 5 spades must be retracted:
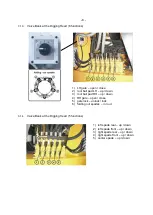
control panel, levers 11,12,13,14 and 15, spades ▲"up".


