9
Updated: 23/05/2018
Opticstar PX-126. © Opticstar Ltd, 2018
The valid exposure time range of the PX-126 is from 0.4 milliseconds up to 15,000 milliseconds (15 seconds).
The appropriate exposure time depends primarily on the brightness of the target and the aperture of the telescope.
The Moon for example will require a very short exposure time, typically less than 20ms (milliseconds) and a planet
less than 50ms.
The
Exposure Target
option is relevant if
Auto Exposure
is used. It adds a user set bias value to the default
automatic exposure time.
Gain
The
Gain
can be set from 1.00 up to 3.00. By markedly increasing the
Gain
value the light sensitivity of the camera
increases significantly but the image quality degrades. As a general rule, using gain at lower values is beneficial
because the exposure times may be shorter, hence minimising the side effects of the Earth’s atmosphere whilst
maintaining high image quality.
Configuration Options
In addition to the exposure time and gain, other camera parameters can be configured by accessing the pull-down
menus underneath
Exposure & Gain
(
H
) on the left-hand panel. The default values will work well for most imaging
sessions and are self-explanatory. However, some of the options are explained below.
Histogram
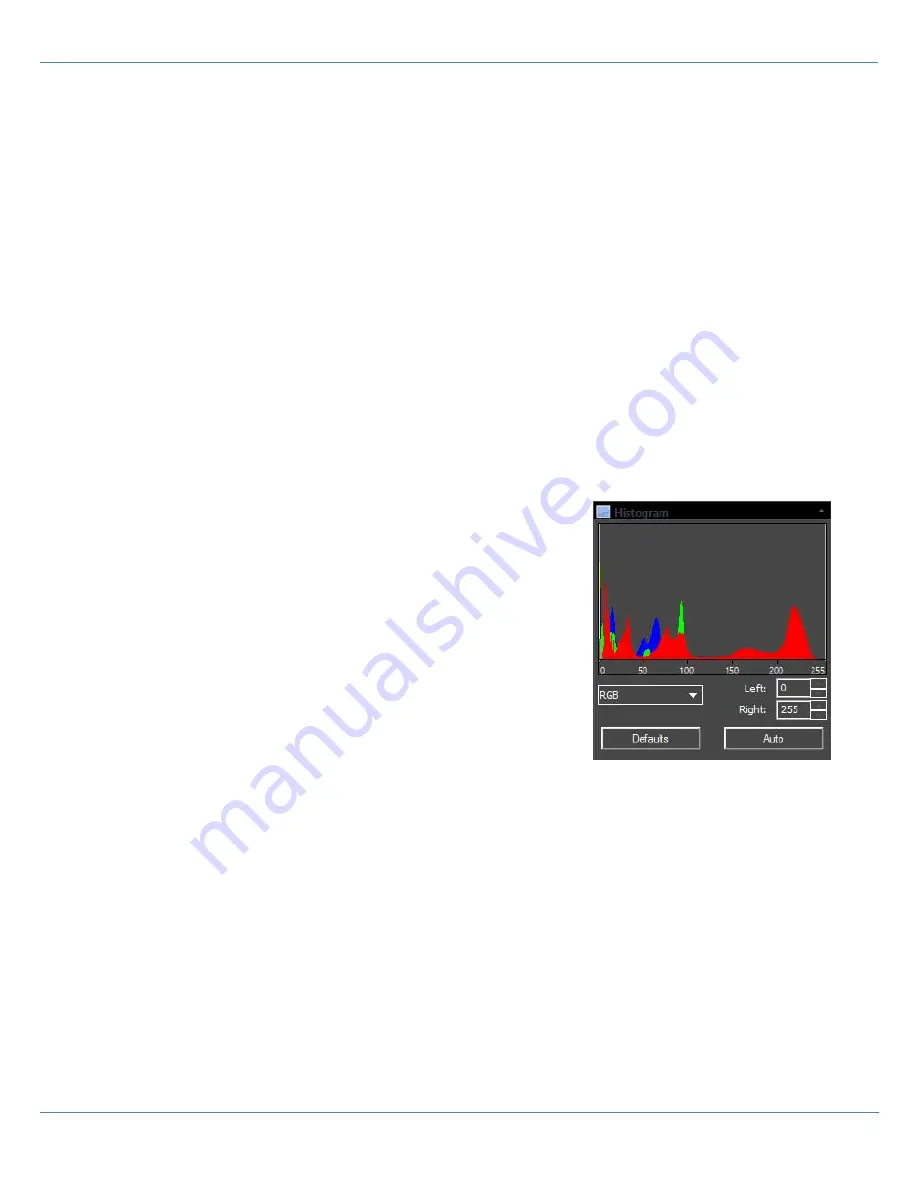
The histogram helps to visualise the composition of the captured data. The
histogram on the right represents colour image data of a single frame. The
Red, Blue and Green (RGB) graphs represent the three individual channels
that constitute the colour image. Each graph shows the number of image dots
(pixels) depending on their brightness. The horizontal graph axis represents
the brightness of the data from 0 (totally dark) to 255 (totally bright). The
vertical axis represents the number of pixels of a particular brightness.
If the
Exposure Time
and
Gain
values are not set appropriately, the graphs
will be clipped on the far left (if exposure/gain are too low) or on the far right of
the graph (if the exposure/gain are too high).
If all three RGB values are at zero, this represents black. If all three RGB
values are at 255, this represents white.
Dark Field Correction and Dark Frames
All scientific cameras introduce minute imperfections to the image inherently present in their electronics. Such factors
include signal-to-noise (S/N) ratio and thermal noise. In astronomy,
dark frames
can be used to counteract these
factors. Select the
Dark Field Correction
menu and tick the
Enable
option. Before clicking the
Capture
button,
ensure that the camera’s cap is fitted on the camera so that no light can reach the camera’s sensor at all. The number
of dark frames to be captured can be selected by changing the
Quantity
value. Typically, 10 frames is a good number
of dark frames. Clicking the
Capture
button will capture the number of dark frames specified. These frames will be
averaged out automatically creating a master dark frame.
Remove the cap from the camera and continue imaging as normal. From now on any images (light frames) captured
by the camera, will have
dark frame subtraction
applied to them. Effectively, the master dark frame data will be
subtracted from the light frame data to remove any imperfections.
For best results, a master dark frame should be created for each specific imaging session because the ambient
temperature between sessions can vary greatly. A dark frame created for one session may not work as well in another
session. It is also good practice to create a new dark frame when the
Exposure Time
and
Gain
settings change
significantly even within the same session.


