10
Updated: 23/05/2018
Opticstar PX-126. © Opticstar Ltd, 2018
Parameters
The various values entered during an imaging session can be stored to disk for future sessions. This can save time in
future imaging sessions by loading the parameters from a previous session. These parameters include such values
such as
Exposure Time
,
Gain
and others.
Main Menu and Icons
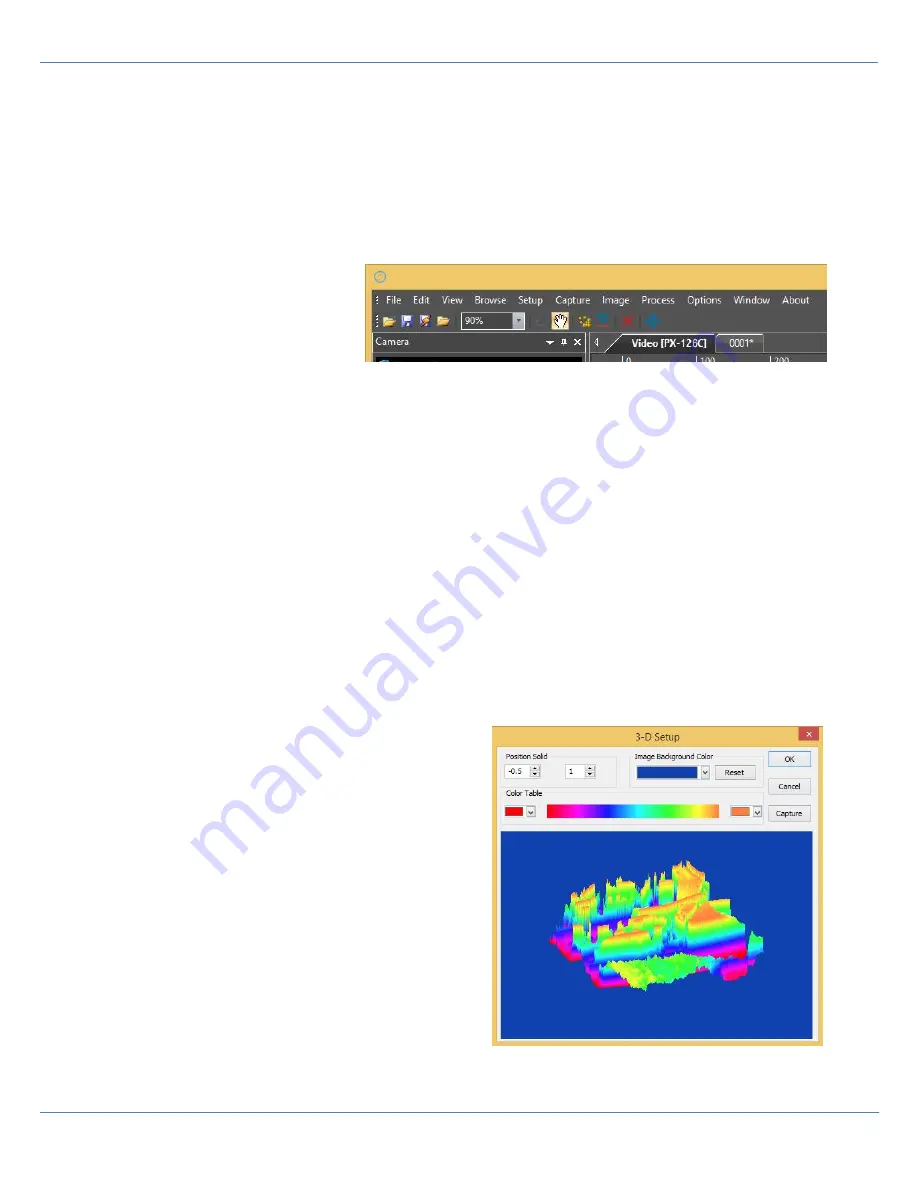
Most of the camera functions outlined above can also be accessed from
OpticstarSky
’s main menu and icons at the
top of the program window.
Selecting the various options from the
main menu and the icons, allows the user
fine control over the various functions.
These options are better suited for
experienced
users
who
already
understand how the camera works.
The
Image Select
icon allows the user to select a rectangular region that is smaller than the full image area. Any
imaging enhancement functions such as colour balance, contrast and others are only performed based on the data
contained within the selected region. If no region is selected, the imaging enhancement functions use the data of the
whole image area. By default, no region is selected.
Image Stacking
In astronomy, it is not possible to capture a single image that
is sharp due to the Earth’s atmosphere. Atmospheric
turbulence, sky transparency and high humidity levels all play a major role on the quality of the captured images.
These conditions can vary greatly between imaging sessions. To minimize these undesirable effects, we apply to the
captured images a process called
image stacking
.
Stacking is the process of merging the data of many image frames into a single frame. This operation applies
mathematics to select the best parts of each frame and accumulate that information into a single frame that is of much
higher quality that any of the single frames used to construct the final image. This technique is known as stacking and
it can be accessed from the main menu at the top
Process > Imaging Stacking
. Stacking is applied to a video file
stored on the disk. It is
not
possible to capture video and apply stacking in a single operation.
Processing and Visualising Data
Many other image processing options can be accessed from
the
Process
pull down menu that perform advanced functions
such as noise reduction, sharpening, histogram equalization,
filtering, etc.
In addition to these functions, image visualisation tools are
included such as
Surface Plot
and
Line Profile
to help
understand the captured data. These tools will be especially
useful to more experienced users.
One other notable function is
stitching
. The
Stich
button
opens a series of options that can be customised in such a
way that a series of images can be attached next to each
other to create a single image that is much larger in size. The
Stitch
icon can be accessed from the menu bar.


