12
Updated: 23/05/2018
Opticstar PX-126. © Opticstar Ltd, 2018
Adding ASCOM
Installing the ASCOM software enables the PX-126 to be used as an auto-guide camera. ASCOM support
also allows the PX-126 to be used for imaging as an ASCOM compliant imaging device. There are three
steps in adding ASCOM functionality:
1. Install the ASCOM software platform.
2. Install the PX-126 ASCOM camera driver for imaging support.
3. Install the PX-126 ASCOM ST4 driver for auto-guide support.
The ASCOM software platform is freely available and can be downloaded at
http://ascom-standards.org.
Follow the
instructions on the downloads section of the website on how to download and install it.
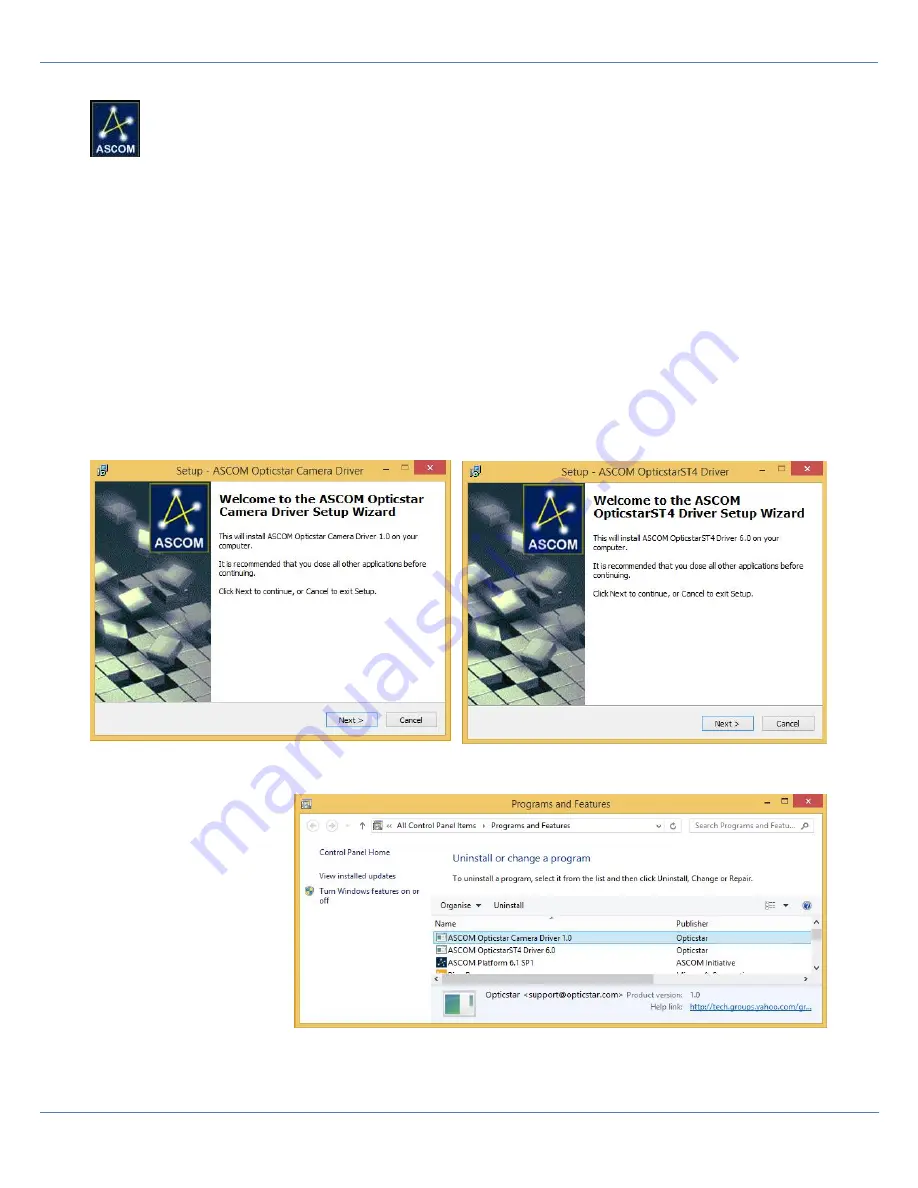
Once the ASCOM platform has been installed, proceed to install ASCOM support for the PX-126, open the
ASCOM
folder on the CD, run the following two installation programs:
•
ASCOMOpticstarCamSetup.exe
for PX-126 imaging support.
•
ASCOMOpticstarST4Setup.exe
for PX-126 ASCOM auto-guide support.
It is recommended that the installation is performed with Windows administrator permissions. Right-click on the file
and from the pop up menu, select
Run as administrator
. Follow the on-screen instructions to compete the installation
of both programs.
Removing ASCOM
ASCOM compatibility can be
removed at any time. In
Windows 8.1 this can be done
by
right-clicking
on
the
Windows
Start
button on the
bottom left corner of the
screen and on the popup
menu select
Programs and
Features
.
In earlier operating systems
click the
Start
button and then
select
Settings > Control
Panel
>
Add/Remove
Programs
.
The two sets of PX-126 ASCOM drivers can be removed one at a time by right-clicking on each driver and select
Uninstall
.


