


C H A P T E R 4 : G E T T I N G T O K N O W T H E O P E R A ™
F R A M E W O R K
70
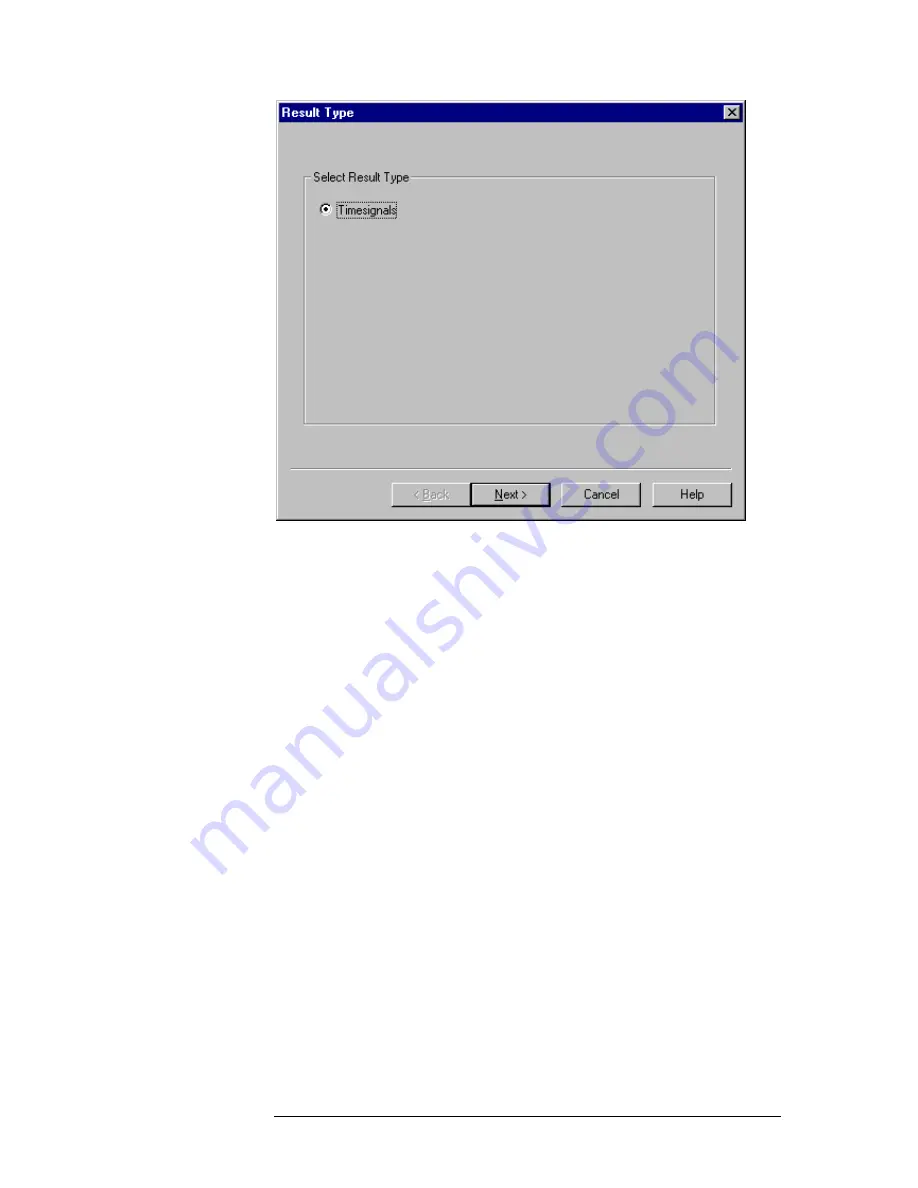
Figure 4.39:
Select Result Type Window
Now highlight the radio button next to
Timesignals
, and press
Next
. This leads
to the next wizard step, the
Signal Select
dialog.
The
Select
Signal
dialog (see
Figure 4.40
) allows a selection of channels and
input signals required for the results in one diagram. Modify the selection by
clicking with the left mouse button on any of the option buttons. This will add
or remove the check mark in the button. A checked button means that the
results for the selected signal will be drawn in the diagram. In
Figure 4.40
the results for the left channel of the reference and the test signal were selected.
Summary of Contents for OPERA Broadcast
Page 1: ...User Manual Version 3 5...
Page 2: ...C O N T E N T S ii Document Version as of 20 Dez 02...
Page 14: ...P R E F A C E 8...
Page 28: ...C H A P T E R 2 W H I C H M E A S U R E M E N T D O I N E E D 22...
Page 34: ...C H A P T E R 3 I N S T A L L A T I O N A N D S E T U P 28...
Page 90: ...C H A P T E R 4 G E T T I N G T O K N O W T H E O P E R A F R A M E W O R K 84...
Page 142: ...C H A P T E R 6 T E L E P H O N Y B A N D V O I C E Q U A L I T Y T E S T I N G 136...
Page 174: ...C H A P T E R 6 T E L E P H O N Y B A N D V O I C E Q U A L I T Y T E S T I N G 168...
Page 190: ...C H A P T E R 8 T E C H N I C A L S P E C I F I C A T I O N S 184...
Page 204: ......


