background image

35

It

De

Troubleshooting

¥

Resetting the unit

Resetting the unit to the status at the time of shipment 
may solve the problem. If the measures mentioned in the 
troubleshooting do not solve the problem, reset the unit 
with the following procedure.

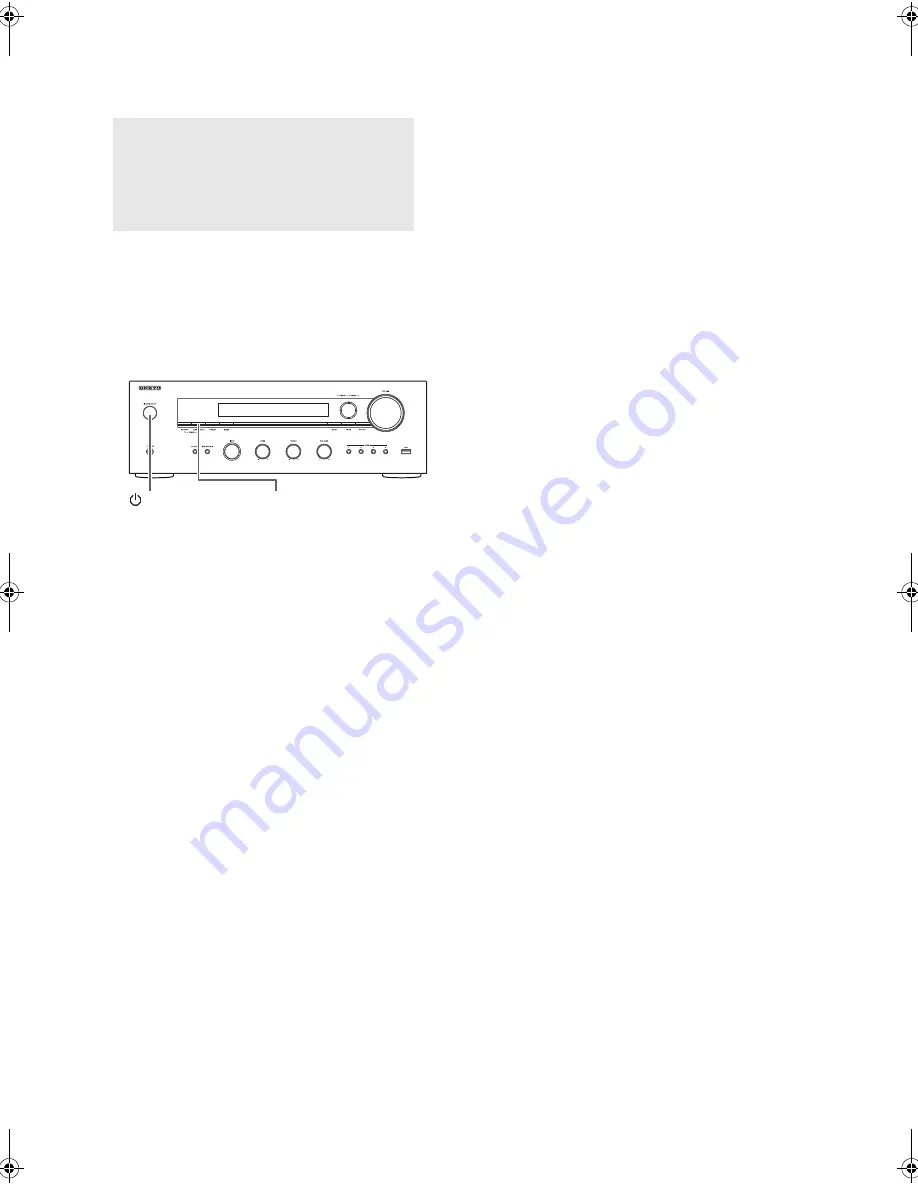
While the unit is on, press and hold the TUNING MODE 
button and press the 

Í

 ON/STANDBY button. “Clear” is 

displayed on the display, the unit enters standby mode, 
and the unit is reset to the state it was in at the time of 
purchase.

Cannot turn on the unit.

0

Make sure that the power cord is properly plugged into 
the wall outlet.

0

Unplug the power cord from the wall outlet, wait 5 
seconds or more, then plug it in again.

The unit turns off unexpectedly.

0

The receiver will automatically enter standby mode 
when Auto Standby or Sleep Timer is set and 
launched.

There is no sound, or it is very quiet.

0

Make sure the speaker set A or B is on. (

>

11)

0

Make sure the correct input source is selected.

0

If the MUTING indicator is shown on the display, press 
the MUTING button of the remote control to unmute 
the receiver.

0

The PCM signal can be input only to digital input 
terminals. Make sure that PCM is selected on the 
playback component.

0

Check the digital audio output setting on the 
connected component. On some game consoles, such 
as those that support DVD, the default setting is off.

0

Make sure that the polarity of the speaker cables is 
correct, and that no bare wires are in contact with the 
metal part of speaker terminals.

0

Make sure that the speaker cables are not shorting.

0

If your record player uses an MC cartridge, you must 
connect an audio equalizer and either an MC head 
amp or an MC transformer.

Noise can be heard.

0

Using cable ties to bundle audio cables with power 
cords, speaker cables, etc. may degrade the audio 
performance, so refrain from doing it.

0

An audio cable may be picking up interference. Try 
repositioning your cables.

Remote control does not work.

0

Make sure that the batteries are installed with the 
correct polarity.

0

If the remote control doesn’t work reliably, try replacing 
the batteries. Don’t mix new and old batteries or 
different types of batteries.

0

Do not place obstructions between the main unit and 
the remote control. The remote control might not work 
if the remote control signal receiver on the unit is 
exposed to direct sunlight or bright light. If this occurs, 
try moving the unit.

0

Beware that use of this remote control could cause the 
unintentional operation of other devices that can be 
controlled by infrared rays.

0

If the unit is installed in a rack or cabinet with colored 
glass doors or if the doors are closed, the remote 
control may not work reliably.

Cannot access the Internet radio.

0

Certain network service or contents available through 
the unit may not be accessible in case the service 
provider terminates its service.

0

Make sure that connecting to Internet from other 
components is possible. If connecting is not possible, 
turn off all components connected to the network, wait 
for a while, and then turn on the components again.

0

If a specific radio station is unavailable for listening, 
make sure the registered URL is correct, or whether 
the format distributed from the radio station is 
supported by this unit.

USB storage device is not displayed.

0

Check whether the USB storage device or USB cable 
is correctly inserted to the USB port of the unit.

0

Remove the USB storage device from the receiver 
once, and then try re-connecting.

0

USB storage devices with security functions may not 
be played.

Before starting the procedure

Problems may be solved by simply turning the power 
on/off or disconnecting/connecting the power cord, 
which is easier than working on the connection, 
setting and operating procedure. Try the simple 
measures on both the unit and the connected device.

TUNING MODE

ON/STANDBY

TX-8130_mst.book  35 ページ  2015年11月2日 月曜日 午後1時16分

Summary of Contents for TX-8130

Page 1: ...Network Stereo Receiver TX 8130 Thank you for purchasing an Onkyo product Please retain this manual for future reference Instruction Manual...

Page 2: ...tored on DLNA compatible devices 22 0 Music streaming from a shared folder Home Media 23 Listening to the sound from a connected player 25 Listening to AM FM radio 26 Various settings 29 0 Adjusting s...

Page 3: ...paratus does not operate normally by following the operating instructions Adjust only those controls that are covered by the operating instructions as an improper adjustment of other controls may resu...

Page 4: ...ver handle this unit or its power cord while your hands are wet or damp If water or any other liquid gets inside this unit have it checked by your Onkyo dealer 8 Handling Notes 0 If you need to transp...

Page 5: ...AS IS COMPANY DOES NOT WARRANT INFORMATION CONTENT OR SERVICES SO PROVIDED EITHER EXPRESSLY OR IMPLIEDLY FOR ANY PURPOSE COMPANY EXPRESSLY DISCLAIMS ANY WARRANTIES EXPRESS OR IMPLIED INCLUDING BUT NO...

Page 6: ...fully fledged audio design 0 High powered discrete amplifier that can drive even a large speaker system 0 WRAT Wide Range Amplifier Technology 0 Closed loop circuit to stabilize the ground potential 0...

Page 7: ...the registered station with 2PRESET1 RETURN button Returns the display to the previous state during setting or operation VOLUME control Used to adjust the volume PHONES terminal Connect headphones wit...

Page 8: ...nto a radio station Headphone indicator Stays lit when headphones are connected NET Lights when NET is selected as the input source It will flash if the connection is not correct MUTING indicator This...

Page 9: ...etween normal moderately dark and dark Pause button Playback 1 button Stop button RANDOM button Plays tracks in the folder or playlist DLNA randomly MENU button Press this button to display the menu R...

Page 10: ...the unit into a different branch circuit DIGITAL IN OPTICAL COAXIAL terminals Connected to players Use a digital optical cable or digital coaxial cable for connection with the digital audio output ja...

Page 11: ...have 4 h or more to less than 6 h impedance See setup menu 3 Hardware Speaker Impedance 31 Twist the wires of the speaker cable tightly before inserting into the terminals After inserting the cables...

Page 12: ...a digital optical cable or digital coaxial cable to one of the DIGITAL IN terminals To play select the terminal name with the INPUT SELECTOR Note that this unit is equipped with an Opt1 In Wakeup feat...

Page 13: ...f this unit Note that if the connected record player has a built in audio equalizer connect it to a LINE IN terminal other than PHONO AM FM antenna connections Connect the antennas to listen to AM FM...

Page 14: ...tify and the home network features Connect to the same router as the smartphone computer or NAS you are going to use You need to be able to connect to the Internet Connect to the router to this unit s...

Page 15: ...and the on demand programs registered TuneIn Radio is a service where you can enjoy music sports and news from all over the world Playing back 1 Press the NET button 2 Use the direction buttons to se...

Page 16: ...then press the ENTER button Playback starts TuneIn Radio Menu If you press the MENU button or ENTER button while playing TuneIn Radio the following TuneIn Radio menu items appear To use each function...

Page 17: ...aced 2 Press one of the BGM 1 to 4 buttons to play If you press these buttons when the unit is in standby mode it comes on and play starts Pandora Menu If you press the MENU button or ENTER button whi...

Page 18: ...f the IP address 4 Turn the PC on and open Internet Explorer or another Internet browser 5 Input this unit s IP address into the Internet browser URL field If the IP address displayed on the unit is 1...

Page 19: ...s the ENTER button 3 Use the direction buttons to select a radio station and press the ENTER button Playback starts To remove a radio station that has been added 1 Select the radio station in the My F...

Page 20: ...ct third party licenses Playback 1 Start up the Spotify app on the smartphone or tablet 2 On the track playback screen click the Connect icon and select the unit Spotify s streaming will start If the...

Page 21: ...the USB storage device reading data from it may take some time 0 If the media you connect is not supported or cannot be connected properly the message No storage will be displayed 4 Press the ENTER b...

Page 22: ...box 0 If media streaming is already turned on select More streaming options in the Stream menu to list players in the network and then go to step 4 3 Click Turn on media streaming to list players in t...

Page 23: ...on the display of the unit 0 When the volume is adjusted from the unit the value is not reflected in the Play To dialog box 0 Depending on the version of Windows Media Player the names of the items y...

Page 24: ...uttons to select Home Media on the display and press the ENTER button 3 Use the direction buttons to select the server that you want to use and press the ENTER button 0 You can check the server name o...

Page 25: ...0 While playing an analog source if a digital signal is input to the input source with the same name play switches to the digital signal INPUT SELECTOR By connecting an Onkyo component with RI jack to...

Page 26: ...lay 2 Press the TUNING MODE button so that the AUTO indicator on the display goes off 3 Press the 4TUNING3 buttons to select the desired radio station 0 The frequency changes by 1 step each time you p...

Page 27: ...station 1 Press the SETUP button of the remote control while a preset number is displayed use the direction buttons to select 4 Source and press the ENTER button 2 Use the direction buttons to select...

Page 28: ...music Light M Light classics Classics Serious classics Other M Other music Weather Finance Children Children s programmes Social Social affairs Religion Phone In Travel Leisure Jazz Jazz music Countr...

Page 29: ...dB in 2 dB increments default setting 0 dB Balance Adjusts the audio output balance between the left and right speakers Select between Li10 and Ri10 in 2 steps increments default setting 0 Sleep time...

Page 30: ...an even better experience Set using the following procedure 1 Press the SETUP button 2 Use the direction buttons to select the setting you want to change and press the ENTER button 0 To cancel the op...

Page 31: ...crements of 9 kHz 10kHz The frequency is adjusted in increments of 10 kHz 4 Source IntelliVolume Even when the volume control is the same on this unit there may be differences in the volume depending...

Page 32: ...te the firmware by connecting the unit to a network Limitation of liability The program and accompanying online documentation are furnished to you for use at your own risk Onkyo will not be liable and...

Page 33: ...ly down Check the service status with your ISP provider Others Disconnect and reconnect the power cord and retry updating Updating the firmware via USB connection You need a 64 MB or larger capacity U...

Page 34: ...error occurs Error appears on the display of this unit Characters and numbers appear in place of the asterisks Refer to the descriptions below to check the meaning Error code 01 10 USB storage device...

Page 35: ...it 0 An audio cable may be picking up interference Try repositioning your cables Remote control does not work 0 Make sure that the batteries are installed with the correct polarity 0 If the remote co...

Page 36: ...server software Windows Media Player 12 etc 0 If the PC is downloading or copying large files the playback may be interrupted WARNING If smoke smell or abnormal noise is produced by the unit unplug th...

Page 37: ...ld appliances over ordinary home networks LAN This unit complies with version 1 5 of the DLNA guidelines 0 Depending on the type of media server this unit might not recognize it or be able to play aud...

Page 38: ...utput Power JEITA 2 ch k 115 W at 6 ohms 1 kHz 2 ch Driven of 10 THD Dynamic Power IEC60268 Short term maximum output power 170 W 3 h Front 150 W 4 h Front 90 W 8 h Front THD N Total Harmonic Distorti...

Page 39: ...u wish to copy part of the code of the Library into a program that is not a library 4 You may copy and distribute the Library or a portion or derivative of it under Section 2 in object code or executa...

Page 40: ...However as a special exception the source code distributed need not include anything that is normally distributed in either source or binary form with the major components compiler kernel and so on o...

Page 41: ...EORY OF LIABILITY WHETHER IN CONTRACT STRICT LIABILITY OR TORT INCLUDING NEGLIGENCE OR OTHERWISE ARISING IN ANY WAY OUT OF THE USE OF THIS SOFTWARE EVEN IF ADVISED OF THE POSSIBILITY OF SUCH DAMAGE 7...

Page 42: ...e must retain the above copyright notice this list of conditions and the following disclaimer 2 Redistributions in binary form must reproduce the above copyright notice this list of conditions and the...

Page 43: ...TATION WARRANTIES OR CONDITIONS OF MERCHANTABILITY MERCHANTABLE QUALITY OR FITNESS FOR A PARTICULAR PURPOSE OR ANY WARRANTY OF TITLE OR NON INFRINGEMENT OR THAT THE WORK OR ANY PORTION THEREOF IS CORR...

Page 44: ...9 3118 Fax 852 2428 9039 http www hk onkyo com PRC 302 Building 1 20 North Chaling Rd Xuhui District Shanghai China 200032 Tel 86 21 52131366 Fax 86 21 52130396 http www cn onkyo com Asia Oceania Midd...

Reviews: