22
6
OPERATION
Selecting the Transmission and Receiving Frequency
The wireless transmission is made in the frequency range of 823.000 – 832.000 MHz and is divided into 10
groups with 60 preset frequencies each. The transmitter and the receiver must be set to the same frequency;
otherwise signal transmission will not be possible. As some frequencies may already be reserved by other
users of wireless systems, we recommend adjusting the desired frequency on the receiver before the
transmitter is switched on. If one or more segments of the reception indication are shown on the display, a
signal is received on this frequency. Thus a different frequency should be selected in order to avoid
interference.
Up to six transmission systems transmitting on different channels can be used at the same time. The number
of channels which can be used in parallel depends on the distance between the individual transmission
systems (at least 1 m distance between the transmitters) and local conditions (e.g. RF interference sources).
Adjusting the Frequency on the Receiver
Switch on the receiver by turning the
level control
from the left stop.
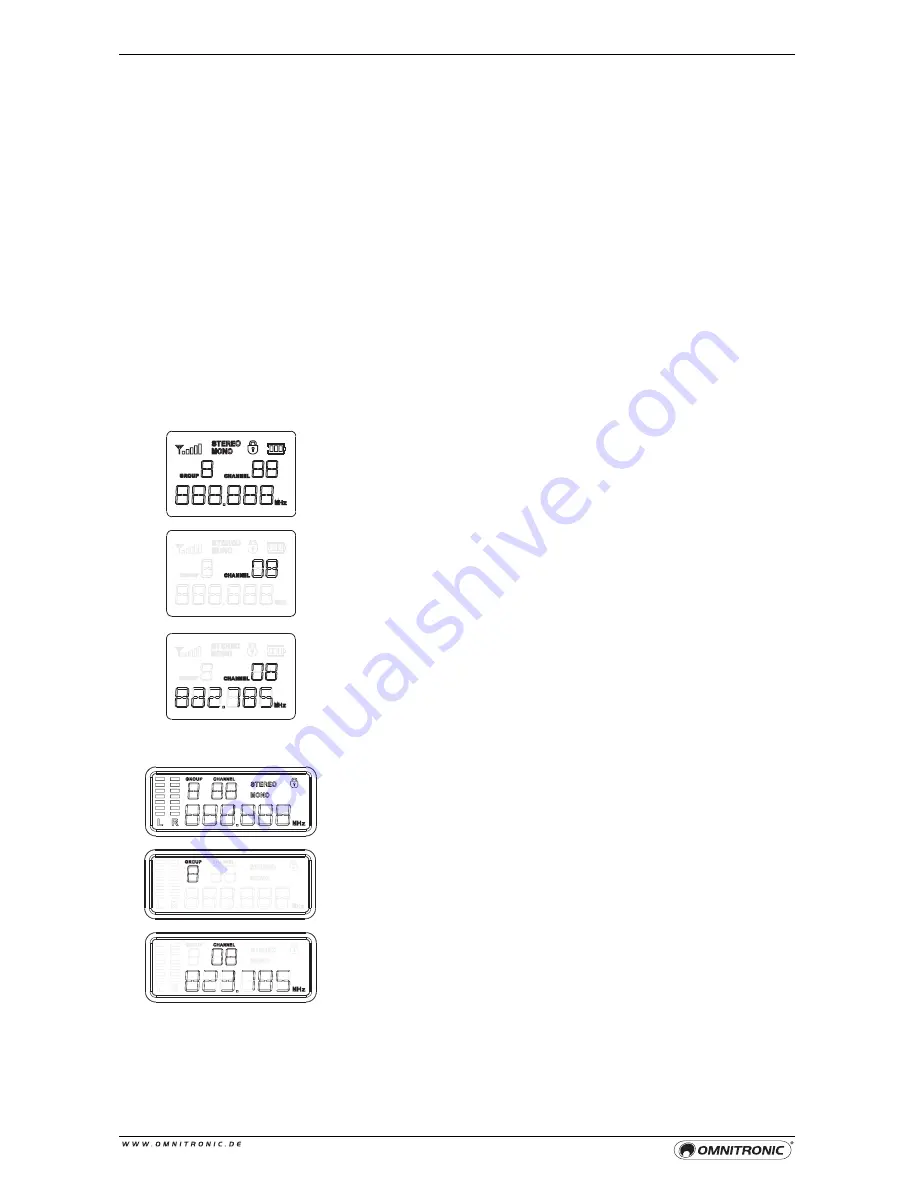
The display will show the receiving frequency adjusted last and the
corresponding group and channel number. Unfold the front cover and
press the button
SET
. The setting menu will be called with menu item
"
GROUP
" selected. On the display, “
GROUP
” and the current group will
be flashing.
Use the button ▲ or ▼ to select new group (0-9) and confirm with
SET
.
On the display, “
CHANNEL
” and the current channel number will now
be flashing.
Use the button ▲ or ▼ to select new channel number (1-6). The preset
frequency for this channel will be indicated below it. Confirm with
SET
.
Press the button
ESC
to exit the setting menu. After 10 seconds the
setting procedure will also be cancelled automatically.
Adjusting the Frequency on the Transmitter
Press the
power switch
to switch on the transmitter. The display will
show the transmitting frequency adjusted last and the corresponding
group and channel number. Press the button
SET
. The setting menu
will be called with menu item "
GROUP
" selected. On the display,
“
GROUP
” and the current group will be flashing.
Use the button ▲ or ▼ to select new group (0-9) and confirm with
SET
.
On the display, “
CHANNEL
” and the current channel number will now
be flashing.
Use the button ▲ or ▼ to select new channel number (1-6). The preset
frequency for this channel will be indicated below it. Confirm with
SET
.
Press the button
ESC
to exit the setting menu. After 5 seconds the
setting procedure will also be cancelled automatically
1
2
3
1
2
3


