background image

3. After a few moments, the OLED display will show the current status of the router’s various 

functions.   

Insert a microSD Card 

1. Ensure that your OWLHM2 HSPA+ Mobile Router is powered off. 

2. Open the cover of the microSD slot on the side of the router. 

3. Insert the microSD card into the slot and push it in until it locks into place. 
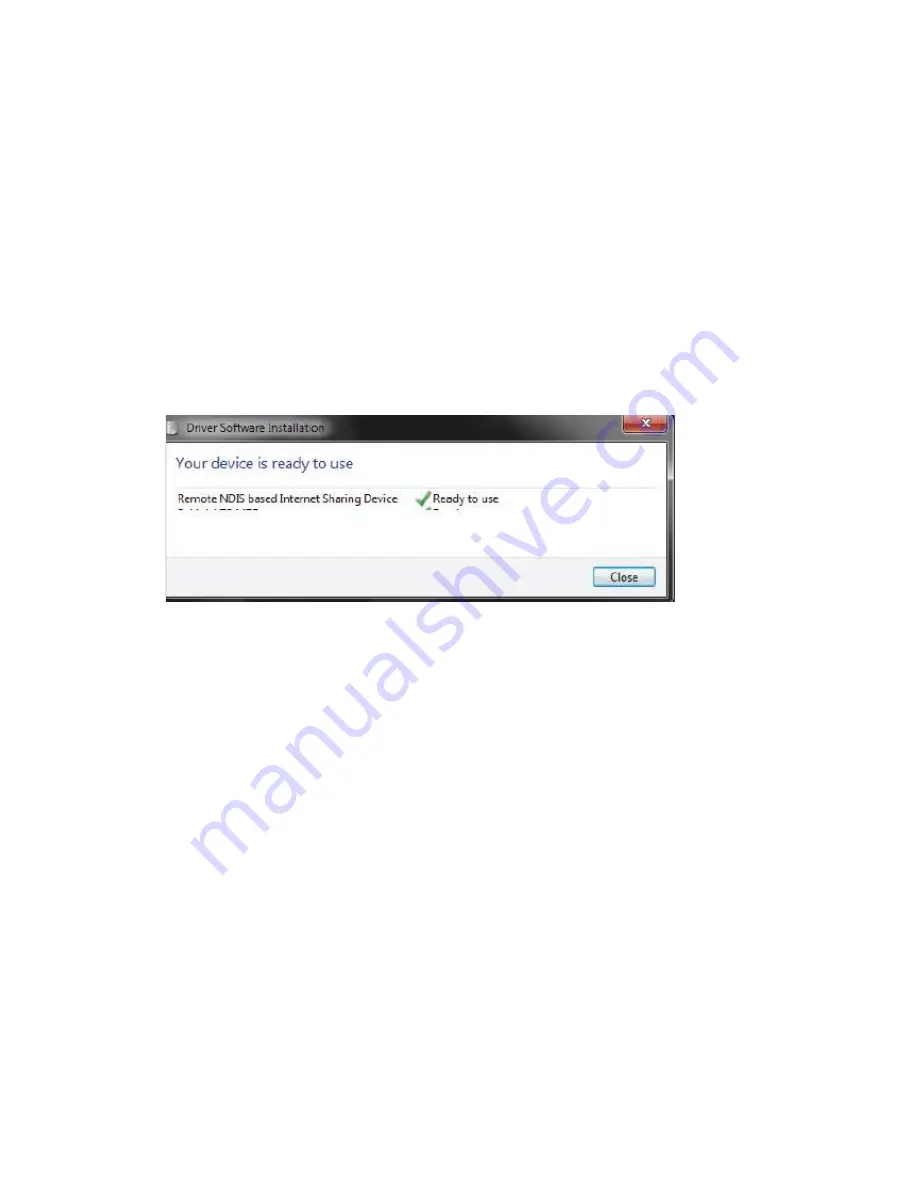
Driver Installation 

When you plug the OWLHM2 into your computer, any necessary drivers will immediately 

install (with your permission). 

Note: 

These drivers are Windows-only. Mac and Linux users will still be able to configure the 

OWLHM2 using the web configuration utility described in Configuration Utility”. 

Note: 

For Windows systems, if there are any problems while installing the driver, please 

make sure you have installed Windows Media player version 11 or higher. 


Wireless Installation Considerations 

The OWLHM2 can be accessed using a wireless connection from anywhere within the 

operating range of its wireless network. Keep in mind that the quantity, thickness, and 

location of walls, ceilings, or other objects that the wireless signals must pass through may 

adversely affect wireless signals. Ranges vary depending on the types of materials and 

background RF (radio frequency) noise in your home or office. The key to maximizing the 

wireless range is to follow these basic guidelines: 

1. Minimize the number of walls and ceilings between the router and other network devices. 

Each wall or ceiling can reduce your adapter’s range 

From1 to 90 feet (1 to 30 meters). 

2. Be aware of the direct line between network devices. A wall that is 1.5 feet thick (0.5 

meters) appears to be almost 3 feet (1 meter) thick at a 45-degree angle. At a 2-degree 

angle it appears over 42 feet (14 meters) thick. Position devices so that the signal will travel 

straight through a wall or ceiling (instead of at an angle) for better reception. 

3. Try to position access points, wireless routers, and computers so that the signal passes 

through open doorways and drywall. Materials such as glass, metal, brick, insulation, 

concrete, and water can affect wireless performance. Large objects such as fish tanks, 

mirrors, file cabinets, metal doors, and aluminum studs may also have a negative effect on 

range. 

Summary of Contents for OWLHM2B

Page 1: ...g Open a browser connect the router and you can set up your network right from a web interface This means that notebooks and netbooks without a CD ROM drive can connect and get up and running in no ti...

Page 2: ...and location of walls ceilings or other objects that the wireless signals must pass through may adversely affect wireless signals Ranges vary depending on the types of materials and background RF radi...

Page 3: ...using the Wi Fi settings that you have specified in the configuration process Ensure that the router is powered on and has sufficient battery power before commencing the setup process Connect via USB...

Page 4: ...utility should confirm that the connection is successful and you can move to the next step to continue to configuration process Web based Configuration To access the configuration utility open a web...

Page 5: ...Security The Security allows you to configure firewall and security settings to protect your network from WAN side intrusions system From this tab you can manage the administrative configuration of y...

Page 6: ...AN 2G 3G Modem This area shows the current status of your 2G or 3G mobile network connection WAN This area displays a summary of the router s current WAN settings These details will reflect the mobile...

Page 7: ...r to access the web based configuration utility IP Subnet Mask If you wish to change the router s subnet mask enter it here Click Next to continue 2 3G Configuration If you wish to change the 2G or 3G...

Page 8: ...new name in the field provided If you change the SSID you may need to re connect to the router using the new SSID before you can access your network or the configuration utility Click Done to complete...

Page 9: ...ge Roaming Mode Select whether you would like to Enable or Disable mobile network roaming from the drop down menu Caution Roaming on networks other than your own may incur additional usage charges Con...

Page 10: ...rovider Use the IPv4 and IPv6 tabs at the top of the section to select the IP address mode IPv4 PDP Context Connection Type Select PDP Context from the drop down menu DNS Setting Enter up to three DNS...

Page 11: ...DNS servers as provided to you by your service provider Click Apply to apply the changes 2G 3G Modem This section displays information about your 2G or 3G modem connection Information Information Disp...

Page 12: ...of your home network Mode Select Automatic to allow the router to automatically connect to the first available network when roaming Select Manual to choose your preferred roaming network from the list...

Page 13: ...desired DHCP mode from the drop down menu None Turns off DHCP functionality Server The router will act as a DHCP server and assign IP addresses to connected devices Relay The router will act as a rela...

Page 14: ...er Select From ISP to use the automatic settings supplied by your ISP or select User Define to specify an NTP server and enter the address of the server in the field provided Static DHCP Use this opti...

Page 15: ...Protocol Select TCP or UDP as the protocol for the trigger ports from the drop down menu Trigger Port Enter the starting and ending trigger port for the rule Open Protocol Select TCP or UDP as the pro...

Page 16: ...machine always receives the same IP address Click Apply to save the settings and return to the Network page ALG Application Level Gateways ALG allow certain applications to augment a network s firewa...

Page 17: ...vice Login Name Enter the username associated with your DDNS account Login Password Enter the password for your DDNS account IP Update Policy Select the preferred IP update policy from the drop down m...

Page 18: ...the message to be sent Local Inbox This tab shows a summary of SMS messages in the inbox Outbox This tab shows a summary of messages in the outbox which are yet to be sent Wi Fi The Wi Fi pages allow...

Page 19: ...ast It is recommended that you do not adjust this setting unless instructed to do so DTIM Period The Delivery Traffic Indication Message broadcasts information about buffered data to clients that are...

Page 20: ...ient that is connecting to it Open System Clients do not require authentication in order to associate with the router The encryption key will be used to encrypt data packets sent over the network Shar...

Page 21: ...rom the drop down menu TKIP This cipher is used by the WPA standard AES A newer cipher used by the WPA2 standard Use of this cipher type is required in order to achieve 802 11 speeds Pre Shared Key Th...

Page 22: ...nique number that can be used to add the router to an existing network or to create a new network Generate PIN For extra security a new PIN can be generated Click Generate to create a new PIN The curr...

Page 23: ...s currently connected to your wireless network Advanced Static Route The Static Route feature allows you to customize specific routes for data through your network IPv4 The IPv4 routing table lists al...

Page 24: ...rsion Select the RIP version that you wish to use from the dropdown menu Authentication Select the desired authentication type from the drop down menu WAN Direction Select the desired direction in whi...

Page 25: ...access to your wireless network based on a client s MAC address Blacklist Whitelist Select Blacklist to deny access to only the MAC addresses listed below Select Whitelist to allow access to only the...

Page 26: ...box to enable URL filtering Blacklist Whitelist Select Blacklist to deny access to only URLs listed in the rule table Select Whitelist to allow access to only URLs listed in the rule list Active Chec...

Page 27: ...he configuration file Restore Click Browse to locate a previously saved configuration file on your computer Once you have located the file click Restore to configure the router according to the select...

Page 28: ...erver URL Enter the URL of the server you will use to manage the device Server Port Enter the port for the server Prefer Auth Type Select your preferred authentication type from the dropdown menu Serv...

Page 29: ...ng the HTTPS protocol HTTPS Server Port Enter the port for the HTTPS server Accept Request From WAN Check to enable WAN request acceptance Accept Request From LAN Check to enable LAN request acceptanc...

Page 30: ...port for the client device Server URL Enter the URL for the TR 069 server to be used Bootstrap Enable Enable the router to act as a bootstrap device ACS Username Enter the Auto Configuration Server us...

Page 31: ...er the new password for this account Retype New Password Type the new password again to confirm Date and Time This page lets you set the time and date for your router and also configure automatic time...

Page 32: ...Daylight Saving Check the box to enable automatic adjustment for daylight saving Start Date Enter the details of the starting date and time for daylight saving time in your region End Date Enter the d...

Page 33: ...h Click to update the log display Clear Log Click to clear all log entries Display Log Level Select the level of log event which you wish to view from the drop down menu Reboot Press ok to reboot the...

Reviews: