


omega.com
e-mail: [email protected]
User’s Guide
Shop online at
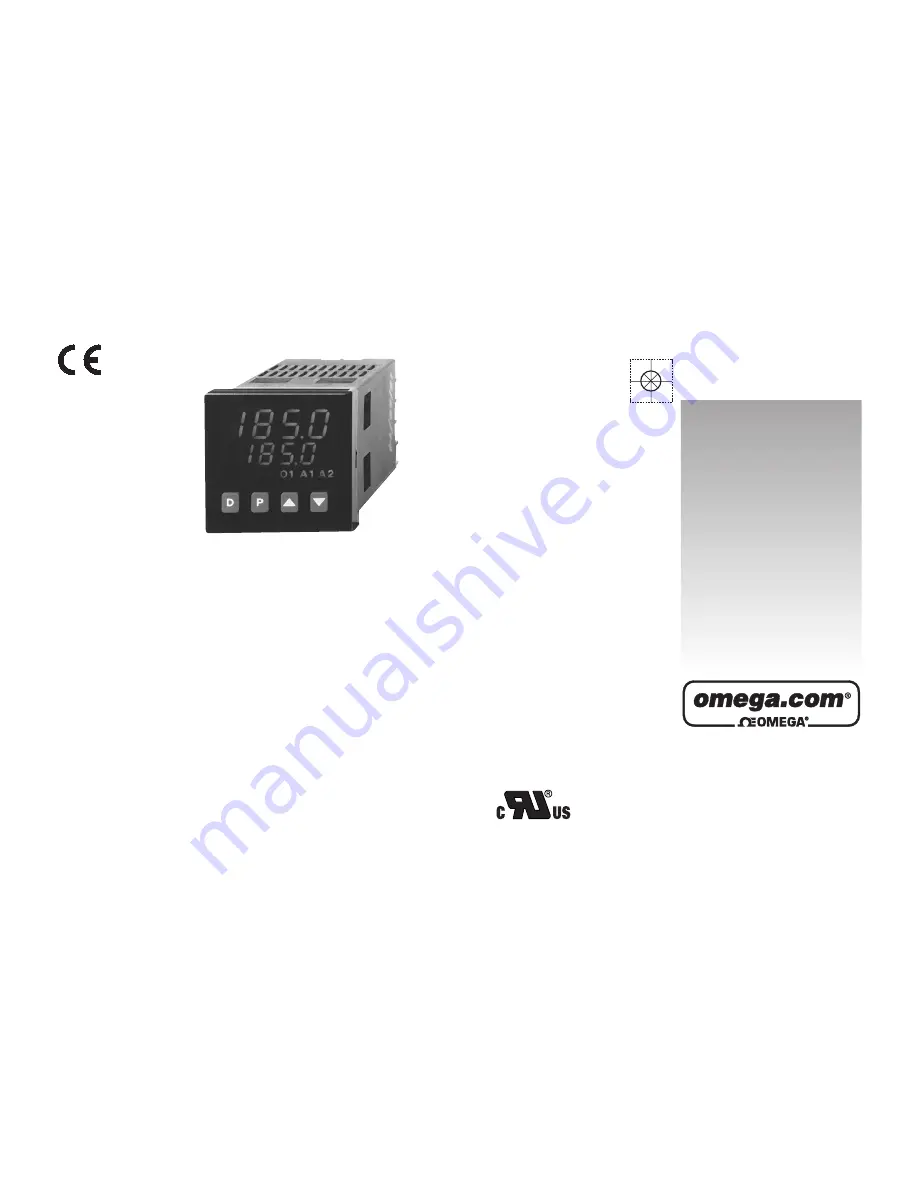
CN63100/CN63300
Series
1/16 DIN
Temperature/Process
Controllers
UL Recognized Component,
File # E123489
LP0679A
Summary of Contents for CN63100 Series
Page 23: ...FRONT PANEL PROGRAMMING CHART FOR CN63100 CN63300 CONTROLLERS 15 ...
Page 48: ... 40 ...
Page 62: ...PID Adjustments Cont d 54 Figure 33 Process Response Extremes ...
Page 88: ... 80 ...
Page 89: ... 81 ...
Page 90: ... 82 ...