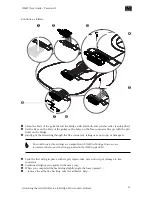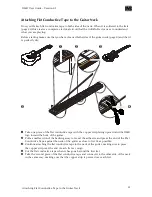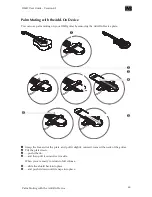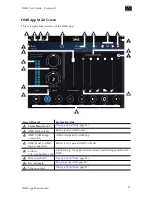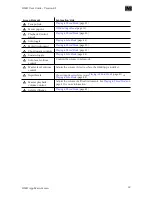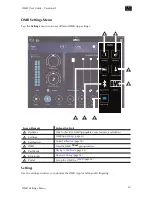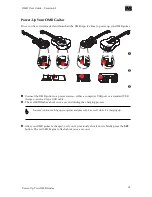
Attaching Flat Conductive Tape to the Guitar Neck
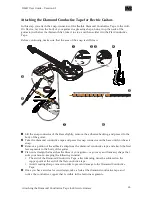
Now you’ll attach flat conductive tape to both sides of the neck. When it is soldered to the frets
(page 22) this creates a complete electrical circuit that the Add-On Device uses to understand
what you are playing.
Before starting make sure that you have cleaned both sides of the guitar neck (page 9) and that it
is perfectly dry.
OMB
5
1
2
3
4
OMB
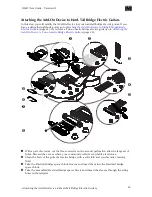
1
Take one piece of the flat conductive tape with the copper strip facing upward and the OMB
logo toward the body of the guitar.
2
Pull a small section of the backing away to reveal the adhesive and press the end of the Flat
Conductive Tape against the neck of the guitar as close to fret 14 as possible.
3
Continue attaching the flat conductive tape to the neck of the guitar, making sure to press
the copper strip over the end of each fret as you go.
4
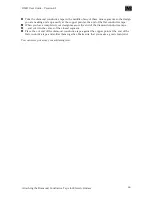
Cut the flat conductive tape when it has gone beyond the first fret.
5
Take the second piece of the flat conductive tape and connect it to the other side of the neck
in the same way, making sure that the copper strip is pressed over each fret.
Attaching Flat Conductive Tape to the Guitar Neck
21
OMB User Guide - Version 0.I

