X
Y
Z
DATA
Z LIMIT
COUNT
FULL
HALF
TRACK
SHOT
COARSE
EPI
DIA
FN
FINE
AF
FOCUS
LED
X
Y
Z
DATA
Z LIMIT
COUNT
FULL
HALF
TRACK
SHOT
COARSE
EPI
DIA
FN
FINE
AF
FOCUS
LED
X
Y
Z
DATA
Z LIMIT
COUNT
FULL
HALF
TRACK
SHOT
COARSE
EPI
DIA
FN
FINE
AF
FOCUS
LED
X
Y
Z
DATA
Z LIMIT
COUNT
FULL
HALF
TRACK
SHOT
COARSE
EPI
DIA
FN
FINE
AF
FOCUS
LED
77
STM7
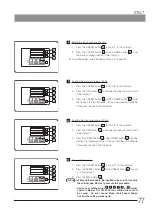
Inputting the measured value of Z-axis
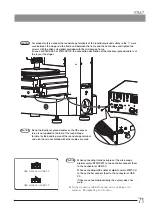
1. Press the X-RESET button c to show ”9” in the display X.
2. Press the DATA button f to change the digit you want to edit
in the display Y.
3. Press the Y-RESET button d or the Z-RESET button e to set the
display Y to "Measured value" of "Z-axis" described in Certificate
of Accuracy (provided with the frame).
10
Setting the Z-axis counting direction
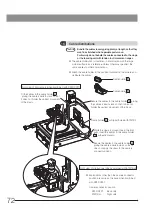
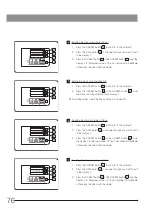
1. Press the X-RESET button c to show ”7” in the display X.
2. Press the Y-RESET button d or the Z-RESET button e to set
the Z-axis counting direction in the display Y.
} For setting values, see "2 Setting Function List" (page 79).
8
Inputting the standard value of Z-axis
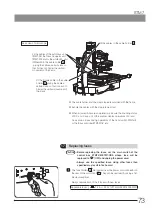
1. Press the X-RESET button c to show ”8” in the display X.
2. Press the DATA button f to change the digit you want to edit
in the display Y.
3. Press the Y-RESET button d or the Z-RESET button e to set
the display Y to "Standard value" of "Z-axis" described in Certificate
of Accuracy (provided with the frame).
9
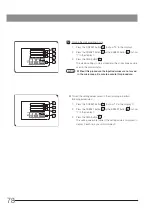
Saving setting values
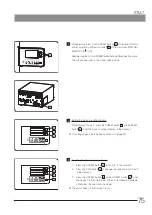
1. Press the X-RESET button c to show ”11” in the display X.
2. Press the Y-RESET button d or the Z-RESET button e to show
"1" in the display Y.
3. Press the DATA button f .
·
Without this procedure, the inputted values are not saved in
the microscope. Be sure to execute this procedure.
·
If any one of setting values
3
,
4
,
6
,
7
,
9
or
10
(values
shown in display Y) is 000.0000, the setting values cannot
be saved. An error sound (three short beeps) beeps.
Confirm the setting values again.
11
CAUTION
c
d
e
f
c
d
e
c
d
e
f
c
d
e
f


