4
Recording menu [R
ec Menu]
43
EN
Recording menu [Rec Menu]
Setting timer recording
[Timer Rec]
Start recording automatically when a set time is
reached. Timer recording allows you to record at
a set date and time as well as record at specific
periods such as the following day or following
week based on that set date and time. You can
register up to three reservation settings.
NOTE
•
Check beforehand that the voice
recorder clock matches the current
date and time. If the current date/time
is set incorrectly, see “
Setting the time/
date [Time & Date]
” (
☞
P.55).
•
Timer recording operates with the
content set in the voice recorder. The
settings required for recording need to
be completed beforehand. The possible
recording time and amount of battery
consumption may vary depending on
the settings.
•
Check that there is sufficient battery
life. Replace or charge the battery if
needed (
☞
P.8, P.11).
•
Check that there is sufficient remaining
memory space. Erase unneeded files
or use a new microSD card if needed
(
☞
P.36, P.16).
•
The recorded file is saved in the
currently selected folder. Note that
timer recording will not be performed
if there are already 200 files in the save
destination folder. If necessary, delete
any files you do not need or select
another folder (
☞
P.20).
•
Timer recording may start a few
seconds after the set time arrives.
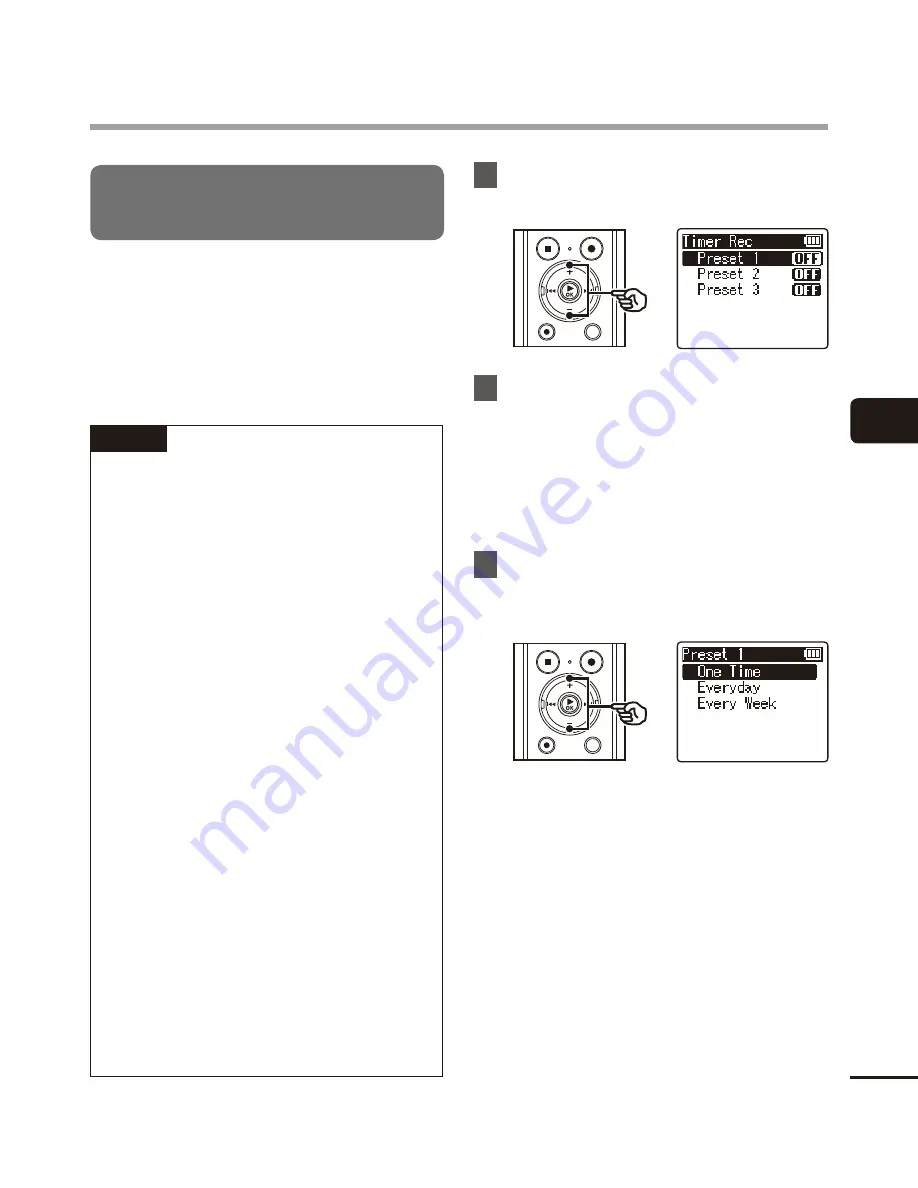
1
Press the
+
or
–
button to select
the desired preset number.
2
Press the
+
or
–
button to select
[
On
] or [
Off
].
[
On
]:
Timer recording is performed
according to the registered settings.
[
Off
]:
Timer recording is not performed.
3
Press the
+
or
–
button to select
[
One Time
], [
Every Day
] or [
Every
Week
].
[
One Time
]:
Records at the specified date and time
and ends.
[
Every Day
]:
After recording on the specified date
and time, repeats recording at the
same time every day.
[
Every Week
]
*
:
After recording on the specified date
and time, repeats recording at the
same time each week.


