35
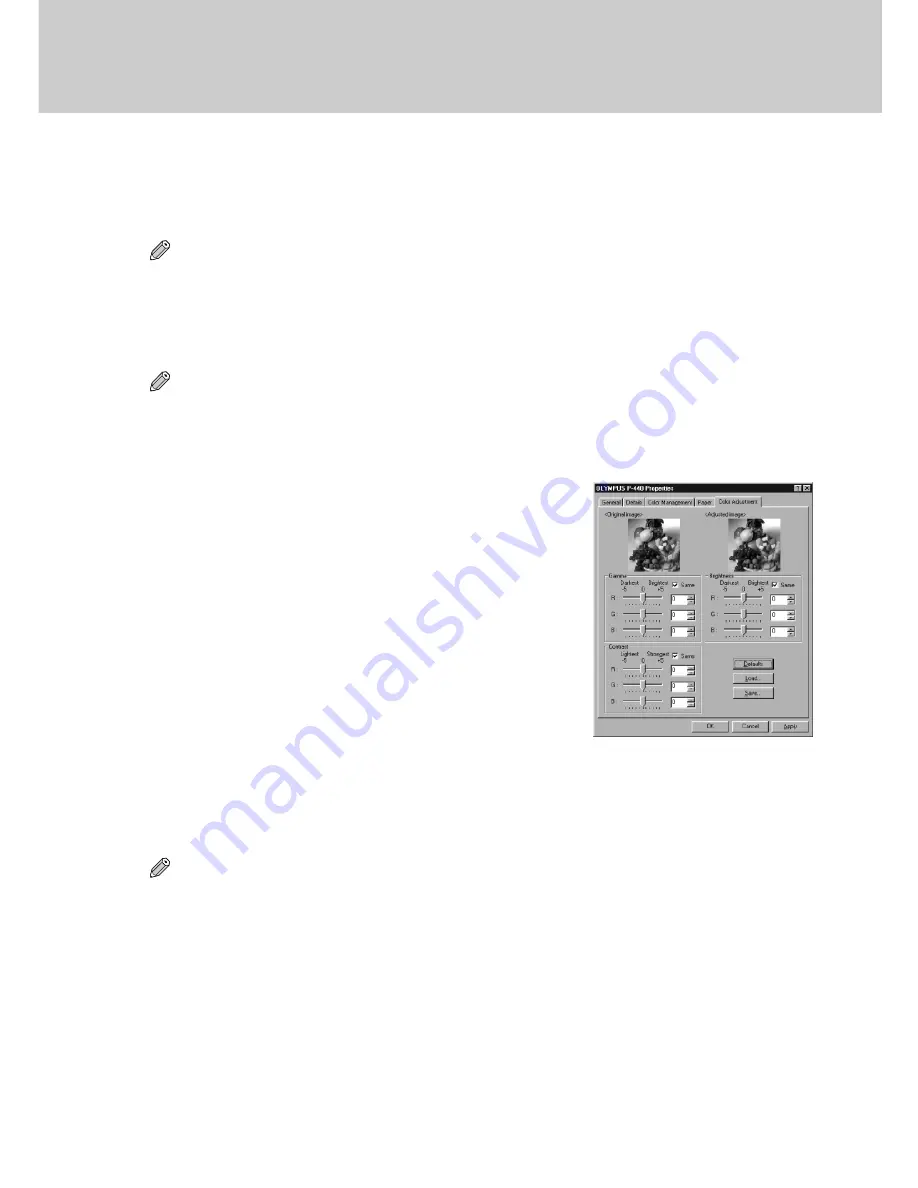
• Color Adjustment using the “Driver” Setting
If you selected the “Driver” checkbox under “Color Adjustment” in the “Paper” tab, you will be able to
use a preview display as you adjust the color here.
Tip
• The color tone of the preview may differ from that of actual prints. The displayed color tone should
only be used as a rough indication of color tone.
1
Click on the “Color Adjustment” tab.
Tip
• The “Color Adjustment” tab is only available when the “Driver” checkbox is selected under “Color
Adjustment”.
○ ○ ○ ○ ○ ○ ○ ○ ○ ○ ○ ○ ○ ○ ○ ○ ○ ○ ○ ○ ○ ○ ○ ○ ○ ○ ○ ○ ○ ○ ○ ○ ○ ○ ○ ○ ○ ○ ○ ○ ○ ○ ○ ○ ○ ○ ○ ○ ○ ○ ○ ○ ○ ○
2
Adjust the color.
Gamma:
Change the half-tone density (–5-5) of R, G and
B, respectively, with the control bar or arrow
tool. Clicking on “Same” allows R, G and B to
be changed all at once.
Brightness:
Change the total picture density (–5-5) of R, G
and B, respectively, with the control bar or
arrow tool. Clicking on “Same” allows R, G
and B to be changed all at once.
Contrast:
Adjust the contrast (–5-5) of R, G and B,
respectively, with the control bar or arrow tool.
Clicking on “Same” allows R, G and B to be
adjusted all at once.
Defaults:
Returns the setting of each parameter to the
initial setting.
Load:
Load saved color adjustment values.
Save:
Saves the set values.
Tips
• The procedure for changing color adjustment from the printer and that for changing color adjust-
ment from a PC are the same.
• Adjustments made using the driver override those made on the printer.


