


106
Chapter 8
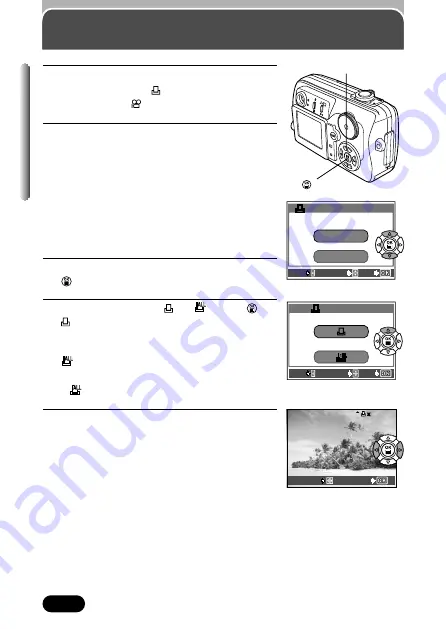
Applying print reserve to a card
1
Play back a still picture.
●
You cannot enter
(print reserve) on
pictures with
.
2
Select PRINT ORDER in the top menu.
●
If print reserve data is not stored on the card,
the PRINT ORDER SETTING screen does
not appear. Go to step 4.
●
If print reserve data is already stored on the
card, the PRINT ORDER SETTING screen
appears. You can then reset the data or
keep it. If RESET is selected, all print
reserve data is canceled.
3
Press
Ññ
to select RESET or KEEP. Press
.
4
Press
Ññ
to select
or
. Press
.
: Sets single-frame print, the
number of prints and date/time.
T
Go to step 5.
: Sets all-frame print and the
date/time.
T
Go to step 8.
●
makes one print for each frame.
5
Press
Éí
to select a frame you want to
print.
●
If print reserve has already been applied, the
number of prints currently set is displayed.
EXIT
SELECT
GO
PRINT ORDER SETTING
PRINT ORDERED
RESET
KEEP
EXIT
SELECT
GO
PRINT ORDER
GO
SELECT
HQ
HQ
’02.12.23 21:56 24
02.12.23 21:56 24
2
ÑñÉí
buttons
button
Summary of Contents for C-50 - Camedia 5MP Digital Camera
Page 2: ...DIGITAL CAMERA C 50ZOOM ...
Page 40: ......
Page 80: ......
Page 88: ......
Page 89: ...88 ...


