Cash Register CM 980-SF / 980-F / 960-SF / 962-SF
Olympia 2012
Page 52
All Rights Reserved!
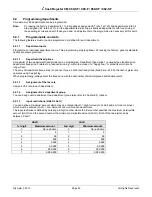
6.6.2 Programming
PLUs
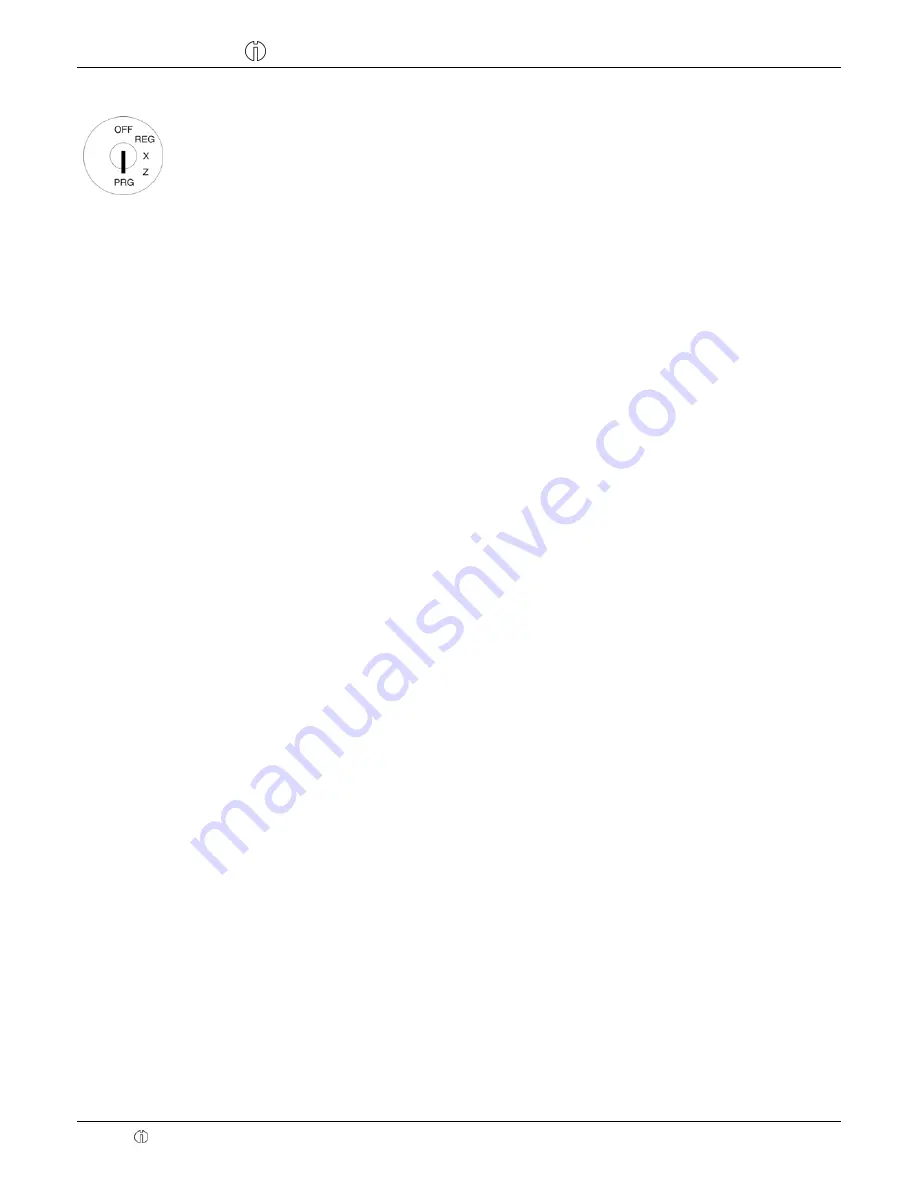
1. Set the key to PRG.
2. Select
programming number 03
(see Chapter 6.1.2).
3. Press
the
┣
CASH
┫
key to confirm the input.
The first PLU programmed is always displayed.
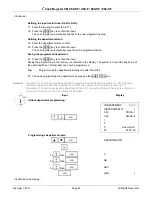
Entering the PLU number:
4. Use
the
┣↑┫
and
┣↓┫
keys to move to the input area for the PLU number.
5. Use the digit keys to define which PLU is to be programmed.
6. Press
the
┣
CASH
┫
key to confirm the input.
The cash register automatically switches to the next programming step.
Note:
If the PLU number that you want to programme has already been assigned, the "
DATA
EXISTS!!
" message appears in the display. Despite this, the cash register switches to the
memory location so that you can complete changes, if required.
Programming the PLU name (option):
7. Press
the
┣
CASH
┫
key to confirm the input.
8. Enter the required text (max. 24 characters) (see Chapter 6.2).
Save each letter after entry by pressing the
┣
CASH
┫
key!
9. Press
the
┣
CASH
┫
key to confirm the input.
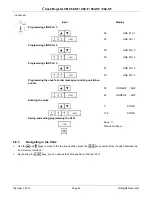
Programming PLU fixed price 1 (option):
10. Use the
┣↑┫
and
┣↓┫
keys to move to the input area for PLU fixed price 1.
11. Enter the fixed price 1 (including decimal places and decimal point).
12. Press the
┣
CASH
┫
key to confirm the input.
The cash register automatically switches to the next programming step.
Programming PLU fixed price 2 (option):
13. Enter the fixed price 2 (including decimal places and decimal point).
14. Press the
┣
CASH
┫
key to confirm the input.
The cash register automatically switches to the next programming step.
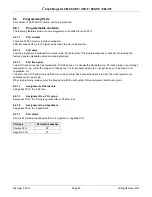
Assigning a VAT rate:
15. Enter the tax rate group.
16. Press the
┣
CASH
┫
key to confirm the input.
The cash register automatically switches to the next programming step.
Assigning to a PLU group:
17. Enter the number of the PLU group.
18. Press the
┣
CASH
┫
key to confirm the input.
The cash register automatically switches to the next programming step.
Assigning to a department:
19. Enter the department number as a 2-digit number.
20. Press the
┣
CASH
┫
key to confirm the input.
The cash register automatically switches to the next programming step.
- Continued on next page -


