A
B
C
D
Lift the sheet pressing lever with a rotary movement until resistance is felt, the pressing beam is
in the upper position. Insert the sheet part to be folded and set the position. Clamp the upper
beam by pressing the lever until resistance is felt and the eccentric mechanism, the machine is
equipped with, is engaged.
Hold the beam and lift it. Use the pre-installed protractor to adjust the required sheet folding
angle. Loosen the pressing beam and take out the part.
The folding machine is adjusted by setting the folding components so that the sheet being folded
is even. The manufacturer guarantees the tolerance of 1 mm in the length of 2.000 mm.
Remember that stress is produced in the sheet when being cut and the stress is released when the
sheet is folded for the first time to produce slight curvature of the edge being folded. The
phenomenon is corrected with the second folding to stiffen the whole part.
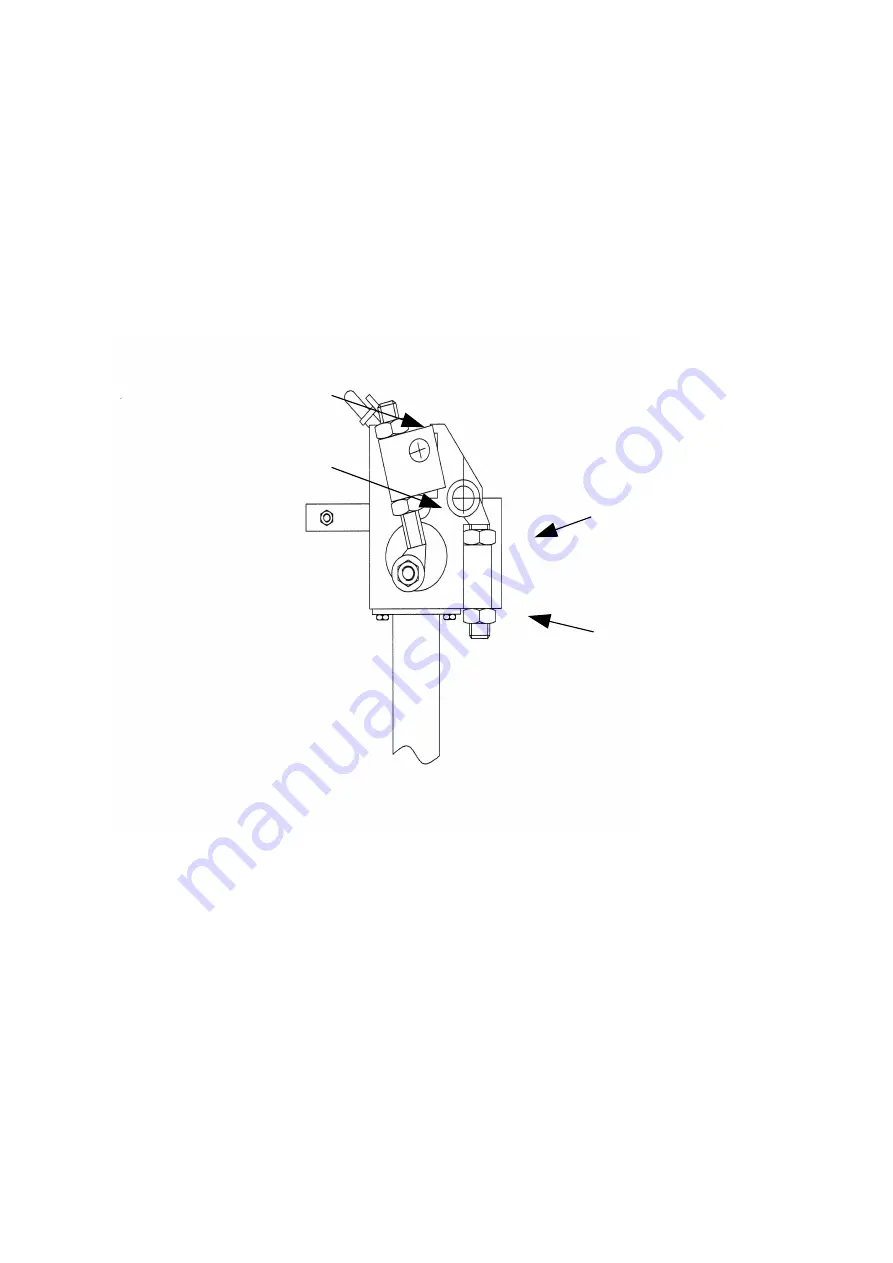
Eccentric clamp can be adjusted with M20 nuts marked A and B, respectively. With the folding
machine closed loosen nuts B on both sides and tighten nuts A while observing the pressure gap
in the back of the machine. The gap should be visible but must not be larger than 0.5 on both
sides. Adjust the position of the central part of the clamp with the M12 nut marked E.
When adjusting the folding arm needs to be raised to the horizontal position and the gaps on the
left and on the right must be inspected visually (they should be identical). Loosen nuts C and D
to fine tune the machine and retighten them to lock the settings. the central part of the folding
beam should be tight according to the thickness of the sheet metal to be worked, by using the
M12 nut inside the profile (you will need a ring spanner 19 mm). All the components are
illustrated in detail No. 1. The required tightness should be locked with the M12 nuts visible
from the outside.


