8
TO DELETE A TAB STOP
Move to the tab stop to be deleted and press
.
To delete all tab stops
Move to any point other than the left margin (otherwise the margins will also be deleted)
and press
+
.
DELETING THE LINE FORMAT
To delete the margins and tab stops on the line format in a single operation, move to the left
margin and press
+
. The margins will correspond to either end of the platen.
RESTORING THE STANDARD LINE FORMAT
To restore the default line format set by the manufacturers, press
+
.
ARRANGING WORDS OR NUMBERS INTO COLUMNS
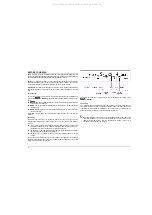
Words and numbers can be arranged into columns. Words are aligned at their first
character, whole numbers at the space after the last digit and decimal numbers at the
decimal point. Numbers are aligned even if typed in brackets.
ARRANGING WORDS INTO COLUMNS
1.
Press
. The printer unit moves to the first tap stop, printing any characters
displayed. The counter indicates the number of digits still available.
2.
Type the text to be arranged into columns. The characters appear on the display.
3.
Press:
to print the characters and move to the next tab stop
or
+
to print the characters and create a column of numbers at the
next tab stop
or
to print the characters and execute a carriage return.
ARRANGING NUMBERS INTO COLUMNS
1.
Press
+
. The printer unit moves to the first tab stop, printing any
characters shown on the display. The
D
T
symbol appears and the counter indicates
the number of integers digits still available.
2.
Type the number to be put in the column (with decimal numbers, once the decimal
point has been entered, the counter indicates the number of decimal digits
available). The digits appear on the display.
3.
Press:
to print the characters and move on to the next tab stop
or
+
to print the characters and create a column of numbers at the
next tab stop
or
to print the characters and execute a carriage return.
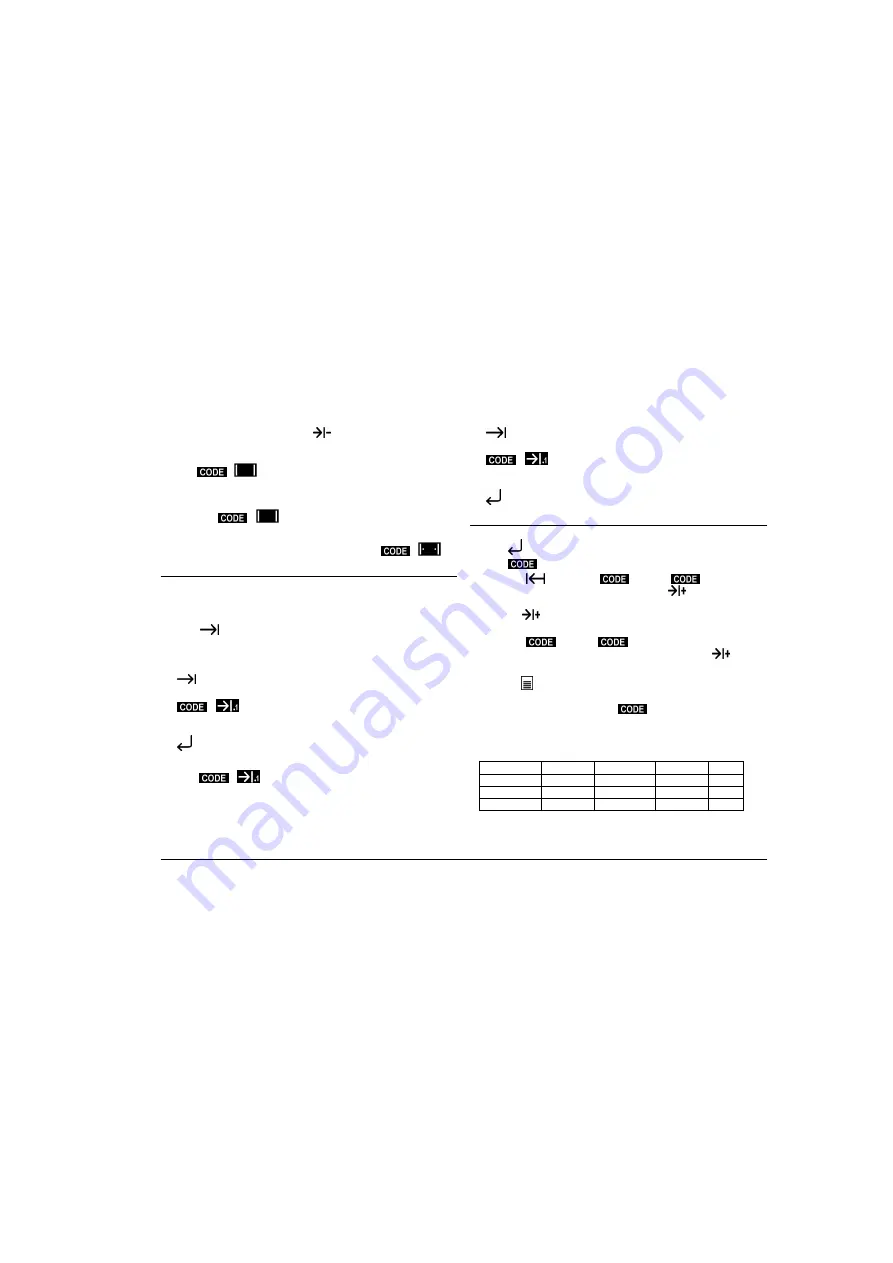
CREATING AND PRINTING TABLES
You can create frames for tables on your typewriter, as follows:
1.
Press
, if necessary, to move to the start of the line.
2.
Press
+ FRAME
. The message
FRAME
appears on the display.
3.
Press keys
,
SPACE BAR,
+ SUB
and
+ SUPER
to move
to the point where the table is to be created and press
to store it.
4.
Move to a point where you want to draw a vertical line to define a column of cells
and press
to store it.
5.
Repeat step 4 for each column to be set.
6.
Press keys
+ SUB
and
+ SUPER
to move to the point at which
you want to draw a horizontal line to define a row of cells and press
to store it.
7.
Repeat step 6 for each horizontal line to be drawn.
8.
Press the
key to print the table. You can print the table again by pressing the
same key a second time.
9.
Terminate the procedure by pressing
+ FRAME
and fill in the table as
required.
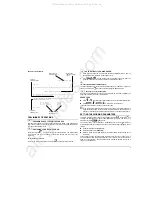
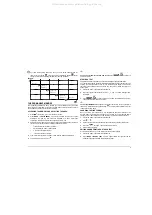
An example of a table is shown below:
Surname
Name
Department
Post
Since
Ross
David
Medical
Doctor
1979
Price
John
Personnel
Manager
1991
Scales
Richard
Service
Engineer
1982
All manuals and user guides at all-guides.com
all-guides.com


