ML1120
Plus
/ML1190
Plus
User’s Guide - Paper handling > 32
(b)
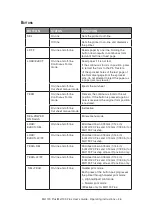
To retract the forms, continue to hold down the TEAR
button and the LF/FF button.
NOTE
If a movement greater than +- 0.18 mm (1/144 in) for ML1120
Plus
and
+-0.14 mm (1/180 in) for ML1190
Plus
is specified, the above adjustment
cannot be made.
4.
Release the buttons after the tear-off perforations have been
aligned with the paper cutter.
r
emoving
continuous
forms
1.
Tear off the continuous forms. See
"Tearing off continuous forms"
on page 31
.
2.
Press the SEL button to set the printer off-line and reposition the
continuous forms in the printer.
3.
Press the LOAD/EJECT button to move the front edge of the
continuous forms backwards to the Pin Tractors.
NOTE
If sprocket holes of the last page of the forms disengage from
the sprocket pins, do not attempt to eject the paper to avoid the
possibility of a paper jam.
4.
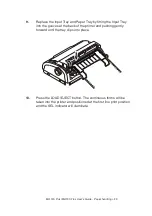
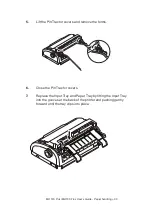
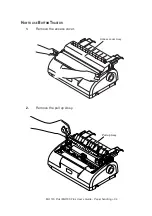
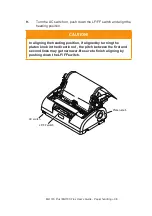
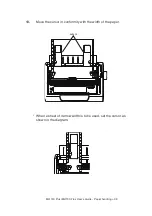
Remove the Input Tray by gripping it at both sides and pulling it
up and away from the printer.

