ES3640e MFP User’s Guide
Control panels > 44
7.
Press the
Enter
button to select this Value. (If you are
setting a parameter, ensure that an asterisk (*) appears
beside the selected parameter Value.)
8.
Press the
Online
button to exit menu mode and return to
the ready to print status.
Refer to the section entitled
and
“Appendix B – Menu system (Printer unit)” on page 169
for
examples of using the menus.
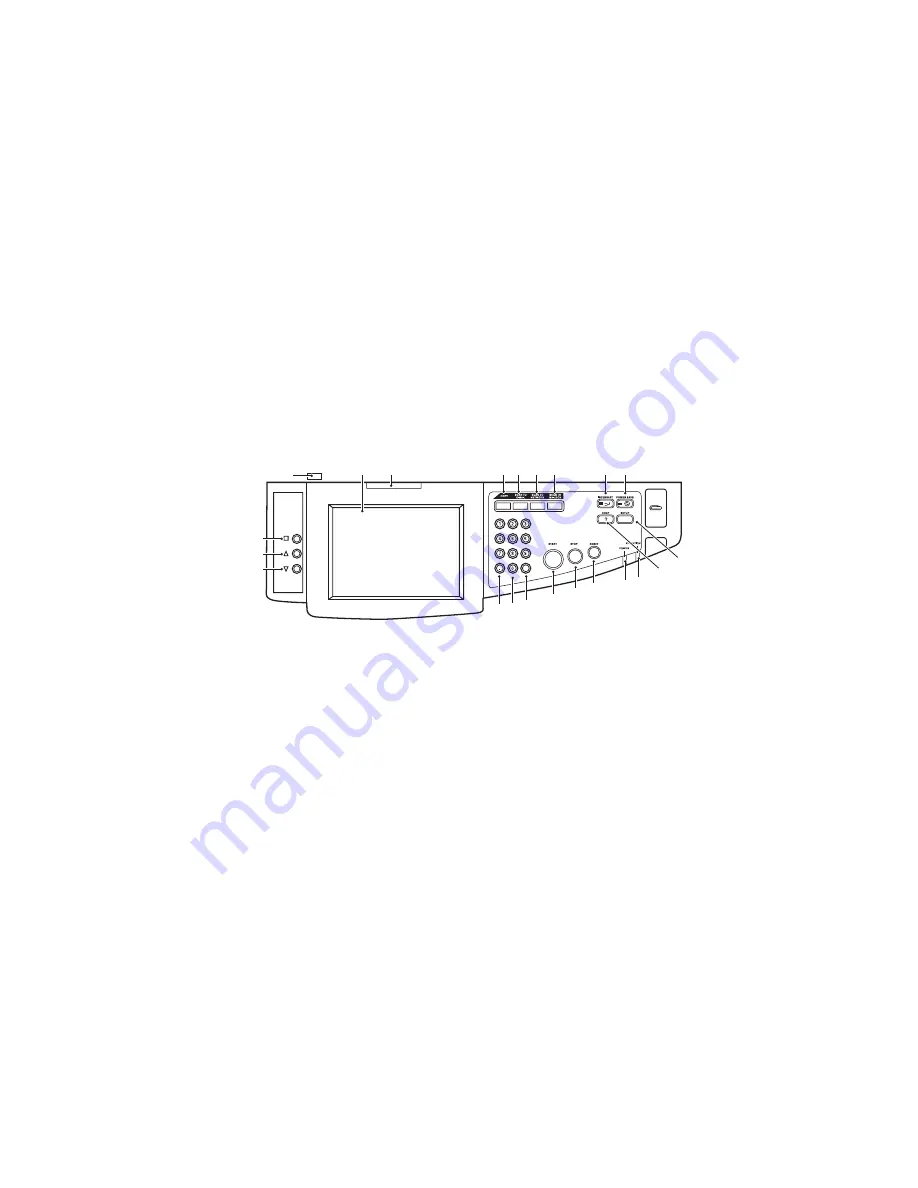
Scanner unit control panel
The parts of the control panel are identified and briefly explained
below:
1.
Menu button
Starts/ends an LCD image adjustment feature OSD menu
to adjust brightness, contrast, image position etc. For
further details, refer to
“Appendix H – Touch screen setup”
.
2.
Up-arrow button
Lets you step through the LCD image features until a
required feature is reached. When the feature is selected
by pressing the Menu button, this button enables you to
increment the value of the feature. Pressing the Menu
button confirms and sets the new value.
3.
Down-arrow button
Lets you step through the LCD image features until a
required feature is reached. When the feature is selected
by pressing the Menu button, this button enables you to
2
1
3
4
5 6 7 8
9 10
13
14
15
16
17
18
19
20
11
12
4a
4b


