MENU SYSTEM
FALSE COLOR
FALSE
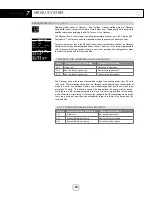
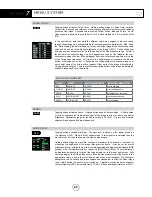
Tapping button activates False Color. Holding button brings up False Color settings.
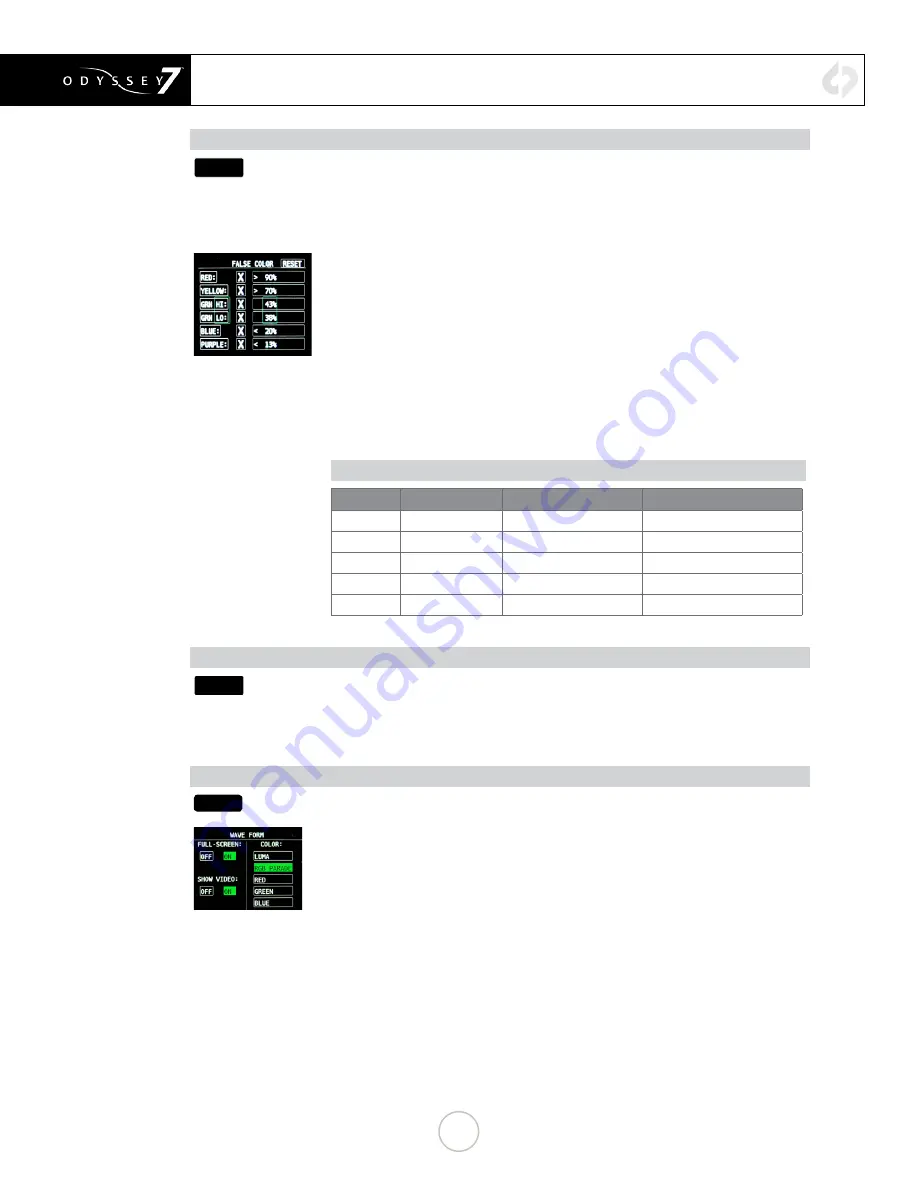
False Color is an exposure reference tool, attributing different colors to various brightness
portions of the image. Available colors are Red, Yellow, Green, Blue and Purple. An HD
video signal is measured in a scale from 0 to 109, often marked as a % or with the suffix
IRE.
In the chart below, note that while the different colors are designed to indicate certain
ranges, these ranges are user-adjustable for personal exposure preferences. Red, being
the “white clipping” indicator will appear for any part of the image at the user-set exposure
value and above, up to the highest brightness of the image (109%). Yellow will appear
from the user-set exposure value up to the bottom of the Red exposure range. Purple is
the bottom of the exposure range, so it will appear for any part of the image at the user-
set exposure value or below. Blue will appear from the user-set exposure value to the top
of the Purple exposure range. As Green is in a middle range of exposure, the top and
bottom of its range can be set. It is possible to overlap some of the exposure ranges, at
which point some of the colors will not appear. Other parts of the image are rendered in
varying densities of gray. There is a reference bar at the bottom of the image indicating the
exposure range each color represents.
FALSE COLOR PRESET
COLOR
PRESET
ADJUSTMENT RANGE
INTENDED INDICATION
RED
90% & UP
70-109%
White clipping
YELLOW
70% & UP
70-109%
Near overexposure
GREEN
38-45%
30-70%
Middle grey or skin tone
BLUE
10% & BELOW
0%-30%
Black underexposure
PURPLE
5% & BELOW
0%-15%
Black clipping
ZEBRA
ZEBRA
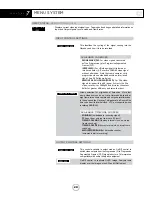
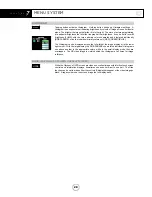
Tapping button activates Zebra. Holding button opens Zebra settings. A Zebra stripe
(//////) is an exposure tool to indicate any part of the image that is at or above a particular
brightness. Adjustment range for the Zebra setting is 70-109%. A future free firmware
update will add a second Zebra stripe option.
WAVEFORM
WFM
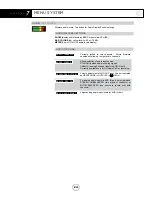
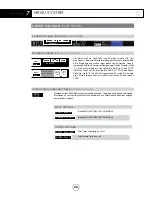
Tapping button activates waveform. The waveform is based on the signal shown on
the Odyssey OLED. When in Multi- stream mode, if two signals are selected then the
waveform can be used to compare two side-by-side images.
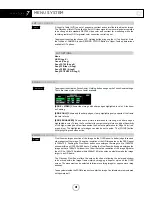
Holding button brings up waveform settings. A waveform is an exposure tool used for
measuring the brightness of the image throughout the frame. It can be set for overall
brightness [Luma], with the three primary colors separated and displayed individually [RGB
parade], or as the individual primary colors only [Red] [Green] [Blue]. The waveform can
be displayed across the full width of the image display or in the lower right corner. With
the large display, the RGB parade shows three individual waveforms side by side in the
appropriate colors, while in the small display mode they are overlapped. The Waveform
background can be switched between opaque and transparent to allow the video image
to be visible behind the waveform for reference. A graticule overlay indicates exposure
value references in 20% increments from 0%-100%, with an additional reference at 109%.
27

