OS2 Upgrade Kit Installation Guide
Install OS2 Upgrade Kit in MX-1
Installing New Components
32
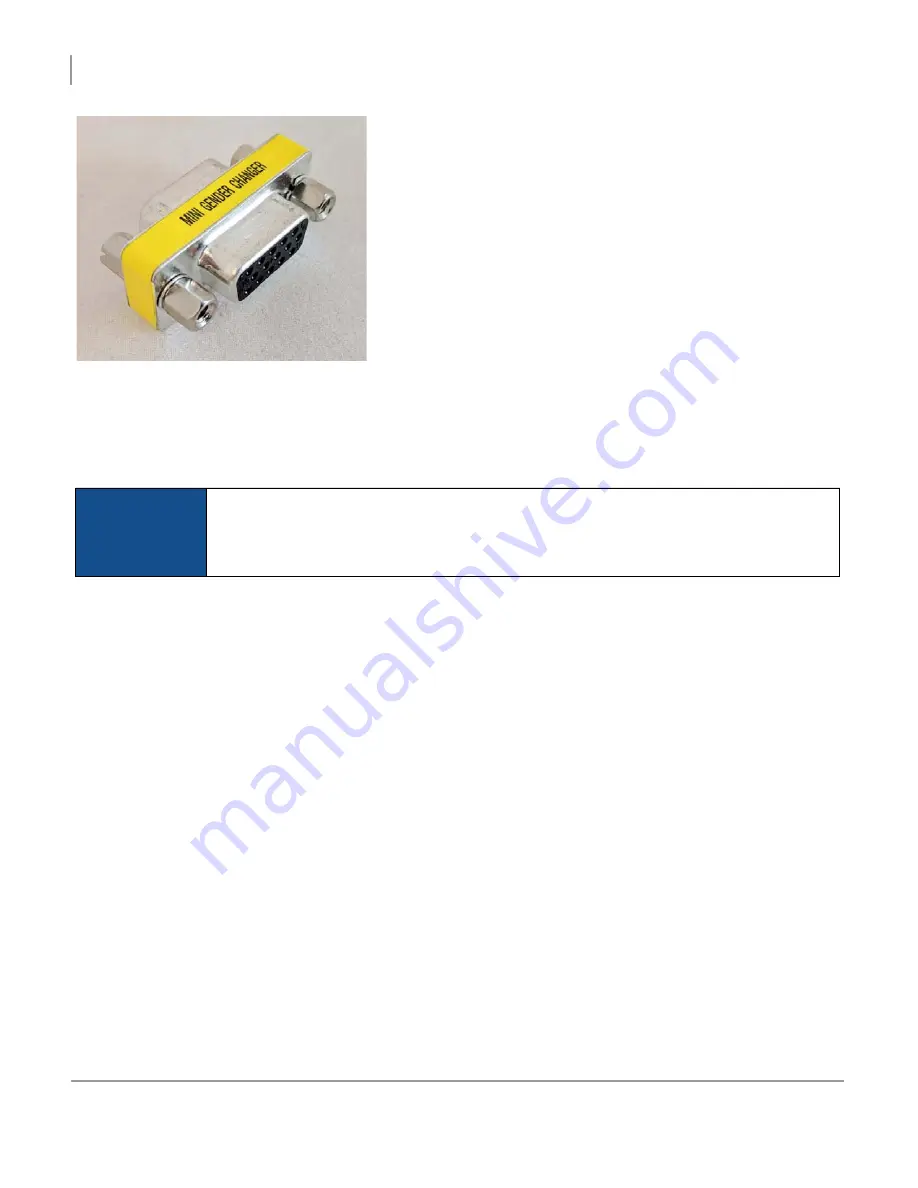
Mini gender adapter for video cables
7. Connect the adapted end of the new video cable to the existing video cable (which goes to the MX-1 monitor).
3.2.3 Installing the New Hard Drive
To install the hard drive:
1. Unlock and open the jukebox.
2. Ground yourself by touching an exposed piece of metal in the jukebox case.
3. Ensure that the computer is powered OFF at the switch on the power supply.
4. Locate the hard drive for the new computer. The hard drive is contained in an enclosure. The hard drive and its
enclosure are shipped separately from the OS2 Upgrade Kit. If the hard drive has not yet arrived at your location,
contact TouchTunes.
5. Align the hard drive enclosure with its slot on the left-side under-panel of the computer. The hard drive enclosure
cannot be inserted in its slot until it is properly aligned.
6. Insert the hard drive enclosure into the slot and then gently push the enclosure in until it is completely seated.
NOTE
The OS2 computer (P/N 301090-001) uses a SATA hard drive with a
red
tray. Do
not
attempt
to swap out the OS2 hard drive with the hard drive from a different computer or from another
TouchTunes jukebox as you can incur damage to the current jukebox. Note that the hard drive
is shipped separately from your OS2 Upgrade Kit.
Summary of Contents for TouchTunes MX-1
Page 1: ...OS2 Upgrade Kit Installation Guide MX 1 Allegro...
Page 2: ......
Page 16: ...OS2 Upgrade Kit Installation Guide Prepare to Install OS2 Upgrade Kits Workflow 10...
Page 81: ......
Page 82: ......
Page 84: ...OS2 Upgrade Kit Installation Guide 901107 001 Rev 01...


