


20
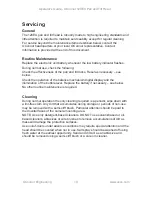
Balance Mechanism Calibration
The digital display indicates the setting of the balance mechanism on a scale of 0
(minimum setting) to 182 (maximum setting). In the unlikely event of this system
requiring calibration, proceed as follows:
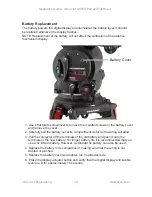
1. Level the platform and engage the tilt lock pin.
2. Press and hold the Display Actuator button for 20 seconds to enable
calibration mode.
3. 'CAL' is displayed for 2 seconds then '0' flashes. Adjust the Counterbalance
crank to the '0' end of travel and press and release the Display actuator
button.
4. When '182' flashes, adjust the Counterbalance crank to the '182' end of
travel and press and release the Display actuator button.
5. If the calibration is successful, the set points are saved in Flash memory and
the display turns Off.
6. 'Err' is displayed for 2 seconds if the calibration fails. A failure will occur if
insufficient balance stroke was measured and set. Ensure that the end of
travel is used when setting maximum and minimum balance points.
7. Calibration mode will time out after 1 minute to save battery life. The system
will revert to the previously stored values.
8. After calibration, re-balance the head.
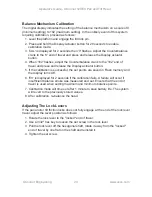
Adjusting The Lock Levers
If the pan and/or tilt friction locks does not fully engage at the end of the lock lever
travel, adjust the lever position as follows:
1. Rotate the lock lever to the "locked" end of travel.
2. Use a 3/32" hex key to loosen the set screw in the lock lever.
3. Pull the lock lever off the hexagonal shaft, rotate it away from the "locked"
end of travel by one flat on the shaft and reinstall it.
4. Tighten the set screw.
Operator's Guide - OConnor 120EX Pan and Tilt Head
www.ocon.com
OConnor Engineering


