B. The following are steps to clean and re-pack the M-20.2T Trainer:
1. Remove the Mouthpiece from the Scrubber by pressing the release button with a standard pencil
erasure or similar object and pulling upwards on the Mouthpiece removing it from the Scrubber.
2. Sanitize the Mouthpiece using one of the following methods:
(a) Immerse Mouthpiece for 2 minutes in warm water 110°F (43°C) solution of hypochlorite
solution (approximately one milliliter of liquid laundry bleach to 1 liter of water)
(b) Immerse mouthpiece for 2 minutes in a warm water 110°F (43°C) solution of Wescodyne
(approximately 2 tablespoons of Wescodyne per 1 ½ gallons of water).
3. Rinse under clean running warm water at a temperature of about 110°F, DO NOT exceed 122°F
(50°C)
4. Allow Mouthpiece to air dry. DO NOT dry Mouthpiece by placing near heat or in direct sunlight.
5. Wipe remainder of the M-20.2T Trainer with a sponge dampened in cleaning solution.
6. Air dry in a clean, uncontaminated area in such a way as to prevent distortion of mouthpiece.
7. Snap the Mouthpiece onto the Scrubber Spring Clips.
8. Fold the Breathing Bag into a rectangle no larger then the bottom of the Scrubber.
9. Snap the Activation Cable onto the Oxygen Regulator.
10. Carefully set the M-20.2T Trainer into the Base while holding the Breathing Bag (folded) against the
bottom of the Scrubber. It may be may be helpful to use a packing strap to help hold the Breathing
Bag in place. Remove the strap after the M-20.2T Trainer is in the Base.
11. Hold the Mouthpiece and Noseclip and fold the Neck Strap on top of the Mouthpiece and Cylinder.
It may be helpful to use a packing strap to hold in place.
12. Place the Cover on the Base, make sure to remove the packing strap if it was used.
13. Hook the S-Hook on the Belt Loop side of the Base Assembly with the two hooks curling away from
the case.
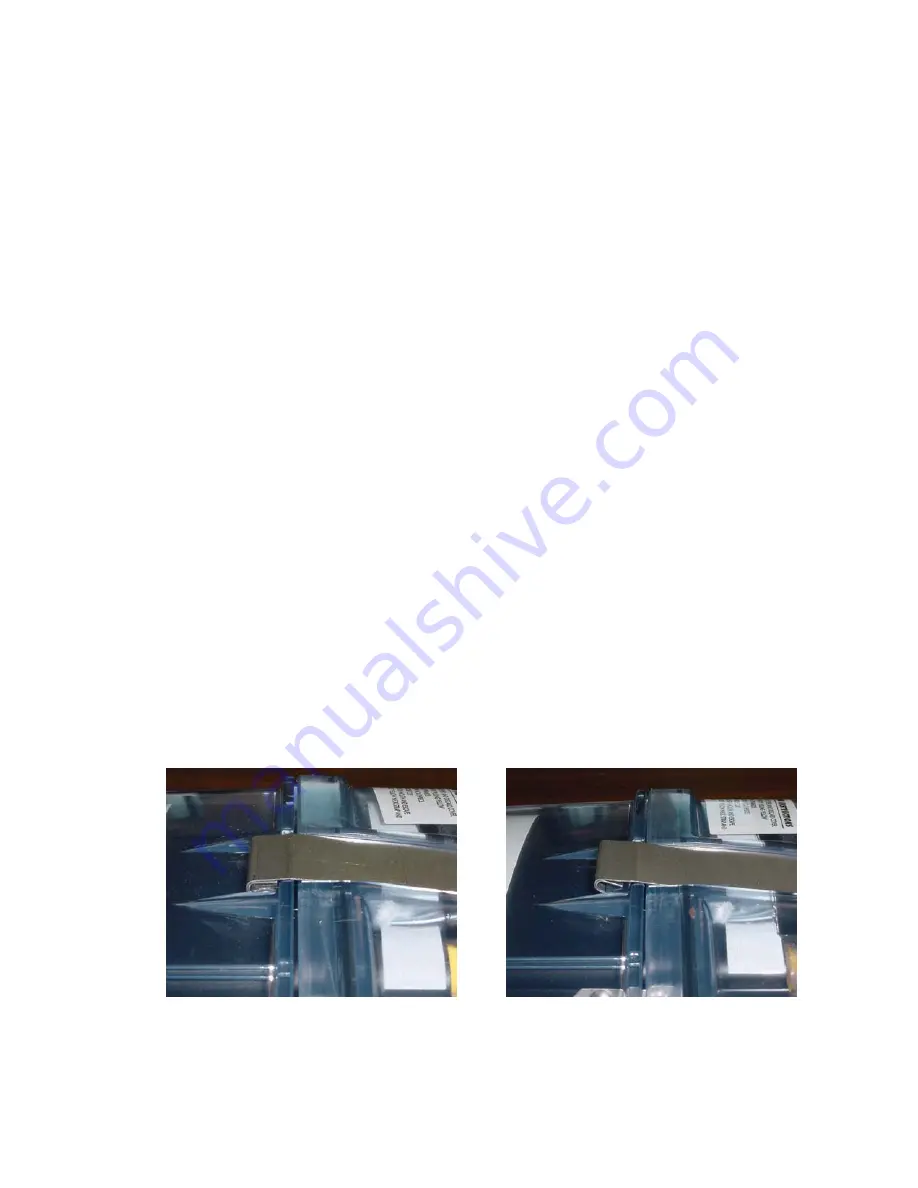
14. Hook the Latch Assembly on the front side of the Base, making sure it is correctly secure in the slot
as shown in Fig. A.
Fig. A. Correct band position.
Fig. B. Incorrect band position
15. Bring the Latch Assembly over the Cover and engage the two yellow forks on the lever in the curled
tabs of the S-Hook and push down on the yellow lever.
Page 14 of 16


