


Page 2-21
2-6 System Setting
2-6-5
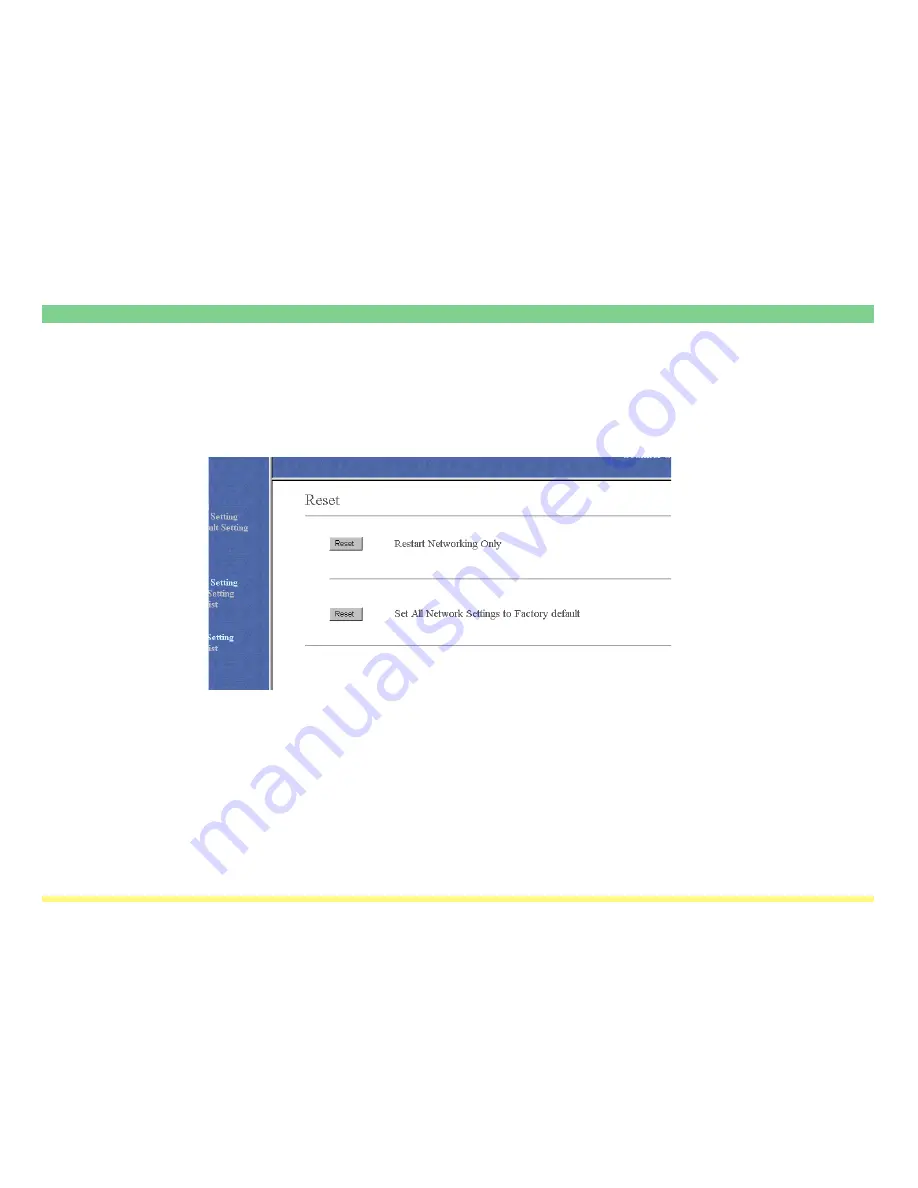
Reset
If you click on any Reset button, a coresonding confirmation windows, will restart the scanner board or
returned its settings to their factory default values.
• Restart Networking Only
Restarts the scanning operation.
• Set All Network Settings to Factory default
Initializes all previous settings and returns them to their factory default values.


