


Wizard & Main Interface
DVR User Manual
18
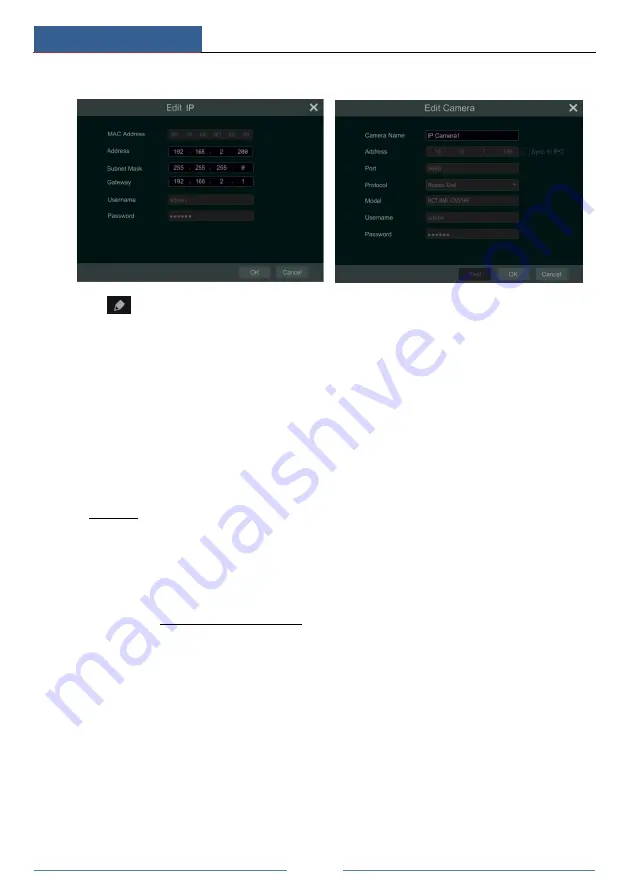
settings.
Click
to edit the added camera as shown on the above right. Enter the new camera name,
IP address, port, username and the password of the camera. You can check “Sync to IPC” to
modify the IP address of the IPC via different network segments for being in the same network
segment with the DVR. You can click “Test” to test the effectiveness of the input information.
Click “OK” to save the settings. You can change the camera name only if it’s an analog camera
or the added IPC is online. Click “Next” to continue.
Tips
:
Please skip Step
⑤
and
⑥
if the DVR doesn’t support RAID function.
⑤
Disk Mode.
Click “Enable RAID” to enable the RAID function. Click “Next” to continue.
⑥
Create an array.
Set the array name and select array type which including RAID0, RAID1,
RAID5, RAID6 and RAID10. The global hot spares and array capacity can also be set up here.
See 7.5 Disk for details. Click “Next” to continue.
⑦
Disk Settings.
You can view the disk number, disk capacity of the DVR and serial number,
R&W status of the disk. Click “Format” to format the disk. Click “Next” to continue.
⑧
Record Settings
. Two record modes are available: auto and manual.
Auto
: Select one auto mode in the interface as shown below and then click “OK” button to save
the settings. See 7.1.1 Mode Configuration for details.
Summary of Contents for Xcel TD-L400
Page 1: ...D L400 D R USER MANUAL 1 3 3...
Page 67: ...Record Disk Management DVR User Manual 60...
Page 127: ...FAQ DVR User Manual 120 Fig 9 2...
Page 130: ...TD LA4...