NVIP
-
2Q4201/PIR/W
Quick start guide
ver. 1.0
All rights reserved © AAT Holding S.A.
15
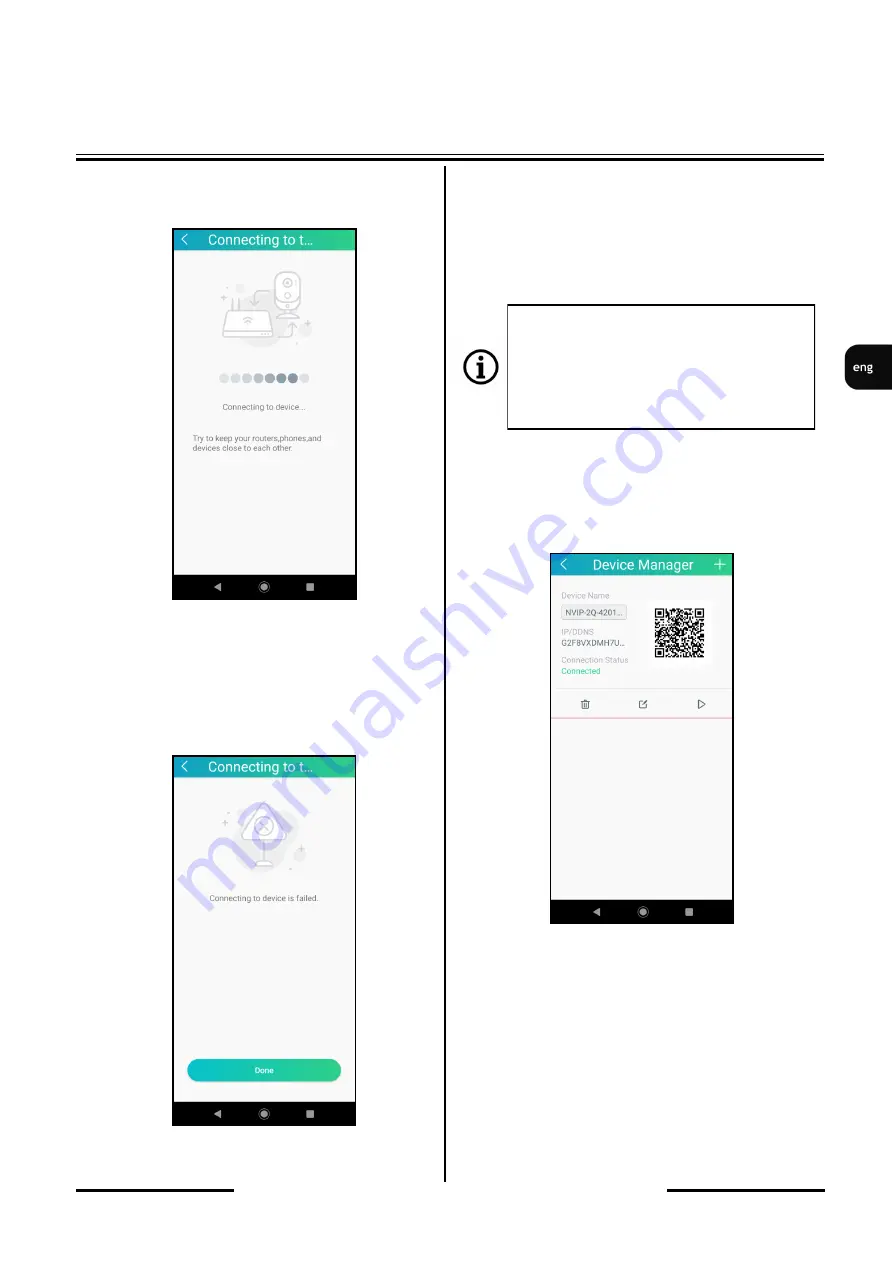
After entering the login details, the connecting
screen will be displayed.
Wait until the green LED on the camera lights
up continuously. During this time (especially if
the connection process is taking longer), a
screen indicating that the connection cannot be
established may appear.
You should ignore it and wait for the steady
green LED on the camera and for the next
screen to appear, in which you will be asked to
set a new password in the camera.
It can take about 1 to 2 minutes.
After setting a new password, the application
will display the device manager screen, where
the configured and connected camera will be
displayed.
The camera configuration process is completed
and it is possible to connect to the camera
through the RXCamView application. To
connect to it through a web browser, you must
know the camera's IP address. The IP address
of the camera can be checked in the router
options or using the
„
Device Config
Tool
”
application.
Attention:
Do not touch the "Done
”
confirmation
box, as this will interrupt the camera
configuration process and will need to
be performed from the beginning.
START
-
UP AND INITIAL CONFIGURATION


