NVIP
-
2Q
-
4201/PIR/W Quick start guide
ver. 1.0
All rights reserved © AAT Holding S.A.
12
2.6. Starting the camera
2.6.1 Starting with connecting the camera to a wired LAN network
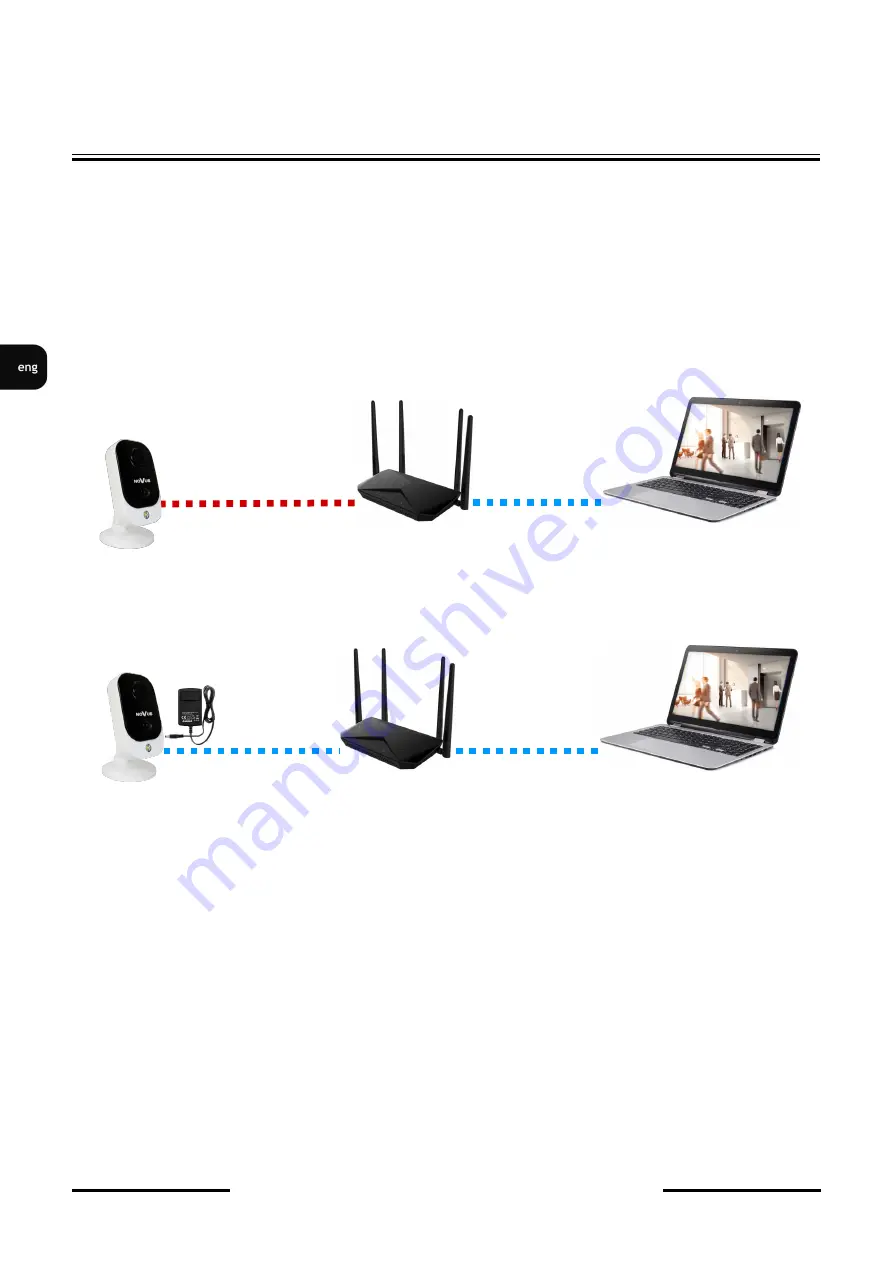
To start the camera, connect the Ethernet cable to the camera's network socket, and the other end to the
switch or router. If your switch or router is not a PoE device, you should also connect a 12VDC power
supply to the camera. The following schemes may help:
•
Wired connection using a PoE switch or router:
•
Wired connection using a switch or router without PoE and 12VDC power supply
After making connections and starting the camera (which takes about 2 minutes) it is possible to
connect to the camera. Use Internet Explorer to connect to the camera.
After entering the default address in the browser's address bar, wait for the installer window of the
"
SurveillancePlugin.exe
" add
-
on to appear. If the window does not appear and the browser displays the
connection error message "
This page cannot be displayed
", check the compatibility of the IP addresses
of the camera and the network in which it will work and make the appropriate configurations.
To configure network settings you will need the "
Device Config Tool
“
application, which can be
downloaded from the product page at www.novuscctv.com. After downloading and unpacking the
archive, install the application.
Before proceeding to the next part, read the application's user's manual, "
IP4000 series Device Config
Tool Manual_EN_PL.pdf
”
attached to the archive.
.
PC
Camera
Data transmission
Switch or router with PoE
Power supply and data
transmission
Camera
PC
Data transmission
Switch or router without PoE
Data transmission
Power supply
START
-
UP AND INITIAL CONFIGURATION


