10. Zones
Zones are a powerful feature that divides the keyboard into areas, aka ‘Zones’. These Zones can be one note or the
entirety of the keyboard. Zones are highly customizable: you could, for example, set your drum sounds to play in one
oc-tave, bass in another, synth sounds in yet another etc. This fl exibility makes this feature ideal for live performance
or a personalised production setup.
A.
Enable / Disable Zones
Enable Zones by pressing and holding ‘Shift’ and then pressing and releasing ‘Zones’. By enabling Zones, you can
take advantage of the following options.
i.
Key LEDs Represent Zones
A coloured LED above each key represents the Zone and destination Part as-signed to it. These lights help visually
understand where your Zones lie along the keyboard, and these different colours correlate to the destination Parts.
Note that the LEDs only light above the active keys in the Zone range; when using Scale, for example, keys outside of
the scale will not light up.
When Zones overlap, the zone with the lowest number takes lighting priority. For example, Zone 1 takes priority over
Zone 2, so Zone 1’s range is shown on the LEDs, overriding the LEDs of Zone 2 where there is an overlap.
ii.
Entering Zones View
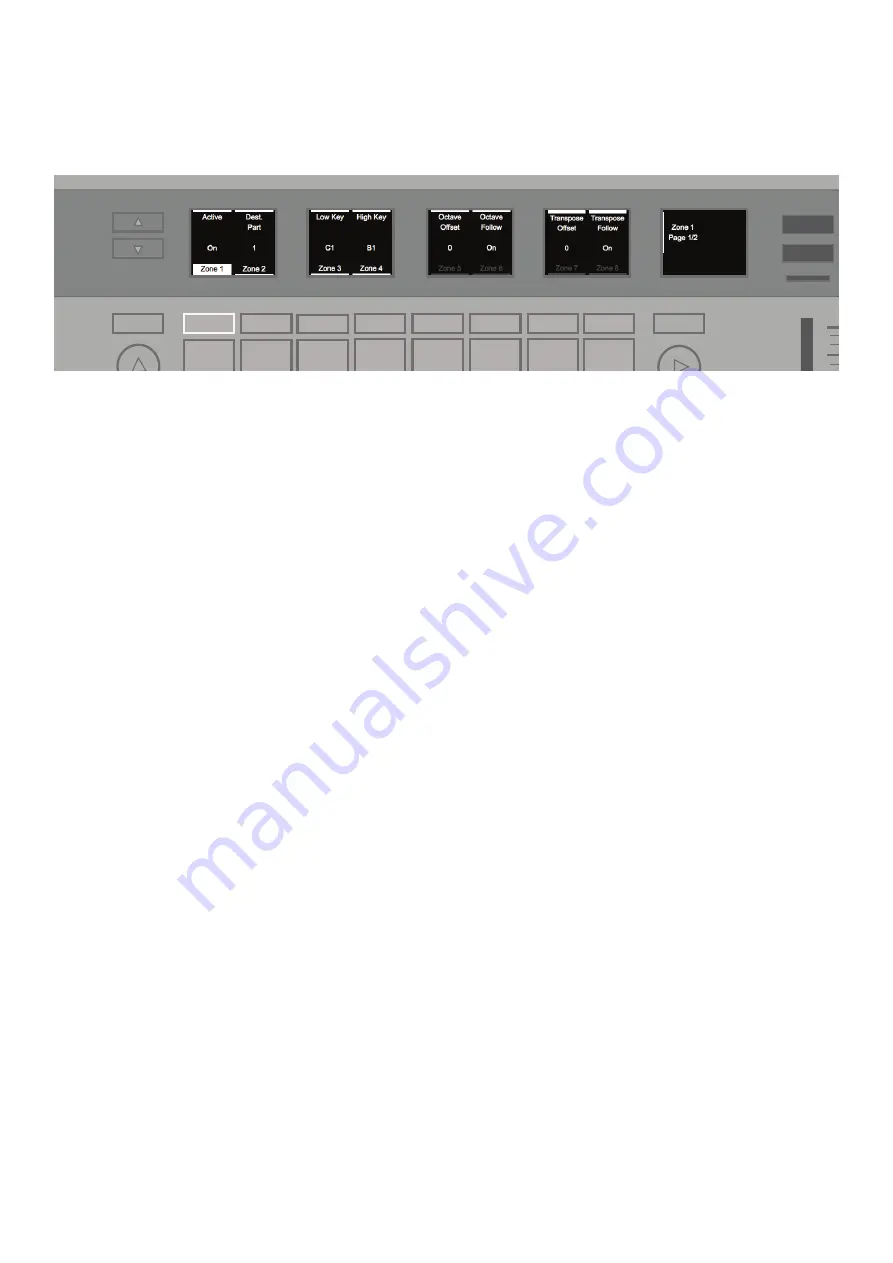
Zone’s View is where you can customise your Zones according to your needs. To enter Zones View press the ‘Zones’
button.
While in Zones View, only the LEDs for the selected Zone will light up.
Pressing the up/down arrows to the left of the screens will move between page 1 and 2 of Zone Settings. Between
these two pages, there are fourteen adjust-able parameters for each Zone.
B.
Select a Zone
After entering Zones View (again, by pushing the Zones button), select a Zone by pressing the soft buttons under their
names (‘Zone 1’,’ Zone 2’ etc.). The SL MkIII supports up to 8 independent Zones.
C.
Activate/De-activate a Zone
Having selected a Zone, it can be activated (‘On’) or made inactive (‘Off’) by turning the left-most rotary knob (directly
above the word ‘Active’).
When set to ‘Off’ all other Zone parameters (from ‘Dest. Part’ to ‘Channel Pres-sure’) will be greyed out. When moved
to ‘On’, however, these parameters will brighten.
D.
Set Destination for a Zone
In Zones View, the second rotary knob from the left (above ‘Dest. Part’) selects the destination Part for a Zone. This
destination can be ‘Selected’ (default) or Parts 1 through 8. Upon choosing a new Part, you will see LED colours
change above the keys.
Tempo
INCONTROL
Global
Shift
Zones
Sequencer
Latch
Arp
Scales
Sessions
Patterns
Steps
Save
Duplicate
Clear
Grid
Options
Pitch
Modulation
Octave
Transpose
Track
_
+
Templates
Expand
Summary of Contents for SL MkIII
Page 1: ......


