NovaLynx Corporation
110-WS-S10
Page 7
August 2021
5.2
Sensor Installation
1)
Open the logger carrying case and carefully remove the sensor.
2)
Assemble the sensor to the top mast section and secure it with the mounting screw or band.
3)
Place one Velcro strap around the mast and sensor cable just below the sensor.
4)
If the sensor monitors wind direction, locate the marking that indicates north.
5)
Fit the upper mast section onto the tripod, making sure the north indicator (if any) faces north.
6)
Wrap additional Velcro straps at intervals around mast and sensor cable to prevent the cable
from whipping in the wind.
5.3
Charger Connection
The S10 Portable Weather Station can operate for several days before the battery needs to be
recharged. If operating for longer periods, the included AC charger can be used to keep the battery
fully charged while the logger is operating. However, the charger is not weather-proof, so special
precautions need to be taken if the AC charger is used (i.e., protect it from rain/sprinklers). A better
solution, if charging is needed, is to install the NovaLynx 110-WS-25SP 10-Watt solar panel (sold
separately). Both the AC charger and solar panel are equipped with quick-connect plugs.
NOTE:
Connect power to the logger BEFORE connecting the charger. When powering down, do the
reverse (i.e., unplug the charger, then unplug the battery).
5.4
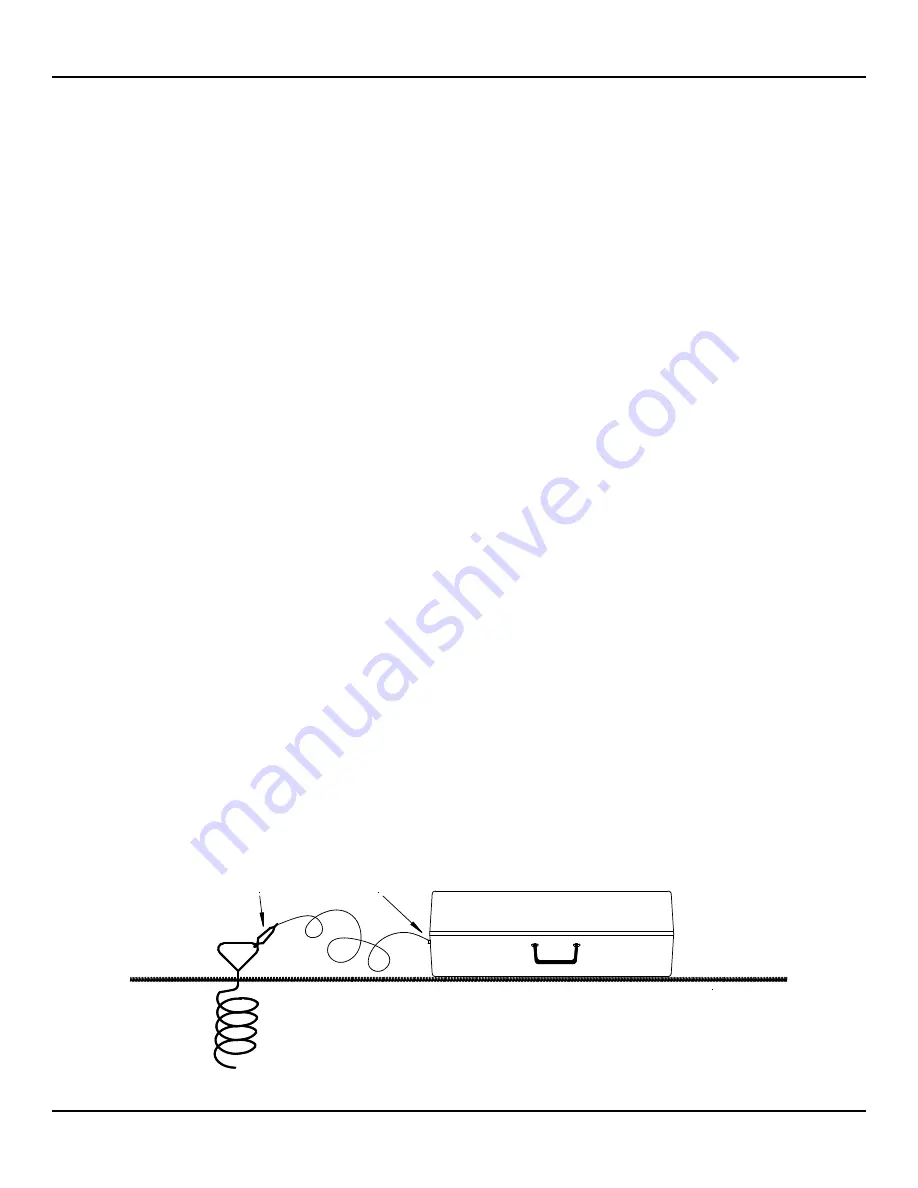
Earth Grounding
Earth grounding helps dissipate static that can build up on a sensor due to friction of the air over the
body of the sensor. Earth grounding is a simple matter for installations where the spiral stake is used.
In locations where the spiral stake is not used another grounding method may be needed, such as
installing a ground rod, or connecting to a metal pipe (cold water line) that is in contact with the earth.
1)
Connect the free end of the grounding wire to the copper lug on the side of the carrying case.
2)
Connect the clip end of the earth grounding wire to the spiral stake.
Lug
Clip
DWG 890-0050-03


