


4130218
USE
LINE
STORE
SPEED
1
2
PATTERN CONTROL
HEATERS OFF
2
1
ENTER
EXIT
SETPOINT
STANDBY
SET TIME
CLOCK
HOSE
INTERNAL
2
1
GUN
TEMPERATURE
HEATERS ON
STANDBY
STANDBY
SYSTEM
SETTINGS
INTERVAL
Installation
A 1-38
E
2000 Nordson Corporation
All rights reserved
41-3000
V
Issued 5/00
A3EN-04-[3V-A-AAXP]-12
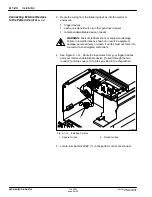
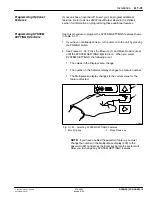
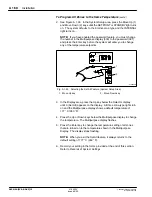
After you have completed electrical installation, follow this procedure to
close the electrical enclosure.
1. Reconnect any ground wires that may have become disconnected
during electrical installation.
2. Raise the control-end frame into place and tighten the captive screws
on each side of the frame. You may need to pull the front and rear
panels apart to position the frame.
3. Position the electrical enclosure lid on top of the unit and secure it
with the captive screws.
4. Remove the lock-out and turn on the power at the branch circuit
disconnect switch.
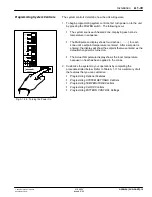
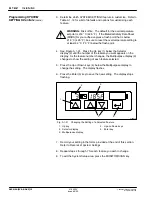
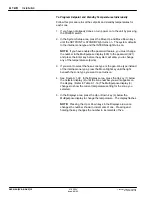
Before running your unit, follow the procedures in this part of the
Installation
section to program the unit for your operations. All
programming is done from the System Setup area of the operator panel.
From the System Setup area, you can program
S
how the unit operates (SYSTEM SETTINGS)
S
the temperature at which each zone operates (TEMPERATURE)
S
when the system operates (CLOCK)
S
the type of adhesive pattern applied to your product or package
(PATTERN CONTROL)
You will probably find it helpful to read
Control System
in the
Description
section of this manual before programming any system controls.
Control
System
briefly describes the function of each control you will program.
Fig. A 1-28 System Setup Area of the
Operator Panel
Closing the Electrical
Enclosure
7. System Programming
Procedures


