


5
24
This page contains valuable information
regarding the handling, cleaning, and storage
of discs played in this unit.
Handling
Do not touch the playback side of the disc.
Do not attach paper or tape to discs.
Do not stick or write anything on the surface.
Protect against fingerprints.
Always hold a disc by the center and edge
portions.
Cleaning
Fingerprints and dirt on the disc may cause
picture and/or sound deterioration. Wipe the
disc from the center outward with a soft cloth.
Always keep the disc clean.
If you cannot wipe the dirt off, lightly use a
slightly moistened soft cloth and finish with a
dry cloth.
Do not use any type of solvent such as: Paint
thinner, benzene, commercially available
cleaners or anti-static spray for vinyl LPs.
Storing
Do not store discs in places subject to direct
sunlight or near heat sources.
Do not store discs in places subject to
moisture and dust.
Store discs vertically in a case. Stacking or
placing objects on discs outside of their case
may cause warping.
NOTE:
Norcent Technology is not responsible
for damage that may occur to any disc that is
operated in this unit or not handled, cleaned,
or stored as suggested above.
USE OF DISCS
Password
Follow the instructions in DVD Menu Setup
in combination with the desired option from
graphic below.
The default password for this feature is
0000 It may be changed through this option.
Defaults
Follow the instructions in DVD Menu Setup
in combination with the desired option from
graphic below.
The factory preset defaults may be resumed
through this option.
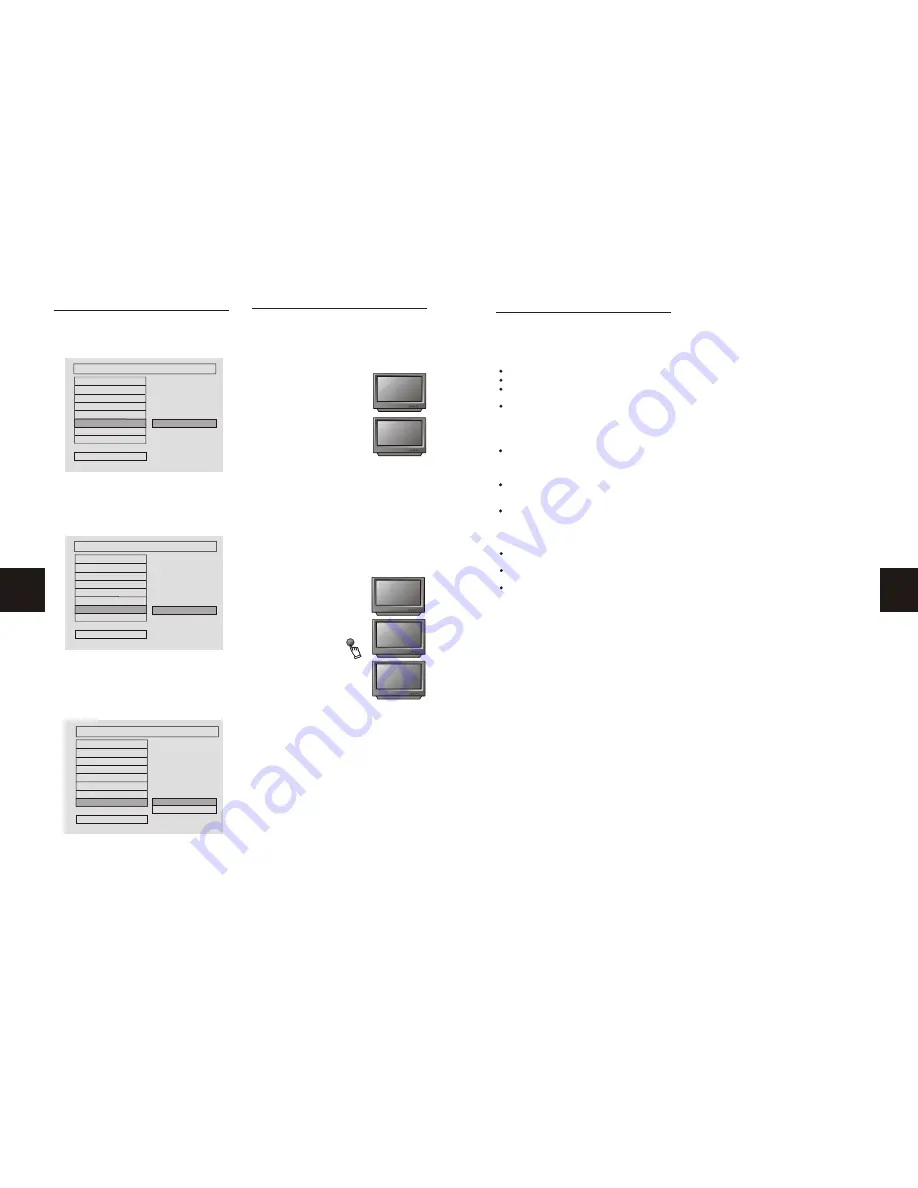
Smart Navigation
Follow the instructions in DVD Menu Setup
in combination with the desired option from
graphic below.
Select NO MENU if playing an MP3 or picture
CD without a menu; or select MENU if playing an
MP3 or picture CD with a menu.
"
"
CHANGE
PIN EDITION
PREFERENCES SETUP
AUDIO
SUBTITLE
DISC MENU
LOCALE
PARENTAL
DEFAULTS
SMART NAV
MAIN PAGE
PASSWORD
RESET
DEFAULT ENTRY
PREFERENCES SETUP
AUDIO
SUBTITLE
DISC MENU
LOCALE
PARENTAL
PASSWORD
SMART NAV
MAIN PAGE
DEFAULTS
NO MENU
WITH MENU
SMARTNAN
PREFERENCES SETUP
AUDIO
SUBTITLE
DISC MENU
LOCALE
PARENTAL
PASSWORD
DEFAULTS
MAIN PAGE
SMART NAV
MP3 is an audio compression technology that
uses MPEG3 standards, compressing at a rate
of 12:1. Having CD-quality audio, an MP3 disc
can record over 600 minutes of music.
Playing an MP3 Disc
1. Follow the basic operating
instructions to insert the MP3
disc. Once the disc tray is
closed, the machine will auto-
matically search for the
information on the disc and
show it on the unit's display
panel.
2. Press the directional scroll
button to select the submenu to
be played, then press the direction scroll key to
select the desired track. Press the PLAY button.
Or, press the appropriate number keys to select
a desired track.
3. To select another submenu, press the
STOP button then the directional scroll key.
Repeat Play
With repeat play, the same song or all of the
songs on an MP3 disc can be played over and
over.
1.Choose the desired song to be repeated.
2.Press the REPEAT key.
REPEAT ONE will appear on
the TV screen.
3.If all songs are to be
repeated, press the REPEAT
key a second time. REPEAT
ALL will appear on the TV
screen. Press PLAY.
4.To exit the repeat function,
press the REPEAT key a third
time. EXIT REPEAT will
appear on the TV screen.
Note:
The mute, volume control, pause, and
forward/backward search are still operable as
an MP3 disc plays.
MP3 FUNCTION
REPEAT ONE
REPEAT ALL
EXIT REPEAT
REPEAT
1MP3 MP301
ROOT ROOT
1MP3
2MP3
3MP3
2MP3 Mp302
3MP3 Mp303
PREFERENCE SETUP


