Chapter 8: Troubleshooting
136
IP700 Series Installation Guide
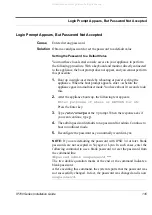
Finally, use the following procedure to return the entire database to its
default settings and the new system-startup procedure. (For a description
of new system-startup procedure, see
CHAPTER 4, Configuring and
Monitoring the IP700 Series Appliance
.)
1.
Log in to the IP700 Series appliance as
admin
with Voyager.
For information about accessing Voyager and the related reference
materials, see
“Using Voyager to Configure the Network Interfaces”
on page 81
.
2.
Under
Configuration Database Management
(
Config|System
Configuration|Manage Configuration Sets
), choose Create a new
factory default configuration.
3.
Create the new default configuration.
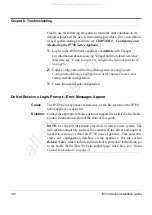
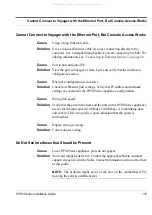
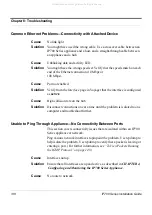
Do Not Receive a Login Prompt—Error Messages Appear
Cause
The IP700 Series appliance is defective, or the file system on the IP700
Series appliance is defective.
Solution
Contact the appropriate Nokia customer support site as listed in the Nokia
Contact Information section at the front of this guide.
NOTE:
Use the full installation procedure to install a new system. The
new system completely replaces the contents of the drives and might be
needed to restore or reload an IP700 Series appliance. This procedure
erases any configuration database on the appliance. For the current
Release Notes
, which include full installation procedure instructions, go
to the Nokia World Wide Web site support page (for URLs, see
“Nokia
Contact Information” on page 3
).
All manuals and user guides at all-guides.com
all-guides.com


