


48
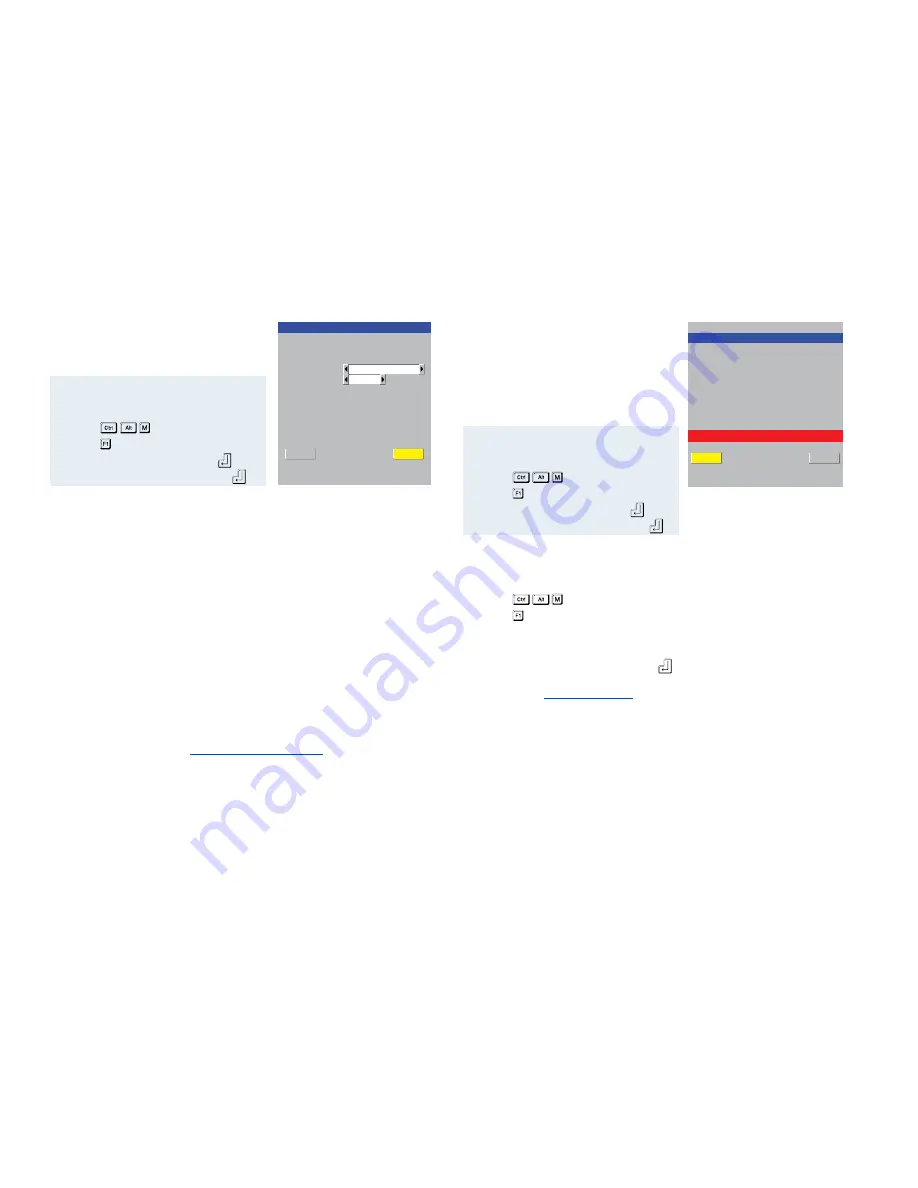
Serial Configuration
This page allows you to configure the OPTIONS
serial port located at the rear of the AdderView
CATxIP 5000.
CATxIP 5000 Serial Config
Options Port
Options Baud
9600
Power Control
Save
Cancel
To get here
1 From a local keyboard, log on as the
‘admin’ user.
2 Press
(hotkeys can change).
3 Press to show the Main Menu.
4 Select ‘Configuration’ and press
.
5 Select ‘Serial Configuration’ & press
.
Options Port
Settings: Power Control, Sync Units, Console Server
Determines whether the OPTIONS port at the rear of the unit will be used for
connection to power control switches (‘Power Control’), to synchronise the
operation of two AdderView CATxIP 5000 units (‘Sync Units’) or to operate as
a ‘Console Server’ connection to link with other devices that are configured/
monitored via their serial ports.
Options Baud
Settings: 1200, 2400, 4800, 9600, 19200, 38400, 57600, 115200
Determines the communication speed of the OPTIONS port when the above
setting is configured to ‘Power Control’. The other communication settings are
fixed as: No parity, 8 bit word, 1 stop bit.
Notes:
When ‘Options Port’ is set to ‘Sync Units’, the baud rate will be automatically
changed to 19200.
When the ‘Options Port’ is set to ‘Console Server’, the baud rate and other
parameters are set within the
Console Server Configuration
page for Port 0.
Reset Configuration
This option allows you to completely reset the
AdderView CATxIP 5000 unit.
WARNING: This process will remove all
network settings and return the unit to use its
original state. A complete reconfiguration will
be required before the IP features of the unit
can be used.
To get here
1 From a local keyboard, log on as the
‘admin’ user.
2 Press
(hotkeys can change).
3 Press to show the Main Menu.
4 Select ‘Configuration’ and press
.
5 Select ‘Reset Configuration’ and press
.
To reset the AdderView CATxIP 5000 configuration
1 From a local or remote (not accessible from a global keyboard), log on as the
‘admin’ user.
2 Press
(hotkeys can change).
3 Press to select ‘More menus’.
4 Select ‘Configuration’.
5 Select ‘Reset Configuration’.
6 Highlight the ‘Reset’ option and press
.
7 After a short period, you should see the first of five initial configuration
screens. See
Initial configuration
for details.


