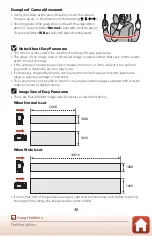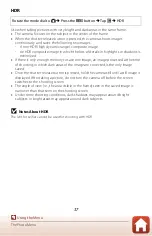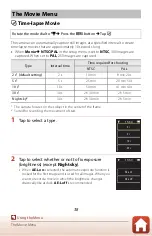
39
The Movie Menu
3
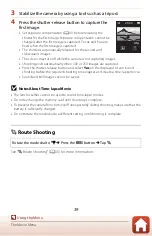
Stabilize the camera by using a tool such as a tripod.
4
Press the shutter-release button to capture the
first image.
•
Set exposure compensation (
41) before releasing the
shutter for the first image. Exposure compensation cannot be
changed after the first image is captured. Focus and hue are
fixed when the first image is captured.
•
The shutter is automatically released for the second and
subsequent images.
•
The screen may turn off while the camera is not capturing images.
•
Shooting ends automatically when 300 or 250 images are captured.
•
Press the shutter-release button and select
Yes
on the displayed screen to end
shooting before the required shooting time elapses and create a time-lapse movie.
•
Sound and still images cannot be saved.
B
Notes About Time-lapse Movie
•
The lens for selfies cannot be used to record time-lapse movies.
•
Do not exchange the memory card until shooting is complete.
•
To prevent the camera from turning off unexpectedly during shooting, make sure that the
battery is sufficiently charged.
•
Do not rotate the mode dial to a different setting until shooting is complete.
H
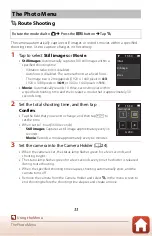
Route Shooting
See “
33) for more information.
Rotate the mode dial to
e
M
Press the
d
button
M
Tap
H
30fps
25:00

