208
Q
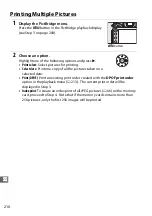
Printing Photographs
Selected JPEG images can be printed on a PictBridge printer (
346) connected
directly to the camera.
Connecting the Printer
Connect the camera using the supplied UC-E6 USB cable.
1
Turn the camera off.
2
Connect the USB cable.
Turn the printer on and connect the USB cable as shown. Do not use force or
attempt to insert the connectors at an angle.
3
Turn the camera on.
A welcome screen will be displayed in the monitor,
followed by a PictBridge playback display.
D
USB Hubs
Connect the camera directly to the printer; do not connect the cable via a USB hub.
A
Printing Via Direct USB Connection
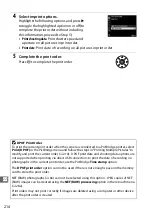
Be sure the EN-EL15 battery is fully charged or use an optional EH-5b AC adapter and EP-5B
power connector. When taking photographs to be printed via direct USB connection, set
Color space
to
sRGB
(
D
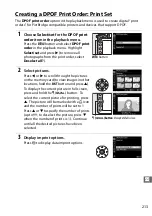
Selecting Photographs for Printing
NEF (RAW) photographs (
66) can not be selected for printing. JPEG copies of NEF (RAW)
images can be created using the
NEF (RAW) processing
option in the retouch menu
A
See Also
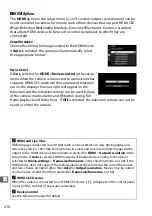
See page 335 for information on what to do if an error occurs during printing.
Summary of Contents for D7100
Page 62: ...34 X ...
Page 74: ...46 s ...
Page 82: ...54 ...
Page 90: ...62 k ...
Page 98: ...70 d ...
Page 116: ...88 V ...
Page 132: ...104 r ...
Page 146: ...118 J ...
Page 212: ...184 ...
Page 228: ...200 I ...


