69
Connecting to a Printer
Con
nec
ting to T
elevi
si
ons,
Com
puter
s, a
n
d
Pri
n
ters
5
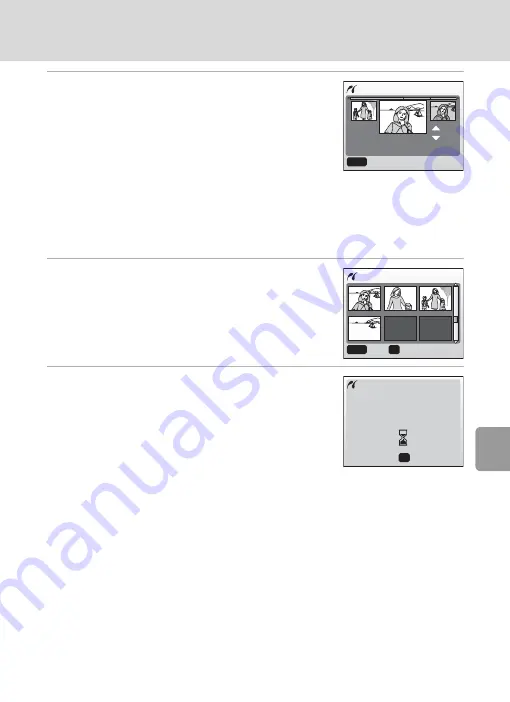
Choose the pictures and number of cop-
ies (up to 9) of each and press
d
.
• The current picture is shown at the center of the
monitor display.
• Press
I
or
J
to choose the previous or next pic-
ture.
• Press
G
or
H
to increase or decrease the number
of copies for each picture.
• Pictures selected for printing are recognized by the
w
icon and the number of
copies to be printed. The
w
icon is not displayed with pictures for which 0 cop-
ies have been specified and these pictures will not be printed.
• When the setting is complete, press
d
.
6
Press
G
,
H
,
I
, or
J
to confirm the pic-
tures and press
d
.
• Press
m
to modify the selection and return to
the print selection screen.
7
Printing starts.
• Monitor display returns to the [Print menu] (step 2)
when printing is complete.
• Press
d
to terminate printing before it is complete.
k
Paper Size
The camera supports the following paper sizes: [Default] (the default paper size for the cur-
rent printer), [3.5 x 5 in.], [5 x 7 in.], [Postcard], [100 x 150 mm], [4 x 6 in.], [8 x 10 in.], [Let-
ter], [A3], and [A4]. Only sizes supported by the current printer will be displayed.
+
--
3
3
01.12.2006
12 : 00
[ 3/ 4]
MENU
Back
Print selection
1
2
3
4
1
2
3
4
MENU
OK
Back
004 prints
OK
Cancel
Printing
002/004


