8
3 . Set the channel of receiver same as that of NW2202 by pressing the channel button continuously, and the pictures are
displayed on the monitor/TV.
-
Press “MENU Button” then press Channel Button to select “MONITOR” and press “OK button”.
-
Press “Channel Button” to select”Pair Cam” and then press “OK button”.
-
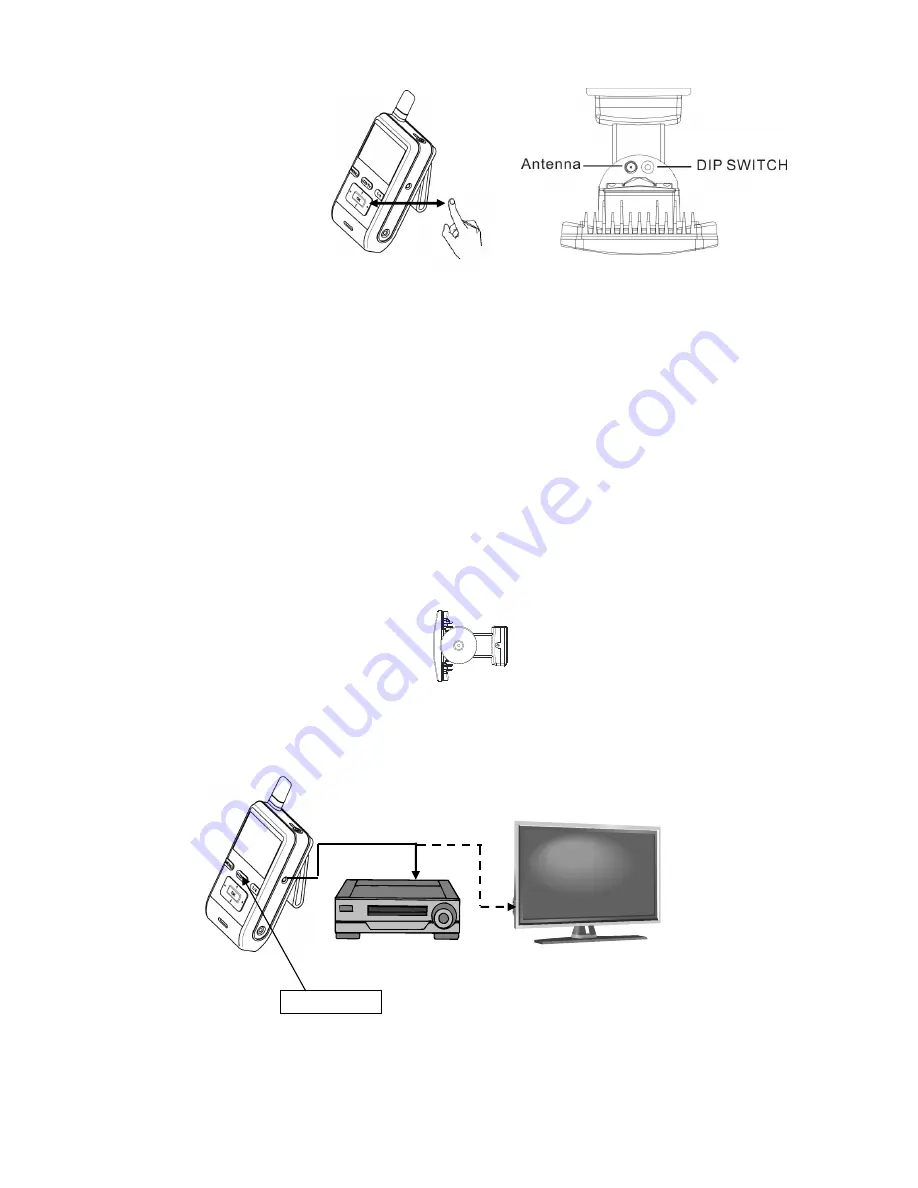
There is”1 2 3 4” shown on the LCD, to select which number of channel you want to set up this fitting. Within 10 seconds, press
“Channel Button” to select the number of the channel you want then press”OK button”. Within 10 seconds, press the “Dip Switch”
on the fitting and when you see detecting image displayed on the LCD, it means the channel setting is completed. If it shows “No
Connection”, repeat these steps again.
-
For other three different fittings, repeat the above same steps to set up the different channel. Press”View Button” for Quad View
condition, you can see 4-split view from 4 different fittings.
NOTE: 1. when you make the channel setting, LCD must be under “Single View” condition.
2. Before setting the channel between the fitting and LCD, press “Push-button” switch on the bottom of the fitting firstly, the
stepper motor will stop working (the RED LED will keep flashing) in order to keep “Dip Switch” on the fitting not moving and can be
easily pressed when setting up the channel later.
4. for more clear pictures or record image:
○
1 Please connect the receiver to a TV with video cable.
○
2 Please connect the receiver to a TV and a video recorder with video cable.
G
G
G
LCD/TV Button
○
1
○
2


