14
A full version Instruction Manual for this product is available online at
NightWatcher.co.UK/Support
Configure the record settings parameters. See the table below.
Table 1-1
Define the video recording period by drawing or editing. By default, it is active all the time.
⚫
Define the period by drawing.
1)
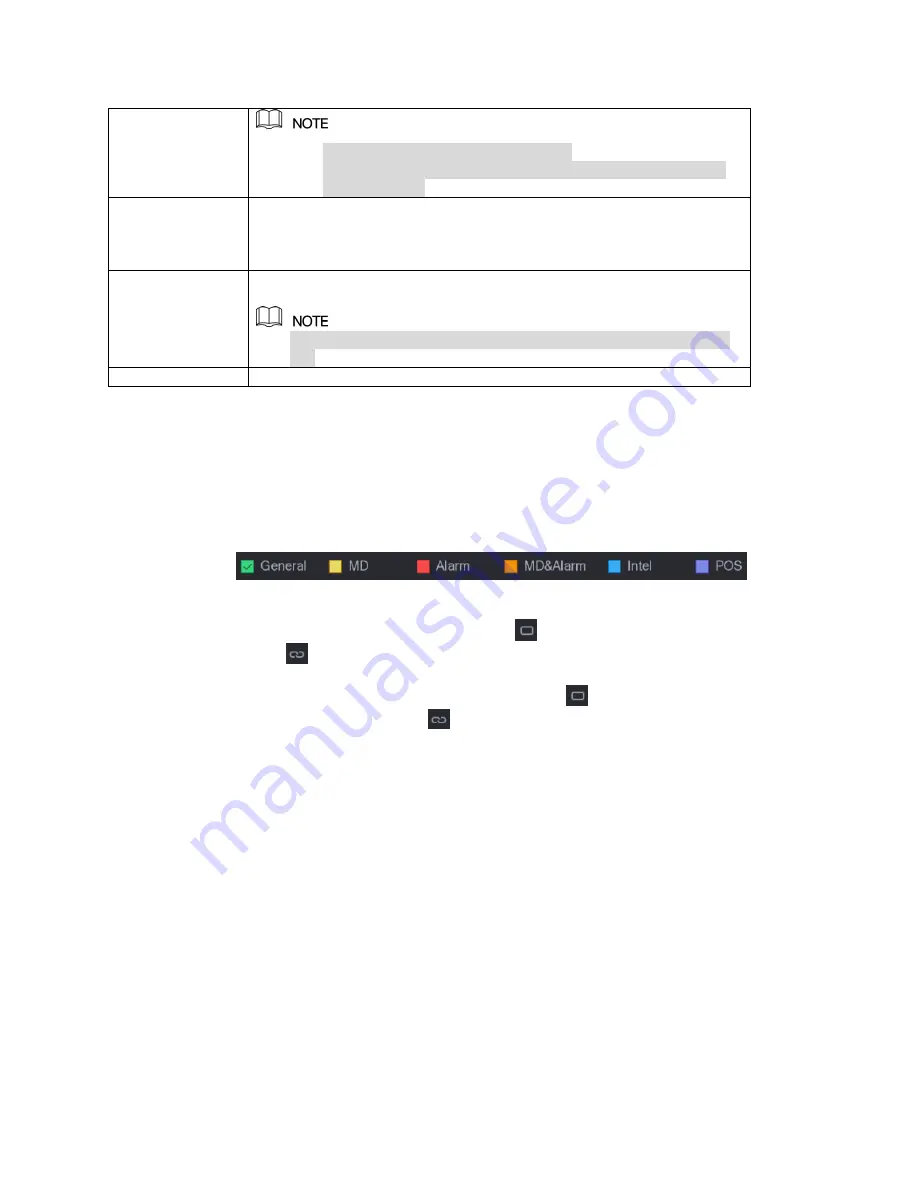
Select the check box of event type. See the picture below.
2)
Define a period. The system supports maximum six periods.
Define for the whole week: Click
next to
All
, all the icon switches to
, you can define the period for all the days simultaneously.
Define for several days of a week: Click
before each day one by one,
the icon switches to
. You can define the period for the selected days
simultaneously.
3)
On the timeline, drag to define a period. The Device starts recoding the
selected event type in the defined period. See the picture below.
⚫
Not all models support this function.
⚫
The redundant HDD only back up the recorded videos but
not snapshots.
Event type
Select the check box of the event type which includes
General
,
MD
(motion detect, video loss, tempering, diagnosis),
Alarm
(IoT alarms,
local alarms, alarms from alarm box, IPC external alarms, IPC Offline
alarms),
MD&Alarm
,
Intel
(IVS events, face detection), and
POS
.
Period
Define a period during which the configured recording setting is
active.
The system only activates the alarm in the defined period when
set.
Copy
Click
Copy
to copy the settings to other channels.


