Quick Nav
Table of Contents
Introduction
I/O Module Panel Layouts
Snare and Tom Trigger Zones
NFUZD USB Key (Drive) and Data Management
NSPIRE Series I/O Module Navigation
Trigger Settings
Hi-Hat (HH) Trigger Settings
Kit Menu
Reverb
EQ
Mixer Menu
Saving a UserKit
Adjusting the MIDI Map
Trigger Function Settings
Click Menu
SEQ Menu
Integration with Computer
Setup Suggestions
Sync Key
Auto O
ff
and Sleep Mode
BFD Eco NFUZD Edition
NSPIRE Series I/O Module Settings
Getting Started w/ BFD Eco NFUZD Edition
Basic Mixing Adjustments
BFD Eco NFUZD Edition E
ff
ects
Grooves Page
Options Menu
Help Menu
Changing BFD Eco NFUZD Edition Presets
Changing Drum Sounds
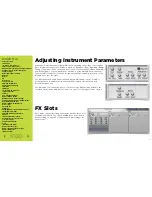
Adjusting Instrument Parameters
FX Slots
Instrument and Mixer Faders
Getting New Professional Sounds
User .wav Samples
Exporting Sound Banks
Loops
Installing Sound Banks
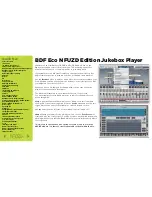
BFD Eco Jukebox Player
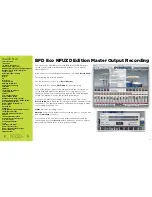
BFD Eco Master Output Recording
BFD Eco Mixing Tips
Included Sounds
User WAV Samples (cont.)
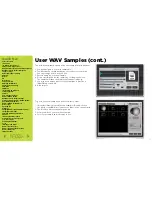
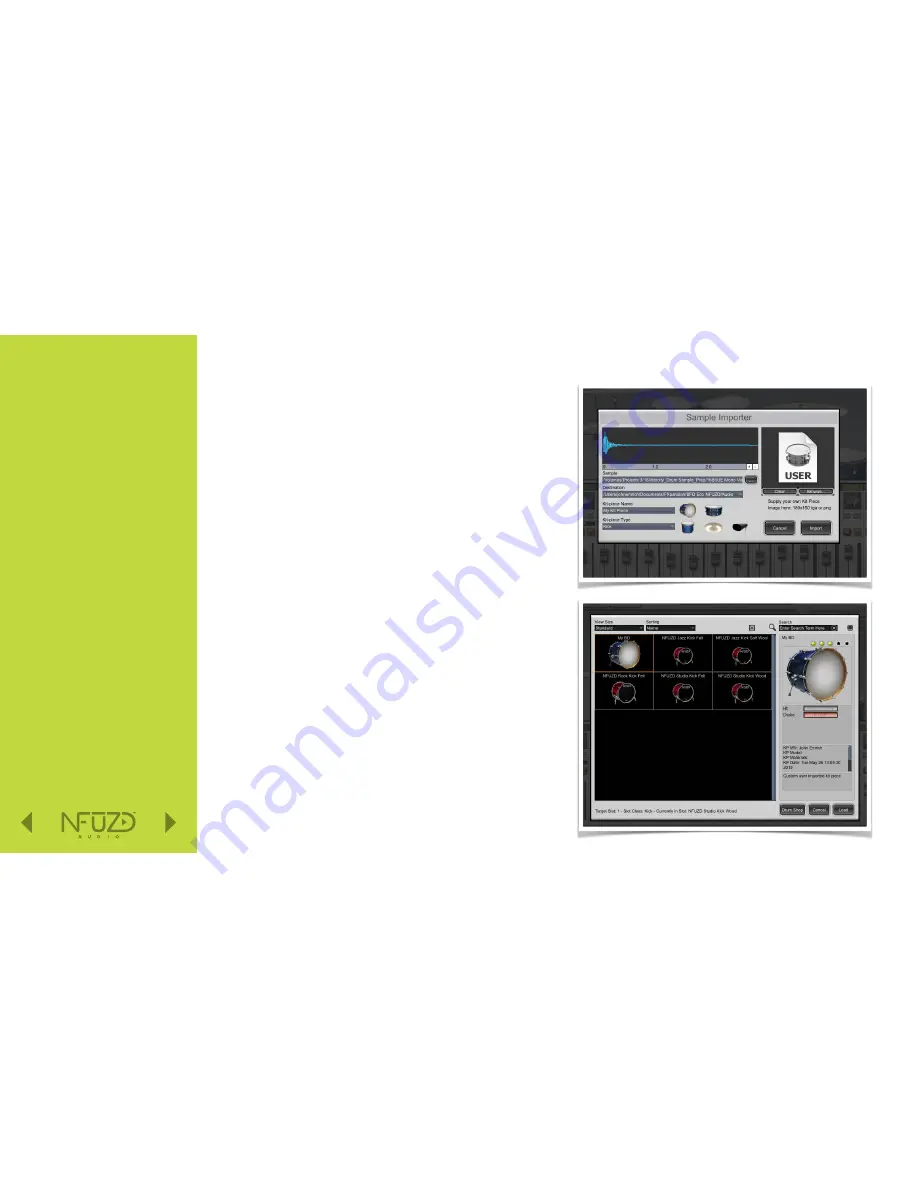
The next window that pops up is the User Sample Import Window.
1. You will navigate to your wav sample file.
2. The Destination should already be set to the correct location.
You can change locations if you like.
3. Enter a name for your new sample.
4. Pick a classification for the sample by clicking on the icon.
The sample will then show up in that channel category.
5. You may use a unique photo for your samples. It must be a
180x150 tag or png file.
6. Click import.
To get to your new sample you will follow these steps:
1. (Kick classification is used for this example.) Double–click on
the photo of the BD directly above the fader in the channel strip.
2. The Kit Piece Chooser window pops up.
3. Now you will see your new User Sample.
4. Select your sample and it is ready to use.
5 8


