Nexland ISB SOHO: Installation
6
Installation
Before you install the ISB SOHO, gather information about your Internet
account and computers. Contact your ISP if you aren’t sure about something.
You must determine what type of Internet connection you have to determine the
information required for installation. For the purposes of this manual, it should be one
of
three
different types:
PPPoE Internet Account
- Most large DSL ISPs have adopted this method.
Hint: If you have “Dial Up” software on your computer to access your
account, then you most likely have a PPPoE account.
o
Note your
User Name and Password before installing the ISB
o
Disable (or Uninstall) the PPPoE “Dial-Up” Software
Dynamic IP DHCP Internet Account
- Most Cable ISPs, some DSL.
o
Sometimes no information is required, just connecting the ISB and
rebooting your computer will get you connected
o
The MAC (Network Adapter) address of your Ethernet card might
be needed if used by your ISP. See below on how to obtain it.
o
The Host Name or Domain Name on your computer might be
needed if it is a coded name given to you by your ISP.
Static IP Internet Account (or Network Connection)
o
You’ll need your IP Address, Network Mask, Gateway and DNS
Important Note:
Some ISPs (usually Cable) have abbreviated names for
your E-Mail servers and Web Home Page. This is the case if your
Internet home page is a very short name, like “www” or “web” rather than
www.nexland.com, or your E-Mail server’s name is something like
“pop3” or “mail” instead of mail.nexland.com
You
MUST
obtain the actual server names (Internet names) in order to access the Web
and E-Mail when using the ISB SOHO. You can obtain this information from your
ISP or see
Finding Server Names
in the Appendix (must be done
before
installing).
If it isn’t already
, connect your modem to your DSL or Cable line as instructed in
your modem directions.
You should install the ISB with only one computer directly connected to it before
connecting additional hubs or computers, as this will simplify any troubleshooting
during installation. The following installation assumes this simple network setup.
Nexland ISB SOHO: Installation
7
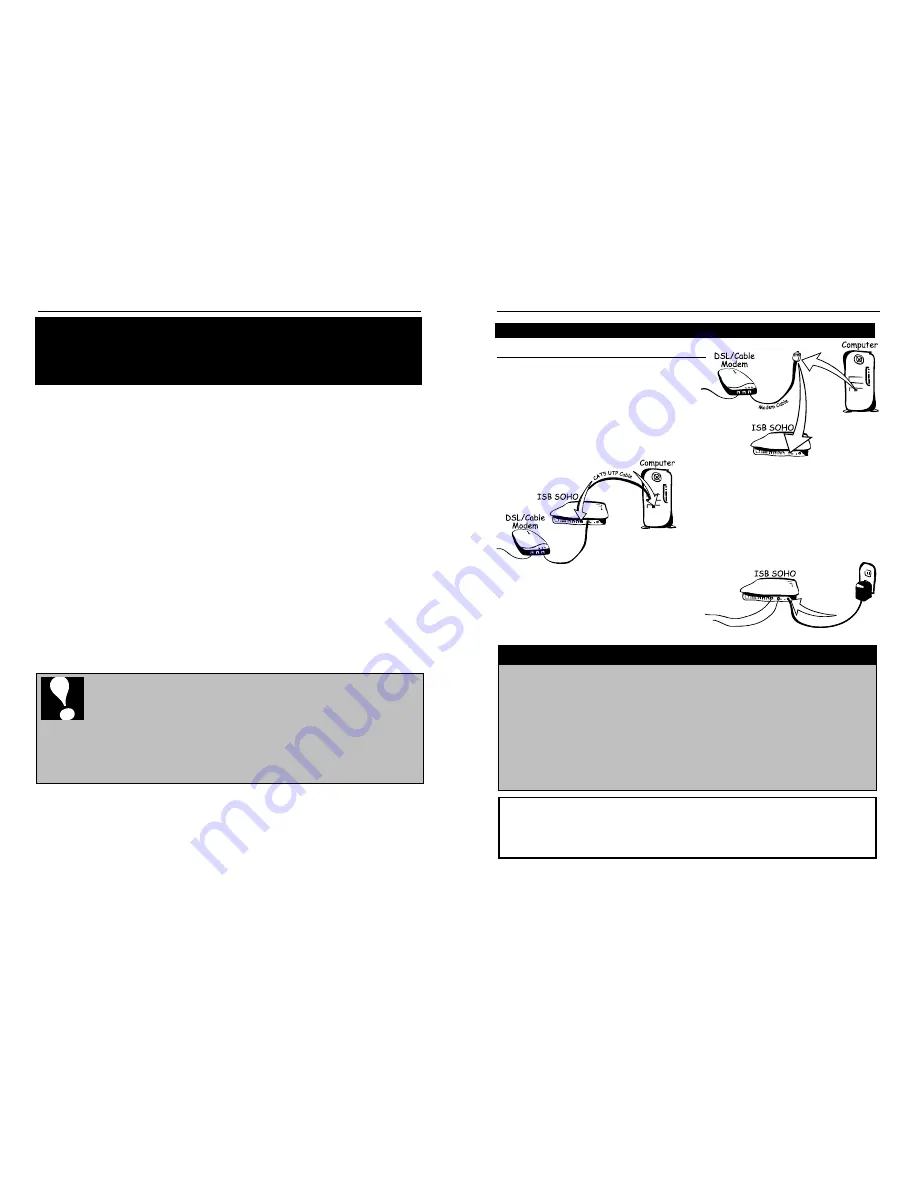
Hardware Installation
Connecting the Cables
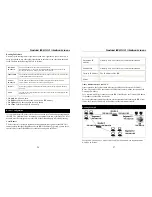
Take the cable that came with your modem
and remove it from your computer (if
applicable) and insert the free end into the
Modem (WAN) port of the ISB SOHO.
Take the cable that was included with the
ISB SOHO and connect it from your
computer to a free LAN port (labeled 1, 2,
3, or 4) on the back of the unit.
Insert the 9v DC 1000mA Power Adapter that was
included with the ISB SOHO and plug it into an
electrical outlet.
Make sure to ONLY use
the Adapter that came with the unit.
Connecting Hubs to the ISB SOHO
If you are connecting a hub to the LAN ports of the ISB SOHO, you must use the
“
Uplink
” port on your hub. Plus, your hub MUST be a compatible with a
10BaseT or 100BaseT connection. You can tell that the link is good by the
corresponding LAN link LED lighting green.
If there is no “Uplink” port on your hub, you can use what is called a “Cross-
Over” cable to connect from a regular port on your hub to a LAN port on the ISB
SOHO. Consult your local computer-networking dealer on obtaining a “Cross-
Over” cable.
The next step involves setting up your computer to automatically accept the IP
addressing from the ISB SOHO’s DHCP Server. This forms an internal network
(LAN), separate from the outside, with it’s own private IP addressing scheme. If
this sounds like Greek to you, don’t worry; the ISB will handle the hard part.


