Nexland ISB SOHO: Appendix
50
Restoring the Configuration Backup File
If you have to restore the backup file for any reason, make sure your ISB SOHO is still
on the same firmware version as when the backup file was retrieved (you should
always re-backup the configuration after a firmware update). If it isn’t, restoring the
configuration file might have unpredictable results. Ok, here we go…
1. Power off the unit by pulling the adapter plug from the back of the ISB.
2. Flip DIP switch 1 & 2 to the ON position (DOWN)
3. Put the power plug back into the ISB SOHO.
4. Double-click
the
nxtftpw
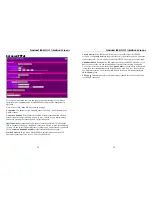
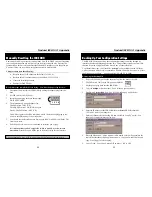
icon. You’ll see a window pop up like below.
5. Enter the IP address of the ISB SOHO into the
Server IP
field (should be
192.168.0.1 unless you changed it).
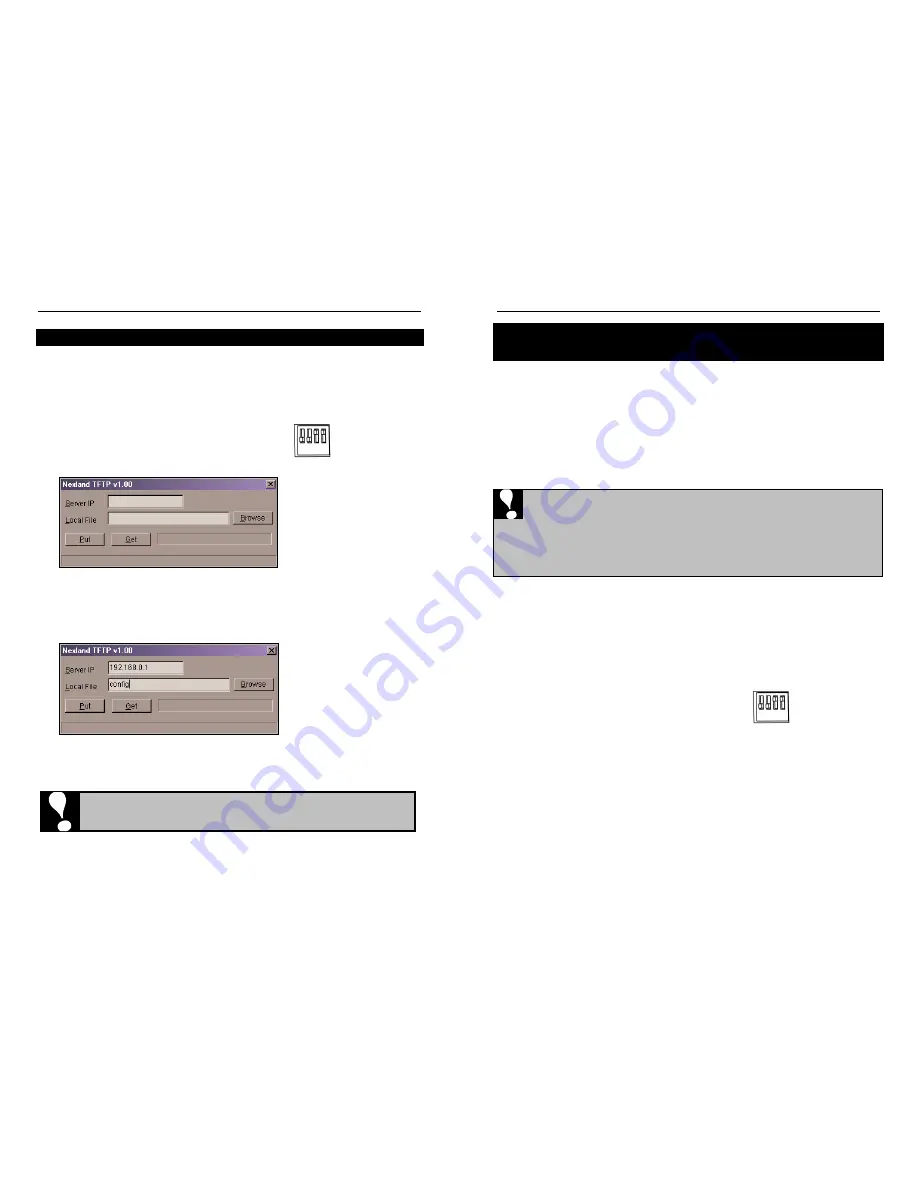
6. Enter the filename for the backup file into Local File. If it’s in the same folder,
you don’t need the full path. You can also use the Browse button to find it
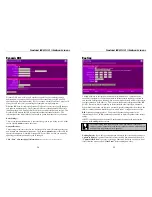
elsewhere on your computer. You should have entries similar to below now.
7. Press
the
PUT
button… after a moment; the configuration file will be uploaded
into the ISB SOHO.
8. You’re Done. You can now return DIP switches 1 & 2 to OFF.
For Macintosh, Unix, Linux, etc., you can use that OS’s “tftp” command,
set to
binary
, to perform this same procedure. Consult you computer’s
user manual on how to use tftp.
1 2 3 4
Nexland ISB SOHO: Appendix
51
Updating the Firmware
The ISB SOHO does its job by following a set of instructions that are coded into its
permanent memory. These instructions are called its Firmware. The Firmware
contains all of the features and functionality of the ISB SOHO. Nexland sometimes
comes out with updated firmware to provide better functionality, add a feature or to fix
a problem.
These firmware upgrades are free and available from Nexland’s home page,
www.nexland.com, under the Support section. Your current firmware version number
is available from the
Status
interface screen. If it is older than the firmware on the
website, you can download that firmware to update your ISB SOHO.
The following procedure assumes you have the unit on its default IP of
192.168.0.1 - Replace the IP in the instructions below if you have changed this.
Performing a firmware upgrade might erase your configuration settings (this is usually
not the case, but certain firmwares could have this effect). Please take note of your
settings before upgrading the firmware. You should not use a configuration backup
file from an older firmware to restore your settings.
To upgrade you’ll need the firmware you downloaded from Nexland’s website and the
nxtftp
utility, which is available on the CD in the Utilities folder (there is both a
Windows and DOS command there - we’ll use the DOS command here). Put both the
new firmware and the nxtftp utility into a temp folder on your hard drive.
Note
: If you
have a computer other than Windows, you can use that computer’s TFTP command,
set to
binary
option, to perform this same procedure (TFTP is fairly universal and is
available on Macintosh, Unix, Linux, etc.).
9. Power off the unit by pulling the adapter plug from the back of the ISB.
10. Flip DIP switch 1 & 2 to the ON position (DOWN)
11. Put the power plug back into the ISB SOHO.
4. Open up a DOS prompt by clicking
Start
then
Run…
Type
command
and click
OK
.
5.
CD
to your temp folder with the firmware and nxtftp command.
6. Type
nxtftp 192.168.0.1 PUT <firmware name>
and press
Enter
7. After a few moments you should see a “success” message… If not, reboot your
computer and try again.
You’re Done!
You can now return the DIP switches to normal.
1 2 3 4

