background image

To download files to your PC, click on one or several files, choose with the  




“Browse” button a folder where you want to save the files to, and press  


“Download”. 



Connect the NV to the CVR640 (see the section “Connection and video  


recording”).



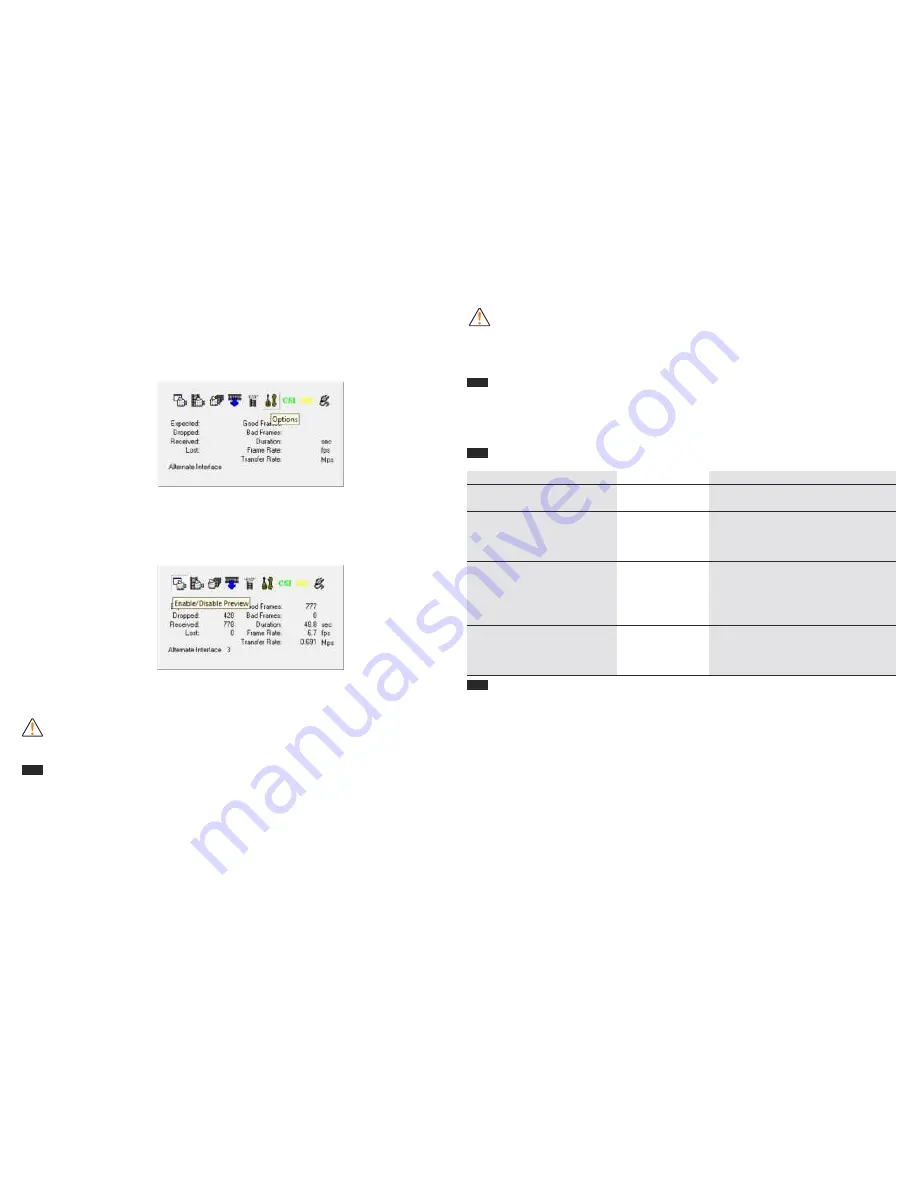
Launch the file “CVR640 Video Converter”. Programme window will show up  


(see pic 4). 

It is recommended that you choose “Resolution” and “Frame rate” settings in  




the tab “Options” for recording on a hard disc. In the tab “Capture” choose the  


directory for saving files to a hard disc.



Choose the tab


“Enable/Disable Preview” (pic. 5) and turn on the NV device – 


now the image seen through the NV device is transmitted to the PC monitor. 



Push the “Start/Stop Capture” button to start/stop video recording. 



This mode allows immediate recording to PC hard disc. 

Note:

 the file “CVR640 Video Converter” should be used for OS Windows Vista 

and Windows 7. If you run OS Windows XP you can use a default programme like 
MovieMaker or similar.  

Setting date/time



Insert SD card into the CVR640.  



Connect one end of the USB cable to your PC, the other - to the CVR640. 



The CVR640 will be detected as a removable disc.  



Open the removable disc.



Open folder “CVR640 Software”, select and open file 

settime.txt 

• 

Set up date (format yyyy/mm/dd) and time (format 00:00:00) in the open 

window.

• 

Save changes and close the file. 


•    

Copy file


settime

.

txt


into the root folder of the removable disc

.


•    

Disconnect the USB cable from the CVR640

•    

Turn on the video recorder and start recording

•    

Date and time you have setup will be shown in the properties of the

recorded video file. 


Storage and maintenance


Keep the CVR640 in a dry, well-ventilated room at a temperature exc10 °

С


and humidity lower than 70%. Remove the batteries if the device will not be used 
for a long time.

Troubleshooting

Corrective action

Install fresh batteries.

Focus your device on an object under 
observation. Activate the built-in (or 
auxiliary) IR Illuminator of your 
NV device. 
Insert an SD memory card.

Insert empty memory card.

Problem 

The CVR640 will not start.

Low image quality.

The CVR640 is on but 
recording will not start 
when “REC” button is 
pushed (the red LED
blinks, CVR640 turns off). 

Possible reason

No batteries.
Batteries are low.
The NV device is 
out of focus.
Low illuminance 
level.
No SD memory 
card inside.
The card is full.

Warranty

The Manufacturer warrants its products against defects in materials and workmanship 
for a period of one year from the original date of purchase. Any device returned for 
warranty service must be judged by the Manufacturer as having been used according 
to its original design intents. As such, misuse, neglect, or any abnormal use is not 
covered by this warranty. The Manufacturer will repair or replace such products or 
parts thereof, which, upon inspection by the Manufacturer, are found to be defective in 
either  materials  or  workmanship.  As  a  condition  of  the  Manufacturer's  obligation 
regarding  warranty  work,  the  product  must  be  returned  to  the  point  of  sale  with  a 
satisfactory proof of purchase. It is highly recommended that you fill out and return 
your warranty registration card to ensure the warranty coverage. This warranty is null 
and  void  if  equipment  has  been  altered,  tampered  with,  modified,  or  otherwise 
abused,  mishandled,  or  subjected  to  unauthorized  repairs.  The  Manufacturer 
disclaims  any  other  warranties,  either  expressed  or  implied,  except  as  expressed 
herein. The sole obligation of the Manufacturer is to repair or replace the covered 
device.

3

Pic. 4

Pic. 5

No image when recording 
from external source (NV 
device)

.

No video signal. 

Activate the video output in NV device’s 
menu 

(

where applicable

).

 Make sure 

the video cable is securely connected. 

Summary of Contents for cvr640

Page 1: ...I N S T R U C T I O N S ENGLISH FRANÇAIS DEUTSCH ESPAÑOL ITALIANO РУССКИЙ Video Video Video Recorder Recorder Recorder CVR640 CVR640 CVR640 ...

Page 2: ... Einstellungen von Datum Uhrzeit und Videosignalformat Pflege und Lagerung Störungsbeseitigung Garantie 7 8 9 Características técnicas Contenido del embalaje Descripción Elementos y órganos de mando Colocación de las pilas Conexión y videograbación Indicación de diodos emisores de luz Colocación del CVR640 en los aparatos de visión nocturna Software Conexión con la computadora Régimen de grabación...

Page 3: ... with most Newton Pulsar or Yukon digital NV devices Long operating time up to seven hours Recording video signal to the hard disc of a PC User choice of video signal format PAL NTSC Multiple ways to attach the unit to NV devices Compact size and low weight Components and Controls 1 Rec Record button 2 ON button 3 Mount for Weaver rail 4 Light emitting diodes LED Battery installation Slide the cov...

Page 4: ...ile instr_Video Recorder CVR640 user manual The CVR 640 is compatible with operating systems Windows XP Windows Vista and Windows 7 Note It is recommended that before use of the CVR640 you should save the supplied software to your PC In case of loss of the software files you can e mail us at support yukonopticsglobal com Connection to PC The CVR640 should be powered off Insert SD memory card into ...

Page 5: ... be used for a long time Troubleshooting Corrective action Install fresh batteries Focus your device on an object under observation Activate the built in or auxiliary IR Illuminator of your NV device Insert an SD memory card Insert empty memory card Problem The CVR640 will not start Low image quality The CVR640 is on but recording will not start when REC button is pushed the red LED blinks CVR640 ...

Page 6: ... CVR640 sont Possibilité de branchement aux différents appareils Newton Pulsar et Yukon Durée de fonctionnement jusqu à 7 heures Mode d enregistrement du signal vidéo sur le disque dur du PC Choix de format d enregistrement vidéo par l utilisateur PAL NTSC Plusieurs types de fixation sur AVN appareil de vision nocturne Encombrement compact poids peu important Eléments et organes de commande 1 Bout...

Page 7: ...der CVR640 Video recorder CVR640 est compatible avec les systèmes d exploitation Windows XP Windows Vista et Windows 7 Remarque avant l utilisation du vidéorecorder il est conseillé de sauvegarder le logiciel sur le PC En cas de perte de fichiers veuillez consulter l aide support yukonopticsglobal com Branchement au PC Coupez l alimentation du recorder dans le videorecorder Insérez la carte mémoir...

Page 8: ... piles Piles déchargées AVN n est pas focalisé Eclairage insuffisant Carte SD indisponible Carte SD est pleine Garantie Le Fabriquant garantie ses produits vision nocturne contre les défauts de fabrication et de matériaux pour une période de 1 an à partir de la date d achat originale Tout appareil retourné au service après ventes sera expertisé par le Fabriquant dans le respect des consignes d uti...

Page 9: ...t an verschiedene Geräte Newton Pulsar Yukon Betriebsdauer 7 Stunden Modus der Videosignalaufnahme auf die PC Festplatte Standards der Videoaufnahme PAL NTSC Mehrere Varianten der Befestigung an die Nachtsichtgeräte Leicht und kompakt Components and Controls 1 Taste Rec 2 Taste ON 3 Weaver Schiene 4 Diodenanzeiger Batterie einlegen Schieben Sie den Deckel des Batteriefachs in der auf dem Gehäuse g...

Page 10: ...orecorder CVR640 ist kompatibel mit den Betriebssystemen Windows XP Windows Vista und Windows 7 Anmerkung Vor dem Betrieb des Videorecorders ist es dringlich empfehlenswert die Software auf dem PC zu speichern Falls die Dateien verlorengegangen sind können Sie sich an den Support wenden support yukonopticsglobal com Anschluss an den Computer Die Speisung des Videorecorders soll abgeschaltet sein L...

Page 11: ...kopieren Den USB Kabel vom Videorekorder trennen Den Videorekorder einschalten die Aufnahme starten die eingestellten Datum und Uhrzeit werden in den Eigenschaften der aufgenommenen Videodatei abgebildet Pflege und Lagerung Lagern Sie den Videorecorder in einem trockenen gut durchlüfteten Raum bei der Temperatur nicht unter 10 С und Feuchtigkeitsrate nicht über 70 Bei andauernder Lagerung nehmen S...

Page 12: ... versiones de fijación con el aparato de visión nocturna Dimensiones máximas compactas peso mínimo Elementos y órganos de mando 1 Tecla Rec 2 Tecla ON 3 Elemento de fijación para el carril Weaver 4 Diodos emisores de luz diodos de indicación Colocación de las pilas Mueva la tapa del contenedor para las pilas como está indicado en el cuerpo de la tapa y sáquela Coloque tres pilas ААА o pilas recarg...

Page 13: ...ideo es compatible con sistemas operativos Windows XP Windows Vista y Windows 7 Nota antes de utilizar el video recorder se recomienda guardar el software en la computadora personal En caso de fallar los files Ud puede dirigirse a la consulta técnica support yukonopticsglobal com Conexión con la computadora La alimentación del el grabador debe estar desconectado Instale la tarjeta de memoria Conec...

Page 14: ...ocal seco bien ventilado con temperatura no menos de 10 С y humedad no más de 70 En caso de que el almacenamiento sea prolongado saque pilas de alimentación Detección de fallas Corrección Coloque nuevas pilas Haga enfocar el aparato al objeto de observación Conecte la lámpara incorporada o adicional Luz infrarroja del aparato de visión nocturna Ponga la tarjeta SD Inserte una tarjeta de memoria va...

Page 15: ...Collegare una spina del video cavo al connettore Video In 5 del ideo recorder la seconda spina al NVD guardare le scheme di connessione Per accendere il videorecorder premere il bottone ON 2 il diodo luminoso blu 4 lampeggia rapidamente per tre secondi si accende e Accendere il nottevisore Premere il bottone Rec 1 per cominciare la registrazione Il diodo blu comincia a lampeggiare Per interruzione...

Page 16: ...der CVR640 è compatibile con i sistemi operativi Windows XP Windows Vista e Windows 7 Nota prima dell uso del videorecorder e raccomandato di conservare il software sul computer personale Nel caso se i file si perdono potete rivolgervi al servizio di supporto tecnico support yukonopticsglobal com Collegamento al computer L alimentazione del recorder deve essere staccato Inserire una scheda di memo...

Page 17: ... supplementare illuminatore del NVD Inserire la scheda SD Inserire la scheda vuota Difetto L apparecchio non si accende La qualita bassa dell immagine L apparecchio e acceso alla pressione del bottone REC la registrazione non si comincia il diodo rosso lampeggia il recorder viene spento Causa possibile Mancano le batterie Le batterie sono scaricate NVD non e messo a fuoco Il livello di illuminazio...

Page 18: ...о видения ЦПНВ оснащенных видеовыходом CVR640 обладает следующими отличительными особенностями Возможность подключения к различным приборам Newton Pulsar и Yukon Время работы до 7 часов Режим записи видеосигнала на жесткий диск ПК Автоматический выбор формата видеозаписи PAL NTSC Несколько вариантов крепления на ЦПНВ Компактные габариты малый вес Элементы и органы управления 1 Кнопка Rec 2 Кнопка ...

Page 19: ...луатации CVR640 Видеорекордер CVR640 совместим с операционными системами Windows XP Windows Vista и Windows 7 Примечание перед использованием видеорекордера программное обеспечение рекомендуется сохранить на персональном компьютере В случае утери файлов Вы можете обратиться в техническую поддержку support yukonopticsglobal com Подключение к компьютеру Питание видеорекордера должно быть отключено У...

Page 20: ...много диска Отключите кабель USB от видеорекордера Включите видеорекордер и запустите запись Установленные дата и время будут отображаться при просмотре свойств записанного видеофайла Уход и обслуживание Храните видеорекордер в сухом хорошо вентилируемом помещении при температуре не ниже 10 С и влажности не более 70 При длительном хранении извлеките батареи питания Выявление неисправностей Исправл...

Page 21: ......

Reviews: