- 9 -
USER'S MANUAL
/ 5 / 2 - 1 9
A
0 1
/ 1
1
A
0 1 7
2 / /
2
:
- 6 -
▲
▲
USER'S MANUAL
S
S
SS
4
3
2 3 4 5 8 6 7 9
11
1
10
2
1
5
▲
▲
▲
▲
5. SYSTEM OPERATION
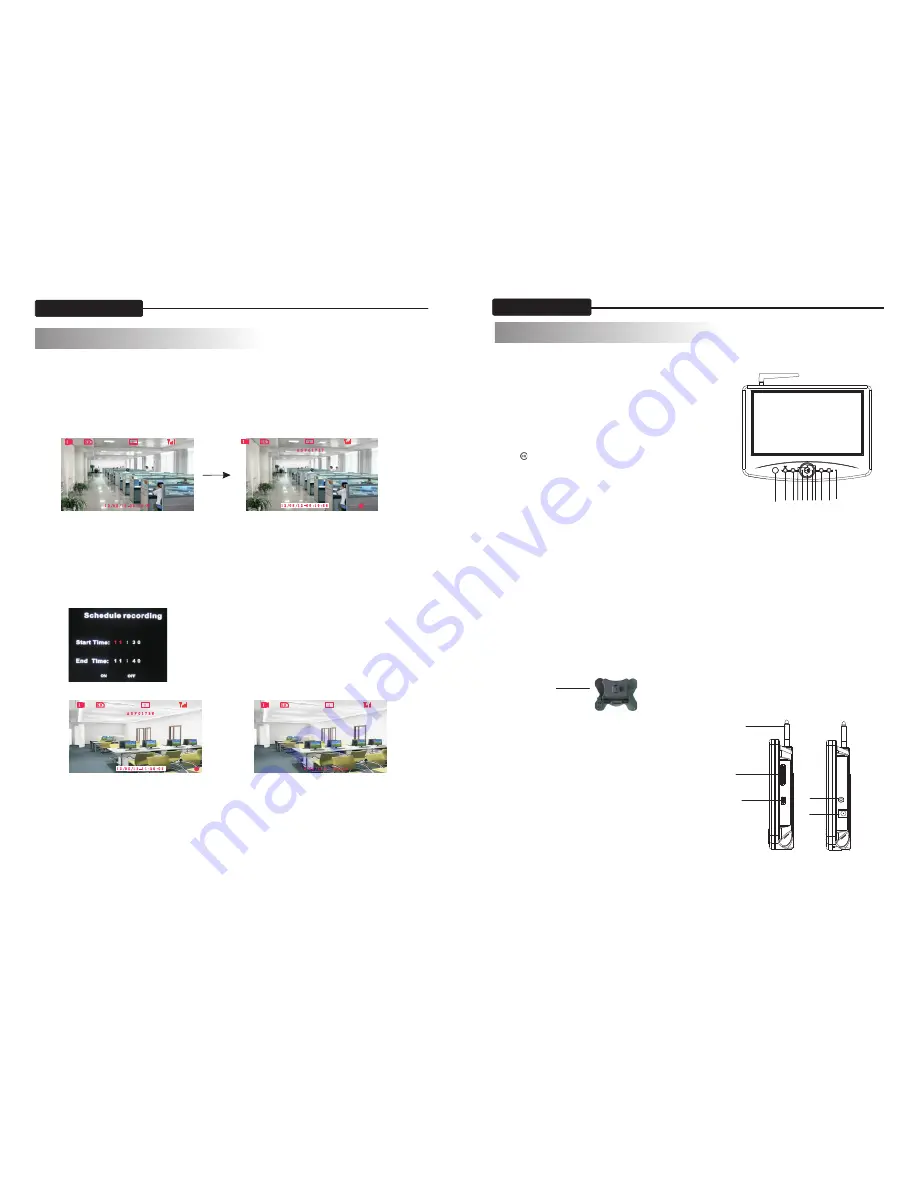
Before recording, you need to insert a SD card to the SD card slot. The system can support the
size of up to 32G SD card
5.2.1 Manual recording mode
(1) In the live display mode, press” REC” button to start recording, a record file will be
automatical created every 2 minutes.
(2). Press “REC” button again to exit the record mode.
Live mode
After Press ”REC” Button
5.2.2 Schedule Recording Mode
(1) Enter” Record Setup” menu, then set the “schedule recording” to “ON”
(2) Set start time on “Start Time” item.
(3) Set end time on “End Time” item.
(4) The system will automatically start and stop recording based on the times entered.
START T ME: record start time
END TIME: record end time
SCHEDULE RECORD: ON-valid, OFF-invalid
5.2.3 Motion Detection Recording Mode
(1) Enter “Record Setup” menu, then set the “Motion detection activity” to “ON”.
(2) In this mode the receiver starts recording when montion detected by any activated camera.
Start Record
End Record
4. INSTALLATION GUIDELINE
4.1 Monitor Overview
4.1.1 Front controls
1) IR Sensor:
Remote controller sensor.
2) Power button:
Long press to turn on or off the Monitor
3) AV button: press to togle between AV output and LCD
display
4)
Button:
play or pause the selected file under “PLAYBACK/VIDEO”
menu.
Press to select “SINGLE/QUAD/AUTO” display mode.
5)/6) button:
In the on-screen menu, press to select setting item.
In playback mode, use the buttons to fast-forward or rewind
In single mode, press button to select CH1/ CH2/ CH3 /CH4.
In “PLAYBACK/VIDEO” menu, press ” ” button to the delete unnecessary files.
7)/8) button
In the on-screen menu, press to select setting item.
In playback mode, use the buttons to increase/decrease volume.
9) REC/STOP button
10) MENU button: press to enter or exit the Main-menu.
11) LED indicator
The LED lights with blue when the power is turn ON.
The red LED will be blinking when camera signal is received
12) Bracket
4.1.2 Side connector
(1) SD card socket:
Insert SD card to this SD card slot for both
Video and audio recording.
(2) Mini USB socket
(3) Audio/Video output:
Connect the included A/V cable to view video
From the receiver on TV or monitor.
(4) DC power outlet: DC 5V/1A
(5) Antenna: sends and receives signals to
or from the Camera.
Summary of Contents for WL24MNK
Page 2: ......


