


NTI RACKMUX Console Drawer with UNIMUX Switch
15
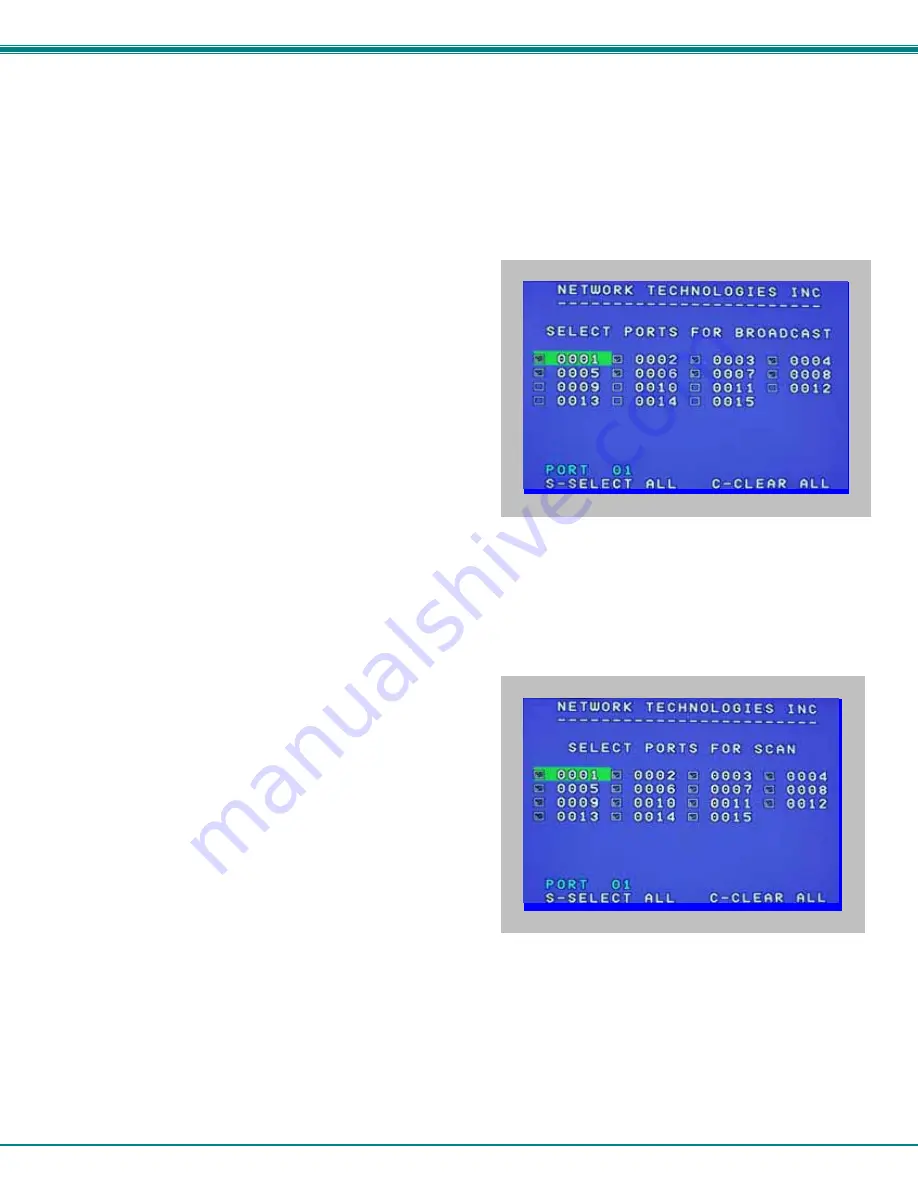
Select Ports For Broadcast
To Select Ports For Broadcasting, press <B> from the Change Settings menu (see Fig. 13).
The Select Ports For Broadcast menu (see Fig. 14) enables the user to select specific ports to be active in Broadcast Mode. Only
the selected ports will receive keyboard messages in Broadcast Mode.
A check list with all the port numbers will be displayed in the window.
•
unchecked box = the corresponding port is
not
in the
broadcast list
•
checked box = the corresponding port
is
in the
broadcast list
The user can toggle the state of the selected check box by
pressing <Spacebar> or clicking the left mouse button.
•
press <S> to check all of the ports
•
press <C> to uncheck all of the ports
The selected port is highlighted with a green bar. To select another
port, the user can use the arrow keys or mouse movement. The
name of the selected port is displayed at the bottom left of the
menu.
When <Esc> is pressed the display will return to the Change
Settings menu. The broadcast selection list is automatically saved.
Figure 14- Select ports for broadcasting
Select Ports For Scan
To Select Ports For Scanning, press <S> from the Change Settings menu described on page 14.
The Select Ports For Scan menu enables the user to select
specific ports to be active in Scan Mode. Only the selected ports
will be scanned in Scan Mode.
A check list with all the port numbers preceded by a check-box will
be displayed in the window.
•
unchecked box = the corresponding port is
not
in the
scan list
•
checked box = the corresponding port
is
in the scan
list
The user can toggle the state of the selected check box by
pressing <Spacebar> or clicking the left mouse button.
•
press <S> to check all of the ports
•
press <C> to uncheck all of the ports
Figure 15- Select ports for scanning
The selected port is highlighted with a green bar. To select another port, the user can use the arrow keys or mouse movement.
The name of the selected port is displayed at the bottom left of the menu.
When <Esc> is pressed the display will return to the Change Settings menu. The scan selection list is automatically saved.


