Using NETGEAR genie
35
Powerline Music Extender XAU2511
Add a Device to the Powerline Network
If you are adding a device to a Powerline network, and the network encryption key has been
left at its default setting, all you need to do is plug the new device into a power outlet.
If the network encryption key has been customized, there are two ways to set the security:
•
You can use the Security button to add the new device to your network. See
Use the
Security Button to Set the Encryption Key
on page 12.
•
You can use the NETGEAR genie Powerline Utility to add the new device to the network,
as described in the following procedure.
To add a Powerline device to the Powerline network using NETGEAR genie:
1.
Plug the Powerline device into an available AC power outlet.
2.
Use the provided Ethernet cable to connect the Powerline device to an Ethernet port on the
computer.
3.
Start NETGEAR genie and navigate to the Powerline Utility screen.
4.
Click the
Refresh
icon, and wait for the genie to detect the new device.
5.
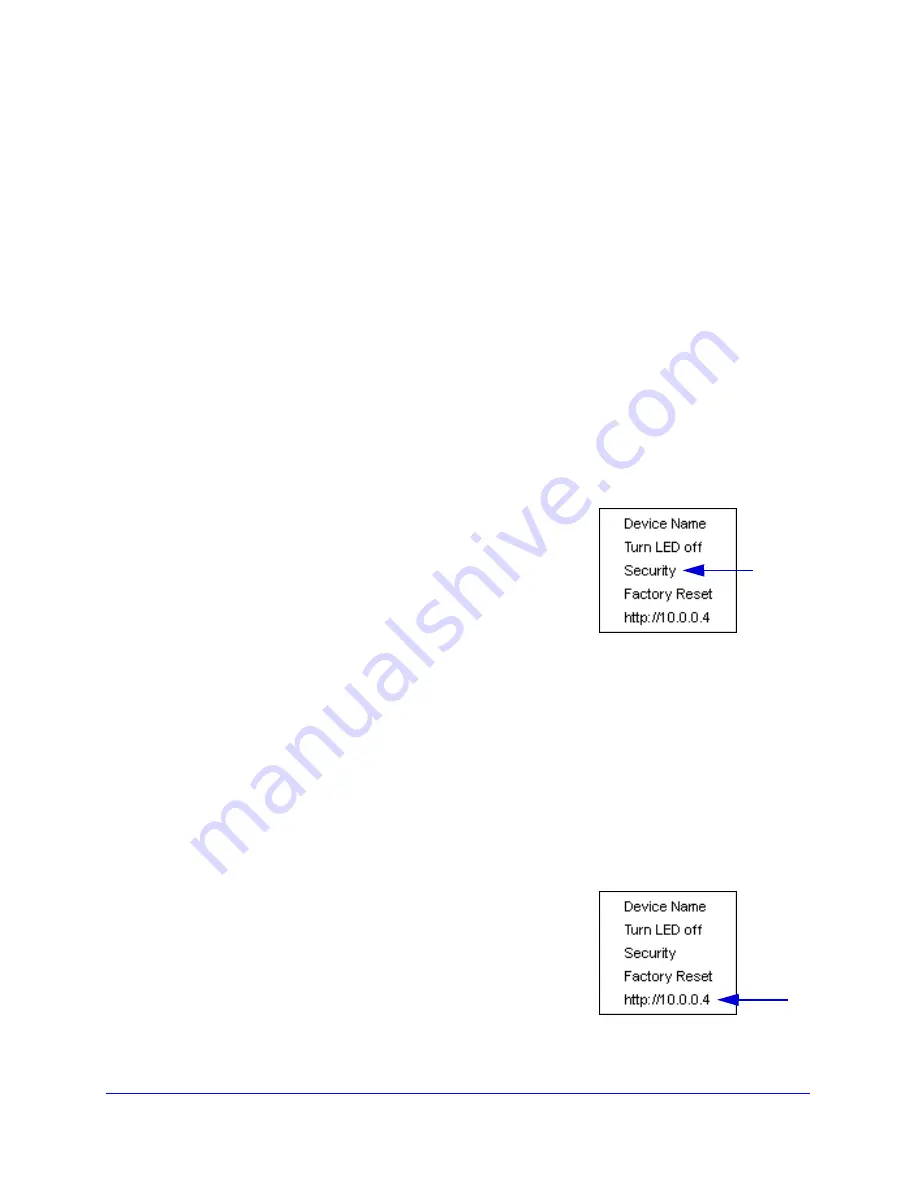
Right-click the device, and select
Security
from the menu.
6.
Set the encryption key for the device (see
Set the Powerline
Encryption Key
on page 32). Make sure that you enter the
same encryption key that your other Powerline devices are
using.
Verify that the devices in the Powerline network are in the
device list by clicking the
Refresh
icon. It might take a minute
or two to detect all devices in the network.
Access NETGEAR Web genie
From the NETGEAR genie Powerline Utility screen, you can manage basic settings on your
Powerline devices. To configure more advanced settings on individual Powerline devices,
use NETGEAR web genie.
To access the web genie for an individual Powerline device:
1.
Launch NETGEAR genie from the computer that is connected to your Powerline
network.
2.
Navigate to the Powerline Utility screen, and right-click the
device.
3.
Select the IP address of the device from the menu.


